Canva has become a popular tool for people like me to create eye catching visuals. One aspect that often gets overlooked is the option to eliminate unwanted elements from pictures. Whether you're working on a social media update or designing a brochure there are instances when an image doesn't seamlessly blend with your layout. What makes Canva special is its intuitive interface that transforms tasks such as removing portions of an image into an effortless and even enjoyable experience.
Why You Might Want to Remove Image Parts
There are numerous reasons why you may feel the need to eliminate sections of an image. Here are some examples.
- Enhancing Focus: If the background is cluttered, removing unnecessary parts helps direct attention to the main subject.
- Creating a Cohesive Design: Sometimes, an image just doesn't match the aesthetic of your project. Trimming away the extraneous bits can help.
- Improving Composition: A well-composed image can elevate your design, making it look professional and polished.
Through my own experiences I've noticed that taking away elements from an image opens up more room for creativity. There have been moments when just cropping an image turned it from mundane into something truly remarkable perfectly aligning with my design vision.
Also Read This: How to Download an Image from Behance
Step-by-Step Guide to Removing Image Parts in Canva
If you want to get rid of some elements in a picture using Canva its pretty easy. Just follow these steps to make the process smoother for you.
- Open Your Design: Start by selecting the design you want to work on.
- Upload Your Image: Click on the “Uploads” tab and upload the image you want to edit.
- Drag the Image to the Canvas: Position it where you want it to appear in your design.
- Select the Image: Click on the image to highlight it.
- Use the Crop Tool: Click on the crop icon in the top toolbar. You can then drag the edges to remove unwanted parts.
- Apply Changes: Once satisfied, click the “Done” button to save your edits.
Often, it’s the small tweaks that have the impact. I recall a time when I was creating an invitation for a wedding and there was an image with a lot of blank area. When I eliminated that empty space the overall design appeared more harmonious and sophisticated. It’s these adjustments that can truly set your work apart.
Also Read This: How to Buy Images from Getty – A Simple Process for Acquiring High-Quality Stock Photos
Using Canva Tools for Efficient Image Editing
Canva is like a box of goodies packed with features that turn image editing from a task into an exhilarating journey. Having utilized Canva for different projects I can vouch for how its tools not streamline the editing process but also ignite inspiration. While there are numerous tools to choose from some are exceptionally handy for removing parts of an image and general editing.
- Crop Tool: This is your first step when you need to remove unwanted parts of an image. It's intuitive and allows you to adjust the framing quickly.
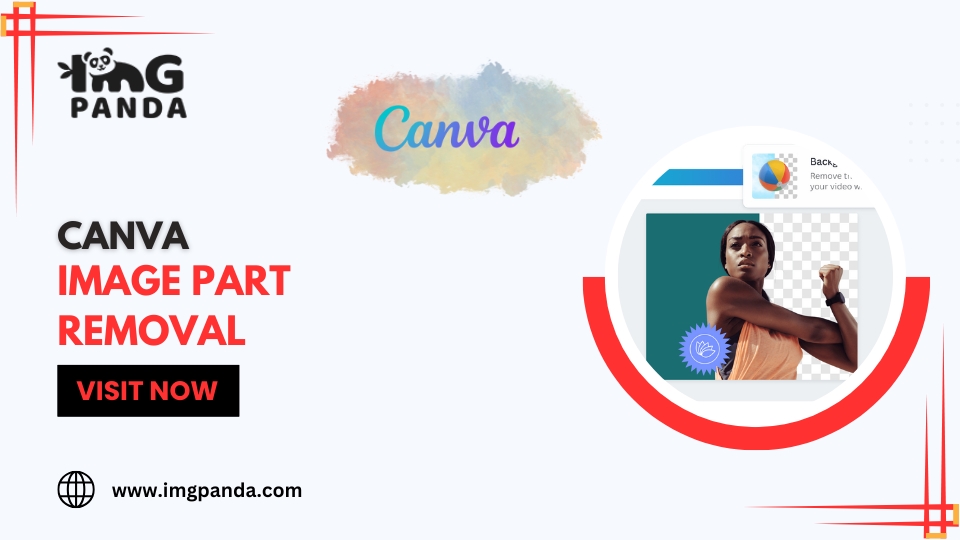
- Background Remover: A game-changer! With just a click, you can eliminate the background, letting your main subject shine.
- Filters: Enhance your images with various filters to create a consistent look across your project.
- Adjustments: Fine-tune brightness, contrast, and saturation. These minor tweaks can dramatically change how your image is perceived.
During my experience with Canva I recall utilizing the background remover feature for a family picture I intended to include in a blog entry. It was truly enchanting to witness the background vanish, leaving just my family members in the spotlight. With tools at your disposal you can effortlessly bring your imaginative ideas to fruition.
Also Read This: Can I use iStock photos on my website? Navigating the usage rights for web content.
Common Challenges When Removing Image Parts
Although taking out elements from a picture in Canva is usually a process it does come with its own set of challenges. I have encountered a few obstacles along the way and I think sharing them could assist you in steering clear of similar missteps. Here are some problems that often arise.
- Accidental Cuts: It’s easy to crop too much or in the wrong area. Always zoom in to check the details before finalizing.
- Background Issues: If you use the background remover tool, sometimes it doesn’t accurately detect edges, leaving remnants behind.
- Quality Loss: Excessive cropping can reduce image quality, making it pixelated or blurry.
While working on a flyer project I unintentionally removed a crucial element from an image. This experience highlighted the significance of reviewing my edits before finalizing them. After all it’s all part of the journey.
Also Read This: Types of Licenses Available on Alamy
Best Practices for Image Editing in Canva
After diving into the realm of image editing with Canva I’ve discovered a few strategies that can really enhance the process. Here are some effective techniques that I’ve come across:
- Plan Your Design: Before you start editing, have a clear vision of how you want your final design to look. This helps in making focused edits.
- Use Grids and Guidelines: Align your images with grids to ensure balanced composition. Canva’s grid feature is a lifesaver for maintaining symmetry.
- Maintain Consistency: Use similar styles and colors across your project for a cohesive look. It makes your design more professional.
- Save Versions: Always save your work in different versions. It’s easy to get carried away with edits, and you might want to revert to an earlier version.
When working on a project I began by jotting down my thoughts. While refining it in Canva I discovered that following my initial vision was more convenient. It’s akin to having a navigation system; you may take some unexpected turns but you’ll eventually return to the path.
Also Read This: Canva Background Image Change
Examples of Effective Image Part Removal
In image editing a small tweak can lead to stunning outcomes. Let me show you some instances that demonstrate the impact of removing elements from an image on your creative projects. Whether you're designing a poster, crafting a social media update or putting together an invitation the right adjustments can truly elevate your work.
One standout moment for me was while creating a birthday invitation for my niece. The initial picture showed a lovely cake but the backdrop was messy with other adornments. By eliminating the elements the attention completely shifted to the cake making it the highlight of the invitation. This demonstrates how removing parts of an image can inject new life into your creations. Here are some situations where stripping away parts of an image had a profound effect.
- Social Media Posts: A bright sunset photo had too much foreground clutter. Cropping out the distractions made the sunset the focal point, increasing engagement.
- Business Presentations: In a presentation slide, a product image had excessive background elements. Removing them helped convey the message clearly and professionally.
- Event Flyers: A flyer for a community event included an image of a crowded park. By focusing on the key attractions, the flyer became more appealing and informative.
These instances show that removing parts of an image isn’t solely for visual appeal but also to improve communication. With every adjustment you get closer to expressing your message with clarity.
Also Read This: Are You Ready to Rumble – Exploring the Iconic Jock Jams Anthem
Frequently Asked Questions about Canva Image Part Removal
A lot of people wonder about how to remove parts of an image in Canva. In this article I've compiled some of the common questions along with my thoughts on them. I recall having my own uncertainties when I started using Canva so I hope this provides assistance in your own experience.
- How do I remove the background of an image? You can use the background remover tool available in Canva. Just select your image and click on "Edit Image," then choose "Background Remover."
- Can I undo changes? Yes! Canva allows you to undo any changes you make. Simply click on the “Undo” button or use the shortcut Ctrl + Z.
- Will removing parts of an image affect quality? It can if you crop too aggressively. Always preview your edits to ensure the quality remains intact.
- Is there a limit to how much I can edit an image? There’s no strict limit, but be mindful of over-editing, which can lead to a loss of detail and clarity.
These frequently asked questions address issues that Canva users often have. While exploring these queries I discovered that having knowledge can greatly enhance your editing journey.
Conclusion on Effective Image Part Removal in Canva
To sum up getting the hang of removing image elements in Canva can take your design abilities to the level and give your projects that extra sparkle. Reflecting on my own progress I see how much I've learned about this important technique. Being able to eliminate parts from images not enhances their look but also conveys messages more powerfully.
Whether you're working on your own projects or pursuing professional goals it's important to remember that every change matters. Embrace the journey try out different tools and don't hesitate to stumble along the way. Every endeavor presents a chance to gain knowledge and evolve. Through practice and imagination you have the ability to transform even the most mundane pictures into breathtaking visuals that deeply connect with others. So feel free to venture out and let your designs showcase your distinct perspective!