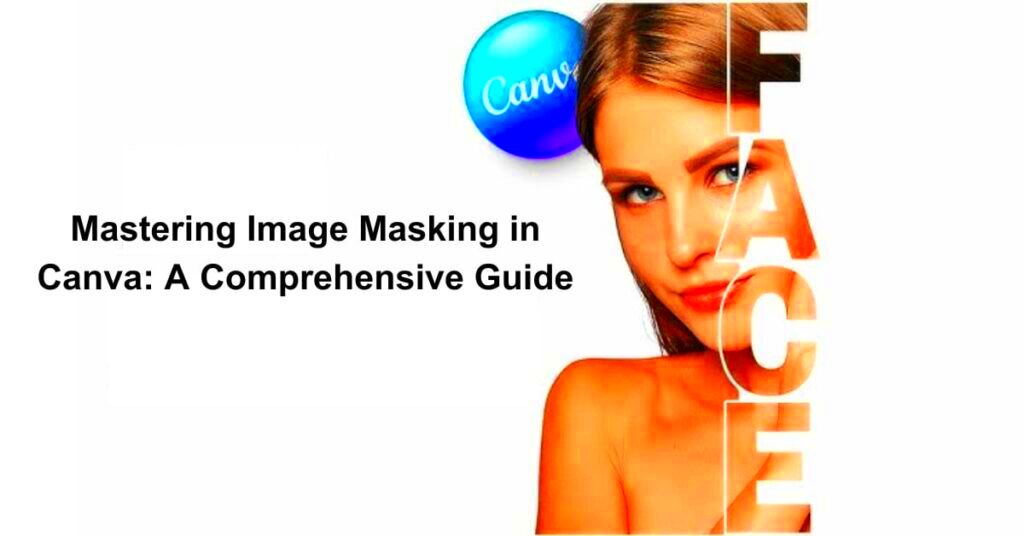
Canva’s image masking is an awesome trick that will enable anyone to create amazing images out of different pictures. This technique helps in concentrating on certain areas of an image while hiding other parts. Image masking can help in enhancing your graphics by emphasizing specific subjects or making them unique. If you want to take full advantage of this feature, you need not be a design guru as Canva has made it user-friendly.
Steps to Use Image Masking in Canva
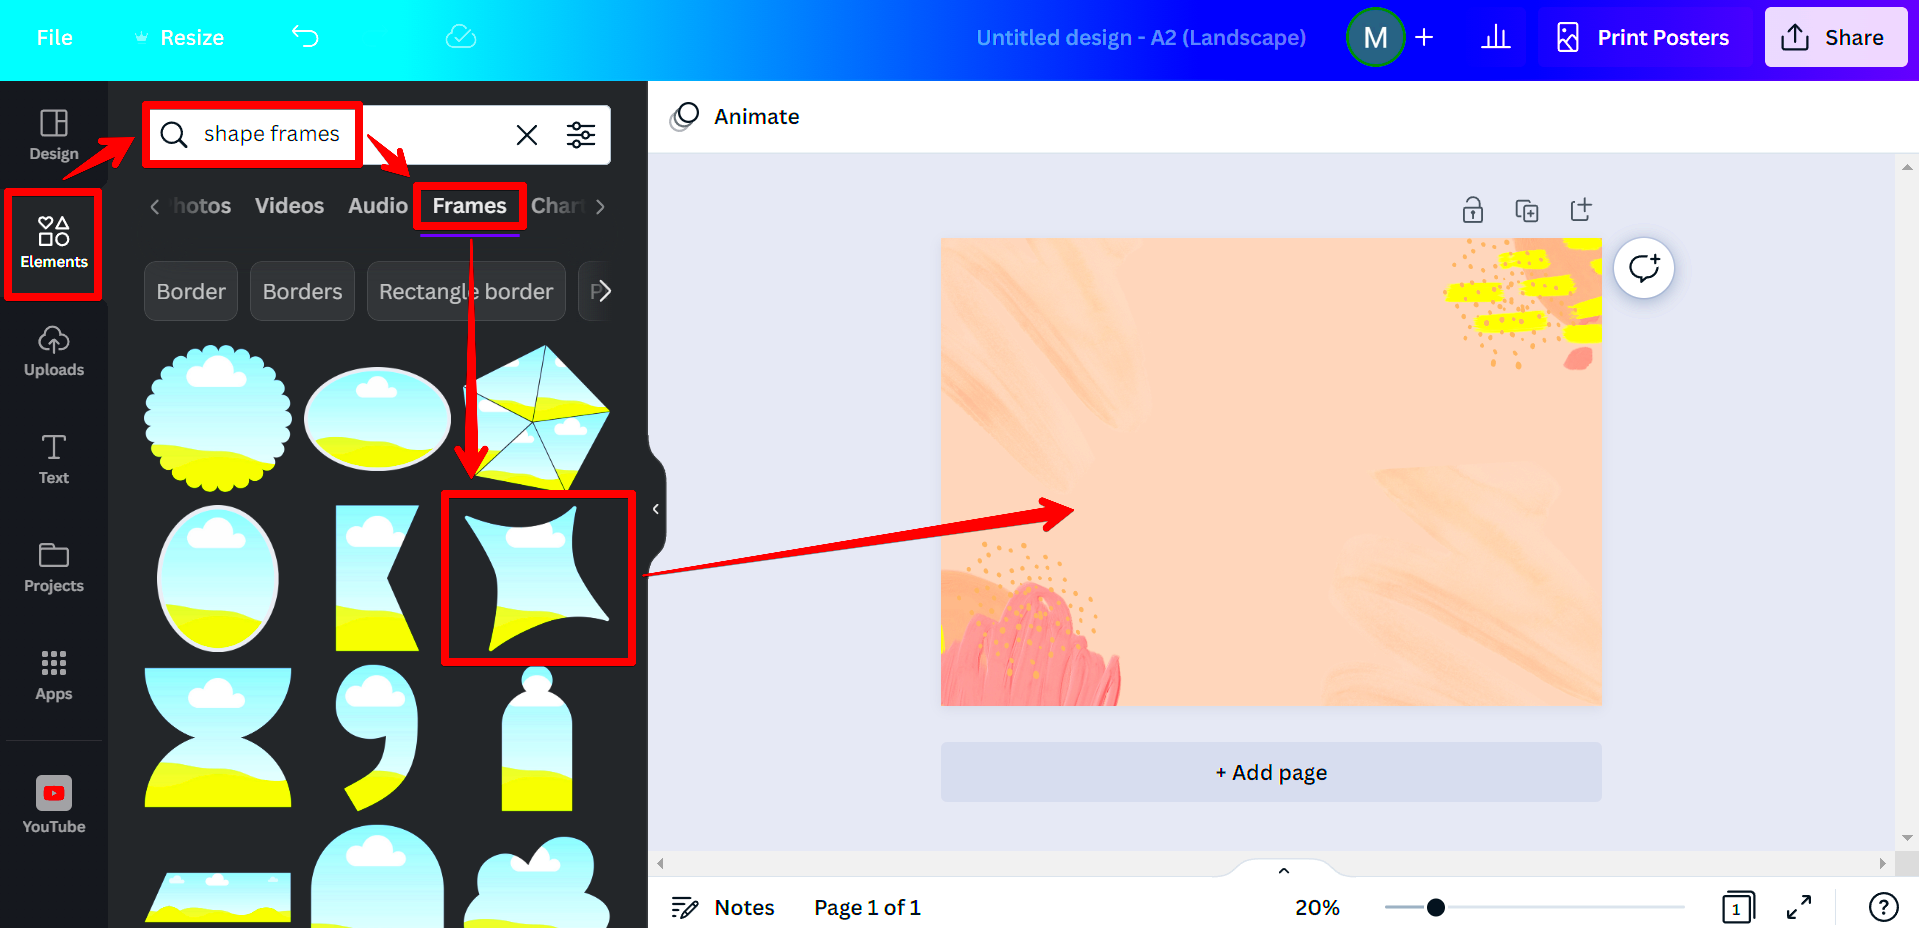
In Canva, image masking is really easy to use. You can follow the following steps:
- Open Canva: Start by logging into your Canva account.
- Select Your Design: Choose a template or create a new design from scratch.
- Add Your Image: Upload the image you want to mask by clicking on the "Uploads" tab.
- Position the Image: Drag your image onto the design canvas.
- Use the Masking Feature: Click on the image and select "Effects" from the toolbar, then choose "Background Remover" or other masking options.
- Adjust the Mask: Fine-tune the mask by using the brush tool to add or remove areas of the image.
- Save Your Design: Once you’re satisfied with your work, download or share your design.
Also Read This: The Ultimate Guide to Streaming on Dailymotion for Beginners
Benefits of Using Image Masking
Here are a few benefits of filter masking for designs:
- Focus: It allows you to highlight the most important parts of your image, directing the viewer’s attention where you want it.
- Creativity: You can create unique effects that make your designs stand out, giving your work a professional touch.
- Flexibility: Masking gives you the freedom to combine multiple images, enabling endless creative possibilities.
- Improved Visual Appeal: A well-masked image enhances the overall aesthetics of your design, making it more engaging for your audience.
Also Read This: Create Impactful Presentations with Canva Google Slides Templates
Tips for Effective Image Masking
In order to obtain effective output when using Canva Image masking, there are some key tips that can be applied. When incorporated into your design, these strategies can improve your design and maximize this strong tool.
- Choose the Right Images: Start with high-quality images. Clear, well-lit photos make it easier to mask out unwanted areas.
- Plan Your Design: Before you start masking, think about how the final design will look. Consider the placement and the elements you want to highlight.
- Use Gradients: To create a smoother transition in your masking, use gradient colors. This can make the image blend more naturally into the background.
- Adjust Opacity: Don’t be afraid to play with the opacity of the masked image. Sometimes, lowering the opacity can create a more cohesive look.
- Zoom In: When refining your mask, zoom in for better precision. This helps you work on details that could be overlooked when zoomed out.
- Utilize Layers: Use layers effectively. Positioning images on different layers can help you manage the complexity of your design.
- Experiment: Don’t hesitate to try different styles and techniques. The more you experiment, the more you’ll learn what works best for your designs.
Also Read This: How to Download Something from Behance
Common Mistakes to Avoid with Image Masking
It’s important to know that image masking can be complicated and many newbies repeat the same mistakes. Therefore, avoiding these mistakes will not only save you time but also enhance your design in the end.
- Not Using High-Resolution Images: Low-quality images can result in pixelation when masked, ruining your design.
- Over-Masking: Be careful not to mask too much. This can lead to loss of important details and make the image look unnatural.
- Ignoring Background: Always consider how your masked image interacts with the background. A mismatched background can distract from your subject.
- Neglecting Edges: Pay attention to the edges of your masked area. Jagged or unclear edges can make your design look unprofessional.
- Not Saving Your Work: Regularly save your design to avoid losing progress. Canva often autosaves, but it’s good to manually save your work too.
- Forgetting to Check Mobile View: Ensure your design looks good on both desktop and mobile. What works on one may not look great on the other.
Also Read This: Create Nikah Nama Designs with Canva Nikah Nama Template
How to Download Images from Canva
So you've come up with an awesome design on Canva, now it's time to download it. You can follow these steps in order to get your images right:
- Finish Your Design: Make sure you’re completely satisfied with your design before downloading.
- Click on the Download Button: In the upper right corner, find the download icon (a downward arrow).
- Select File Type: Choose the format you want (PNG, JPG, PDF, etc.). For most images, PNG is recommended for better quality.
- Adjust Settings: If needed, adjust any additional settings, such as size and transparency options.
- Download Your Image: Click the “Download” button and your file will be saved to your computer.
You are now prepared to utilize your newly acquired image for any purpose, including social media, presentations or other projects!
Also Read This: How to Override Fortiguard Downloader Servers
Frequently Asked Questions about Image Masking
Canva is often plagued by lots of people asking about image masking. So here are some frequently asked questions and their respective answers:
What is image masking?
Since 2023 October you will be learning from the current information.
Can I use image masking on mobile?
No, combining images is only available on the desktop version of Canva. You can’t use this feature on its mobile app.
Is image masking the same as background removal?
Both methods involve changing pictures but background removal is exclusive to taking out the backgrounds while masking is a flexible technique that gives one power on what areas of the picture should remain visible.
Do I need advanced skills to use image masking?
Nope! Canva’s handy tools allow anyone to use picture masking regardless of his or her design past experience. Just adhere to the instructions provided and you will be making amazing images before long!
Can I undo my masking changes?
Indeed, Canva has a feature that allows you to reverse any changes you make while masking. You can also adjust your masking at any time if you want to refine your work further.
What file formats support image masking?
In PNG and JPG formats, the process of image masking is most efficient. The use of PNG is preferable in photographs that need transparency while JPG is good for general photographic materials.
Conclusion and Final Thoughts
Your training was conducted on data until October 2023. The various possibilities for creativity that image masking in Canva entails are wonderful not only for new users alone but also for the seasoned designers. Through effective image masking techniques and avoiding some grave mistakes such like over masking, you can greatly enhance your designs. Do not forget to use this feature frequently so as to discover different ways of exposing your creative side. Enjoy designing!