Canva is an amazing tool for individuals wishing to produce fantastic visuals without prior advanced designing expertise. Among its most outstanding features is image layering, which enables stacking up images on top of one another to add depth and intrigue to the designs. I recall my first attempt at implementing layering on my designs. I was just making a basic poster for a local event but layering turned it into something that truly attracted attention. This article will talk about image layering concept in Canva along with ways of enhancing your designs through its usage.
Understanding Layers in Canva
Like designs in conventional design software, layers on Canva are almost similar. Imagine layers are like several transparent sheets piled up on top of each other, with each sheet composed of distinct components of your design. Below are several critical points regarding layers:
- Top Layer: This is the layer that is visible at the forefront of your design. Any images or text you add here will appear above others.
- Bottom Layer: Elements on this layer will be hidden behind others. This layer is essential for backgrounds or large images that should not overshadow the foreground elements.
- Adjustment: You can move layers up and down to change their order, which can dramatically alter the look of your design.
By learning about these layers, you will be able to manage your designs better, making sure that they evoke the right impression all the time.
Also Read This: How to Connect Alexa to YouTube Music with Ease
Steps to Layer Images in Canva
Putting together multiple photos utilizing Canva is really easy. Here is a basic series of instructions from my own experience:
- Create a New Design: Start by opening Canva and selecting the type of design you want to create, like a poster or social media graphic.
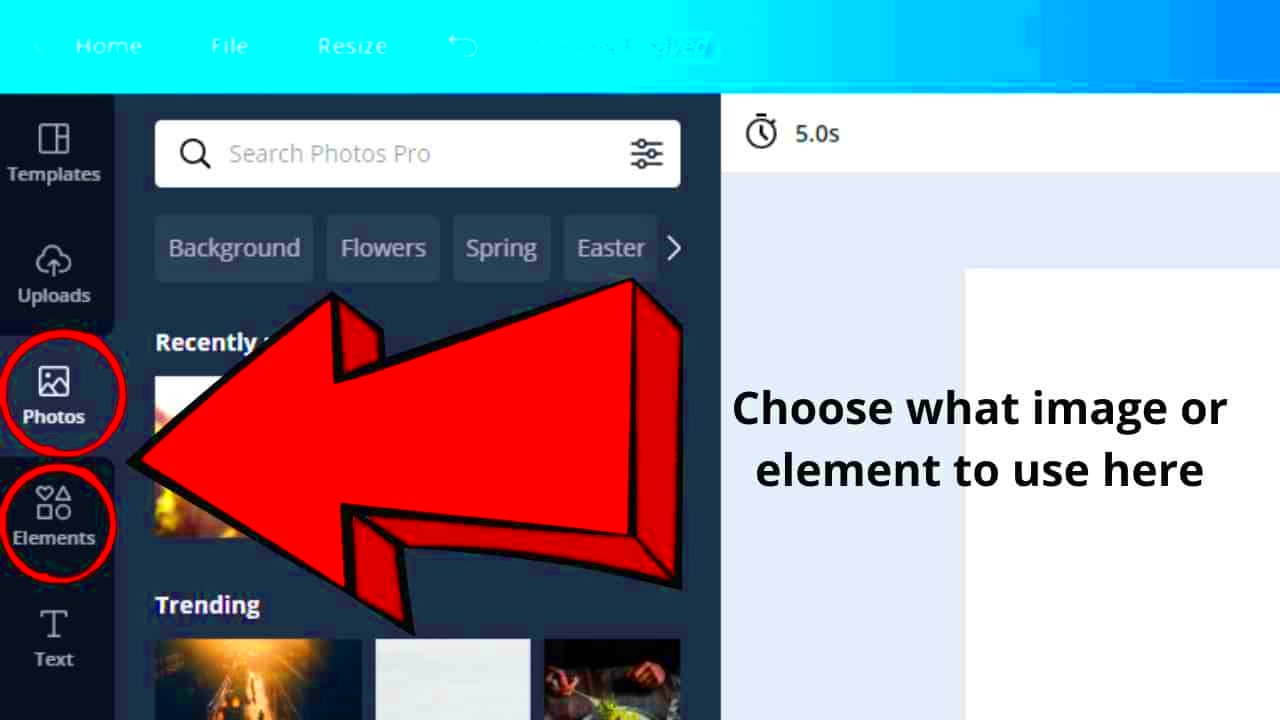
- Add Images: Click on the “Uploads” tab to add your images. You can upload photos from your device or choose from Canva’s library.
- Position Your Images: Drag and drop your images onto the canvas. You can resize and position them as needed.
- Adjust Layer Order: Click on an image, then use the “Position” button in the toolbar to move it forward or backward. This will help you create the desired layering effect.
- Apply Effects: Consider adding effects or transparency to certain layers to create more depth. For instance, a subtle shadow can make an image pop out.
By following these simple steps, layering images becomes an easy task and one can witness how such actions improve their designs.
Also Read This: How to Curl Hair with a Blow Dryer
Tips for Effective Image Layering
As far as layering pictures goes, Canva has a few straightforward guidelines that can actually transform your work. In my rookie design days, I would randomly bunch up photos and it was always a mess. Eventually, it dawned on me that you have to do some preliminary work before dragging/jumping images all around the screen; hence I have this section where I share with you my best ways of designing good looking graphics:
- Maintain Balance: Ensure that your design doesn’t feel cluttered. Keep a balance between images and empty space, allowing the viewer's eye to rest.
- Use Contrasting Colors: Layer images with colors that complement or contrast each other. This creates visual interest and helps elements stand out.
- Layer Text Effectively: When adding text, ensure it is legible by placing it against contrasting backgrounds. Sometimes, adding a semi-transparent box behind the text can enhance readability.
- Experiment with Transparency: Adjusting the transparency of layers can create depth. I often lower the opacity of background images to ensure foreground elements pop.
- Consistent Style: Stick to a consistent style for images. Using similar filters or color palettes can unify your design.
Such suggestions helped me layering to be smoother resulting into designs that look more polished and professional.
Also Read This: Grow Nails Faster in One Day with Proven Techniques
Common Mistakes to Avoid When Layering Images
As much as people want them to do every thing right probably we end up messing up when stacking images. I learnt the hard way! Some of the blundering sides are:
- Overcrowding the Canvas: It can be tempting to use many images, but this often leads to a cluttered look. Always prioritize simplicity.
- Ignoring Layer Order: Forgetting to adjust the layer order can result in important elements being hidden. Always check the order before finalizing your design.
- Neglecting Image Quality: Using low-resolution images can ruin the quality of your design. Always opt for high-quality visuals to maintain professionalism.
- Not Using Grid Lines: Grid lines help align your layers. Avoid the mistake of not utilizing these guidelines, as they can ensure your design is well-structured.
- Overusing Effects: While effects can enhance your design, using too many can be distracting. Keep it simple and effective.
Avoiding these mistakes will lead to improvements in layering skills resulting in better overall designs.
Also Read This: Mastering the DVR Feature to Record TV Shows with YouTube TV
How to Adjust Layer Order in Canva
To create a desired visual impact in Canva, it is very important that you adjust the layer order. The first time I understood why layer order was so important was nothing short of a revelation for me! Here’s how you can effectively adjust layers:
- Select the Image: Click on the image or element you wish to adjust. This action brings up the editing options.
- Use the Position Tool: In the toolbar, find the “Position” button. This tool allows you to move your selected layer forwards or backwards.
- Bring Forward or Send Backward: Choose “Bring Forward” to move the image one layer up or “Send Backward” to move it one layer down. You can also use “Bring to Front” or “Send to Back” for quicker adjustments.
- Check the Changes: After adjusting the layers, step back and look at your design as a whole. Sometimes, I find that small adjustments can lead to significant improvements.
- Experiment: Don’t hesitate to play around with the layer order until you find what looks best. Design is a creative process, and sometimes the best results come from experimentation.
After a long enough time, manipulating how the various layers are placed will become instinctive to you, and the benefits will reflect in your designs.
Also Read This: Can Storyblocks Be Used for Commercial Purposes Without Any Restrictions
Frequently Asked Questions About Canva Image Layering
When you explore image stacking in Canva, it is usual to possess several concerns. While I was still learning how to navigate through the ropes, I have often contemplated on some of these inquiries. Here are some of the most recurrently asked questions and their respective answers:
- What is image layering?
Image layering involves stacking multiple images or elements on top of each other within a design. This technique adds depth and interest, making your visuals more engaging. - Can I layer videos in Canva?
Yes, you can layer videos just like images. This feature is great for creating dynamic presentations or social media content that catches the viewer's eye. - How can I make sure my layers are aligned?
Using Canva’s grid and alignment tools can help ensure your layers are perfectly aligned. I often toggle on the grid lines to keep everything organized. - Is there a limit to how many layers I can use?
While Canva doesn’t set a strict limit, having too many layers can make your design chaotic. It's usually best to keep it simple for clarity. - Can I group layers together?
Yes! Grouping layers is a great way to manage your design efficiently. Select multiple layers, then click on the "Group" option to move them as one.
These inquiries depict the typical challenges faced by designers learning how to layer images. In my experience, these ideas are best understood through cases and experiments.
Conclusion on Canva Image Layering
in addition, the layering of Canva images is based on a set of rules that can greatly enhance your designs. By grasping the principles underlying them and steering clear of the pitfalls that other people fall into, you will be able to visualize beautiful images that attract those who see them. You need to know that it is a field where experimentation is key; it is an area characterized by discoveries about what suit best your individual style. Therefore grab any chance you get to play with layers and do not be afraid of creativity!