They say that images have a way of conveying messages more powerfully than words do. In this era, it's hard to deny the impact of visuals. They grab our attention, narrate stories and sometimes convey feelings that words fail to express. Canva has gained popularity as a go to tool for design and one of its standout features is the ability to insert images. Whether you're creating a post, a presentation or a basic flyer the option to include images can really transform the game. But what makes it so significant? Let's explore that further.
Picture this. You're designing a stunning poster for your friends wedding or an invitation to a family gathering. Wouldn't it be amazing to include an image that amplifies the emotions and brings the whole thing to life? With Canva you can effortlessly achieve this. Incorporating an image goes beyond just making things look nice; it's about setting a tone, conveying a message or sometimes evoking an emotion that words alone can't express.
In an era where visuals reign supreme mastering the art of incorporating images in Canva can elevate your designs from average to exceptional. It's more than just a feature; it's an essential asset for those aiming to leave their imprint even if you're starting out.
How to Effectively Use Canva for Your Design Projects
Canva is like that dependable buddy who comes to your rescue during a creativity frenzy. I often rely on it for quick and eye catching designs. So how can you maximize its potential? It's really about mastering some tips to fully utilize Canvass features.
To kick things off it's wise to begin with a template. Canva has a wide selection of free templates and believe me they can save you a lot of time. While templates are fantastic don't hesitate to make them your own. That's where your individuality shines through. You can adjust the colors to align with your brand or even change the fonts to set the tone you're going for.
Here’s a tip from personal experience: use the drag-and-drop feature for images and elements. It’s quick, it’s easy, and it feels like a small victory every time you place something exactly where it belongs. You also don’t need to be a design pro. Canva’s grid and alignment tools help you make everything look neat and organized, even if you don’t have the eye for detail.
- Use Canva’s free stock images but make sure they align with your brand.
- Experiment with filters and adjust image transparency for different effects.
- Always preview your design before finalizing, especially if it's for print.
Ultimately, it comes down to enjoying the process. Avoid getting too caught up in thoughts and simply jump right in. I’ve noticed that the more you play around with ideas the more impressive your creations become.
Also Read This: Imago Images Enhances E-commerce with High-Quality Product Photos
Step-by-Step Guide to Inserting Images in Canva
Inserting an image in Canva is a touch that brings everything together. It may seem straightforward but it really enhances the overall look. I recall my initial experience with CanvaI stumbled a bit at first but quickly discovered how user friendly the platform is. So let me walk you through the process, to make it easier for beginners.
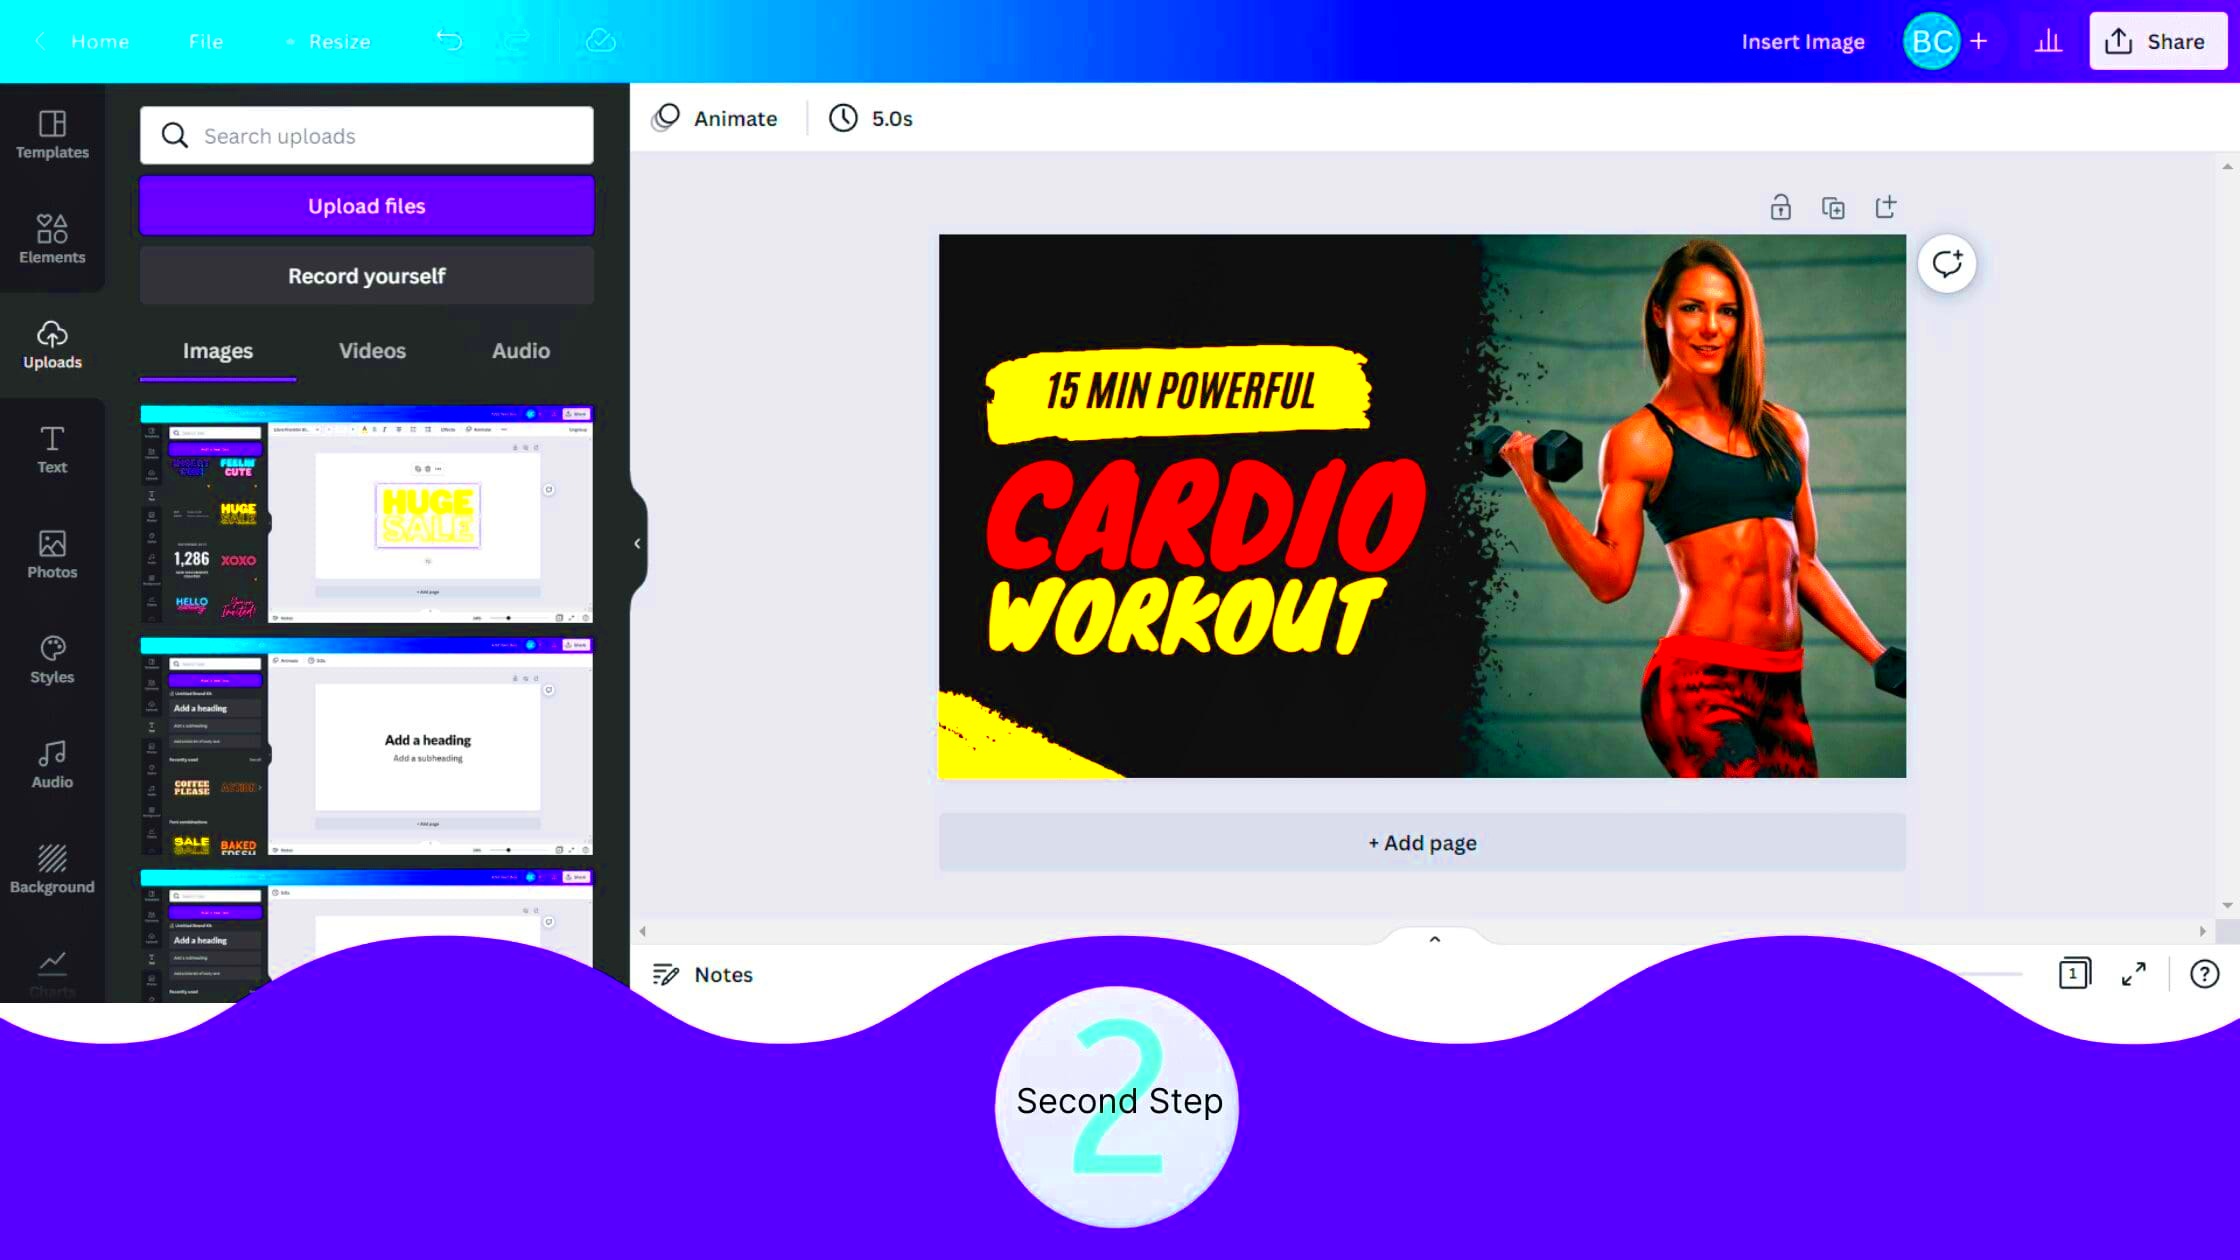
- Open a Design: Start by opening a blank design or selecting one of Canva’s templates. This will be your workspace.
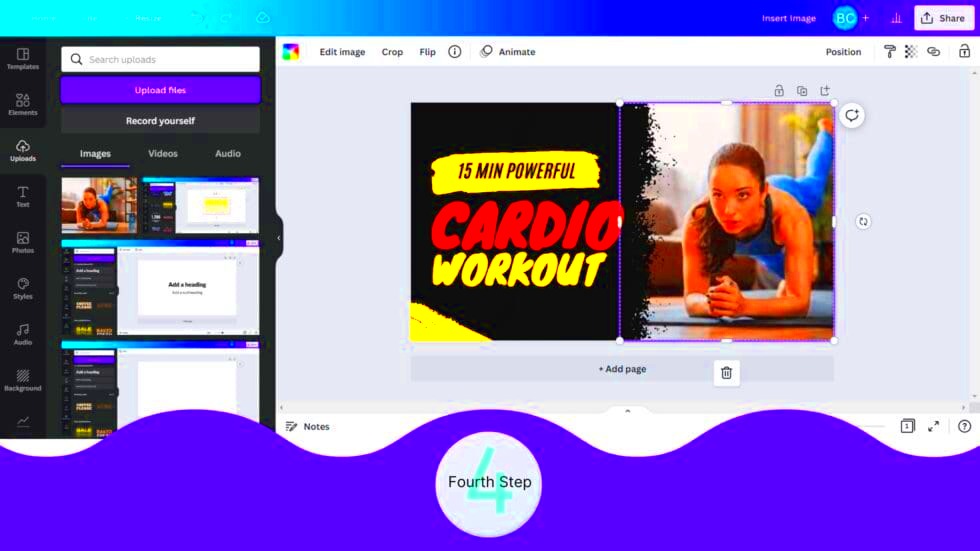
- Click on “Uploads”: You’ll find this option on the left-hand panel. It’s where you can upload any personal images you want to use.
- Drag and Drop: After uploading, simply drag the image from your uploaded files and place it into your design.
- Resize and Position: Here’s where you get to play a little. Drag the corners of the image to resize it, or just move it around until it fits your design.
- Use Canva’s Stock Images: If you don’t have an image ready, no worries! Canva has a built-in library of images. Just click on “Photos” and search for what you need.
- Adjust Filters and Effects: Canva lets you tweak the images using filters. You can also adjust brightness, contrast, and even blur the image for a more subtle background effect.
- Lock Image Position: Once you're satisfied, you can lock the image in place. This helps avoid accidentally moving it around when adding text or other elements.
That’s it! You’ve managed to insert an picture into your Canva creation. It may seem straightforward and that's because it is. Canva was created to simplify things for you and this feature is so user friendly that you’ll quickly become proficient at it.
Also Read This: Add a Touch of Animation: Freepik Animated Icons
Tips for Choosing the Right Images in Canva
Picking the image is akin to selecting the attire for a wedding. It establishes the atmosphere elevates the ambiance and communicates volumes without uttering a single word. In my early days with Canva I found myself often at a loss during the stage of choosing images. I mean there are countless choices! However as time has passed I’ve picked up some tips that streamline this process.
To start consider who you’re creating for. Is it a corporate setting that calls for a polished and sophisticated look or a festive invitation that could use a playful and lively touch? When your visuals match the overall vibe of your design everything comes together seamlessly. It’s akin to picking the seasoning for a meal; the right balance can truly enhance the flavor.
Here are a few suggestions to assist you in choosing the images.
- Relevance is key: Don’t just pick an image because it looks good. It should fit the message you're trying to convey.
- Quality matters: Canva has a ton of free images, but not all are high-quality. Always go for high-resolution images, especially if your design is for print.
- Stick to a color palette: Consistency in color can give your design a polished look. If your design has a color scheme, make sure the images you choose complement it.
- Use Canva’s search wisely: Be specific with your search terms. Instead of just typing “happy,” try something like “smiling person outdoors.” It narrows down the options.
Believe me, when you discover the perfect picture your creation will truly spring to life. It’s one of those little details that can have a big impact.
Also Read This: Inside StockSnap.io: Deep Dive into Free Images
Common Issues and How to Troubleshoot Image Insertion
Weve all experienced those moments havent we? You find yourself focused on task and then suddenly things take an unexpected turn. I can relate to facing challenges when it comes to adding images in Canva. However the silver lining is that there’s always a solution.
One of the most common problems is the dreaded “image won’t upload” issue. It happened to me once when I was designing a birthday card for my niece. After a bit of frustration, I realized that the file size was too big. Canva can be picky with large files, so always check the size before you try uploading. A quick solution is to compress your image without losing too much quality.
Another issue I’ve faced is when the image looks blurry after inserting it. If this happens to you, it’s most likely because the image’s resolution is too low. Canva can only do so much with low-quality images. Always use high-resolution images, especially if your design will be printed.
Here’s a quick troubleshooting guide:
| Issue | Solution |
|---|---|
| Image won’t upload | Check the file size and format (JPEG, PNG work best). Compress if needed. |
| Image appears blurry | Use a high-resolution image and avoid over-stretching it in your design. |
| Image not aligning | Use Canva’s grid and alignment tools for precise placement. |
In the grand scheme of things many problems can be resolved with solutions. It’s really about keeping your composure and taking another glance. As the saying goes patience is a quality—particularly in the realm of design.
Also Read This: Linking Behance to Fiverr for Enhanced Opportunities
Integrating Canva Images into Your Projects
I recall the moment when I designed something in Canva but got stuck on how to incorporate it into an actual project. It appeared fantastic in Canva, but what’s the process for exporting it and utilizing it efficiently? If you’ve experienced a similar dilemma, rest assured you’re not the one facing it.
Once you have your design just right it’s a breeze to incorporate your Canva images into different projects by following the steps. Whether you’re putting them in a PowerPoint presentation printing them for a flyer or uploading them to your website it all comes down to exporting in the format. Personally I always opt for PNG when I want a background or high quality images for digital purposes.
Here’s a breakdown of how to merge your designs with other platforms or tools.
- Export the Design: Click on the “Download” button at the top-right. Choose the format based on your project—PNG for web, PDF for print.
- Embed in Website: If you’re working on a website, Canva gives you an option to get an embed code. You can copy-paste this code directly into your HTML for a seamless integration.
- Use in PowerPoint: Need your Canva design in a presentation? Export as JPEG or PNG, then simply insert it into your slides like any other image.
- Sharing on Social Media: Canva has a direct link option, which allows you to share your designs instantly on social platforms without leaving Canva.
Canva simplifies the process, which is one of its great features. You dont have to be a whiz to incorporate your designs across different platforms. Its all about figuring out the format that suits your project best and Canva handles the majority of the work for you. Believe me, with a few attempts it becomes second nature.
Also Read This: Scheduling Shorts on YouTube for Effective Content Planning
Frequently Asked Questions About Canva Image Insertion
When I began using Canva I was bombarded with queries about even the tasks. You might feel the same way, particularly when it comes to adding images. So let me address some of the questions that often come up—things I wish I had known right, from the beginning.
1. Can I upload my own images in Canva?
2. What’s the best image format to upload?
In my opinion PNG and JPEG are the formats to use when uploading images. If you require a background (such as for logos) opt for PNG. However for most other purposes JPEG is also suitable. Just be cautious not to make your file size too large as it could hinder the upload process.
3. Why does my image look blurry after uploading?
I totally get your frustration here! If your picture looks all fuzzy, it probably means the resolution of the original file is too low. Make sure to use images with high resolution, especially for designs that will be printed or shown in bigger sizes. While Canva can resize images it won't work wonders to improve their quality.
4. Can I edit an image directly in Canva?
Canva offers image editing features such as cropping, filters, brightness and contrast adjustments and blurring. While it may not have the advanced capabilities of Photoshop its tools are quite useful for making quick adjustments.
5. How do I resize an image without distorting it?
This is a worry. To adjust the size of an image without distorting it always grab the corner handles. This way you can maintain the images proportions whether you want to make it larger or smaller.
We hope these frequently asked questions help address any questions you may have. While Canva is easy to use, there is always a bit of a learning process involved. However once you become familiar with it, using it becomes almost second nature!
Wrapping Up Your Canva Experience
In the end Canva is a perfect blend of creativity and convenience. Whether you're a seasoned designer or simply someone who enjoys making things look good Canva makes it easy without the fuss. It's a tool that evolves alongside you giving you more options to explore as you go. From projects to work presentations Canva streamlines the process allowing you to concentrate on what truly counts, your distinct vision. So feel free to experiment and most importantly enjoy the journey! After all that's the essence of creativity.