Canva is a powerful design tool that offers a wide range of features, including image cropping. Cropping an image in Canva is simple and helps you focus on the most important part of a photo or design. Whether you need to adjust the composition or fit the image into a specific layout, Canva’s cropping tool makes it easy. In this post, we’ll explore how to crop images effectively and why it's an essential part of any design process.
Why Image Cropping is Important for Design
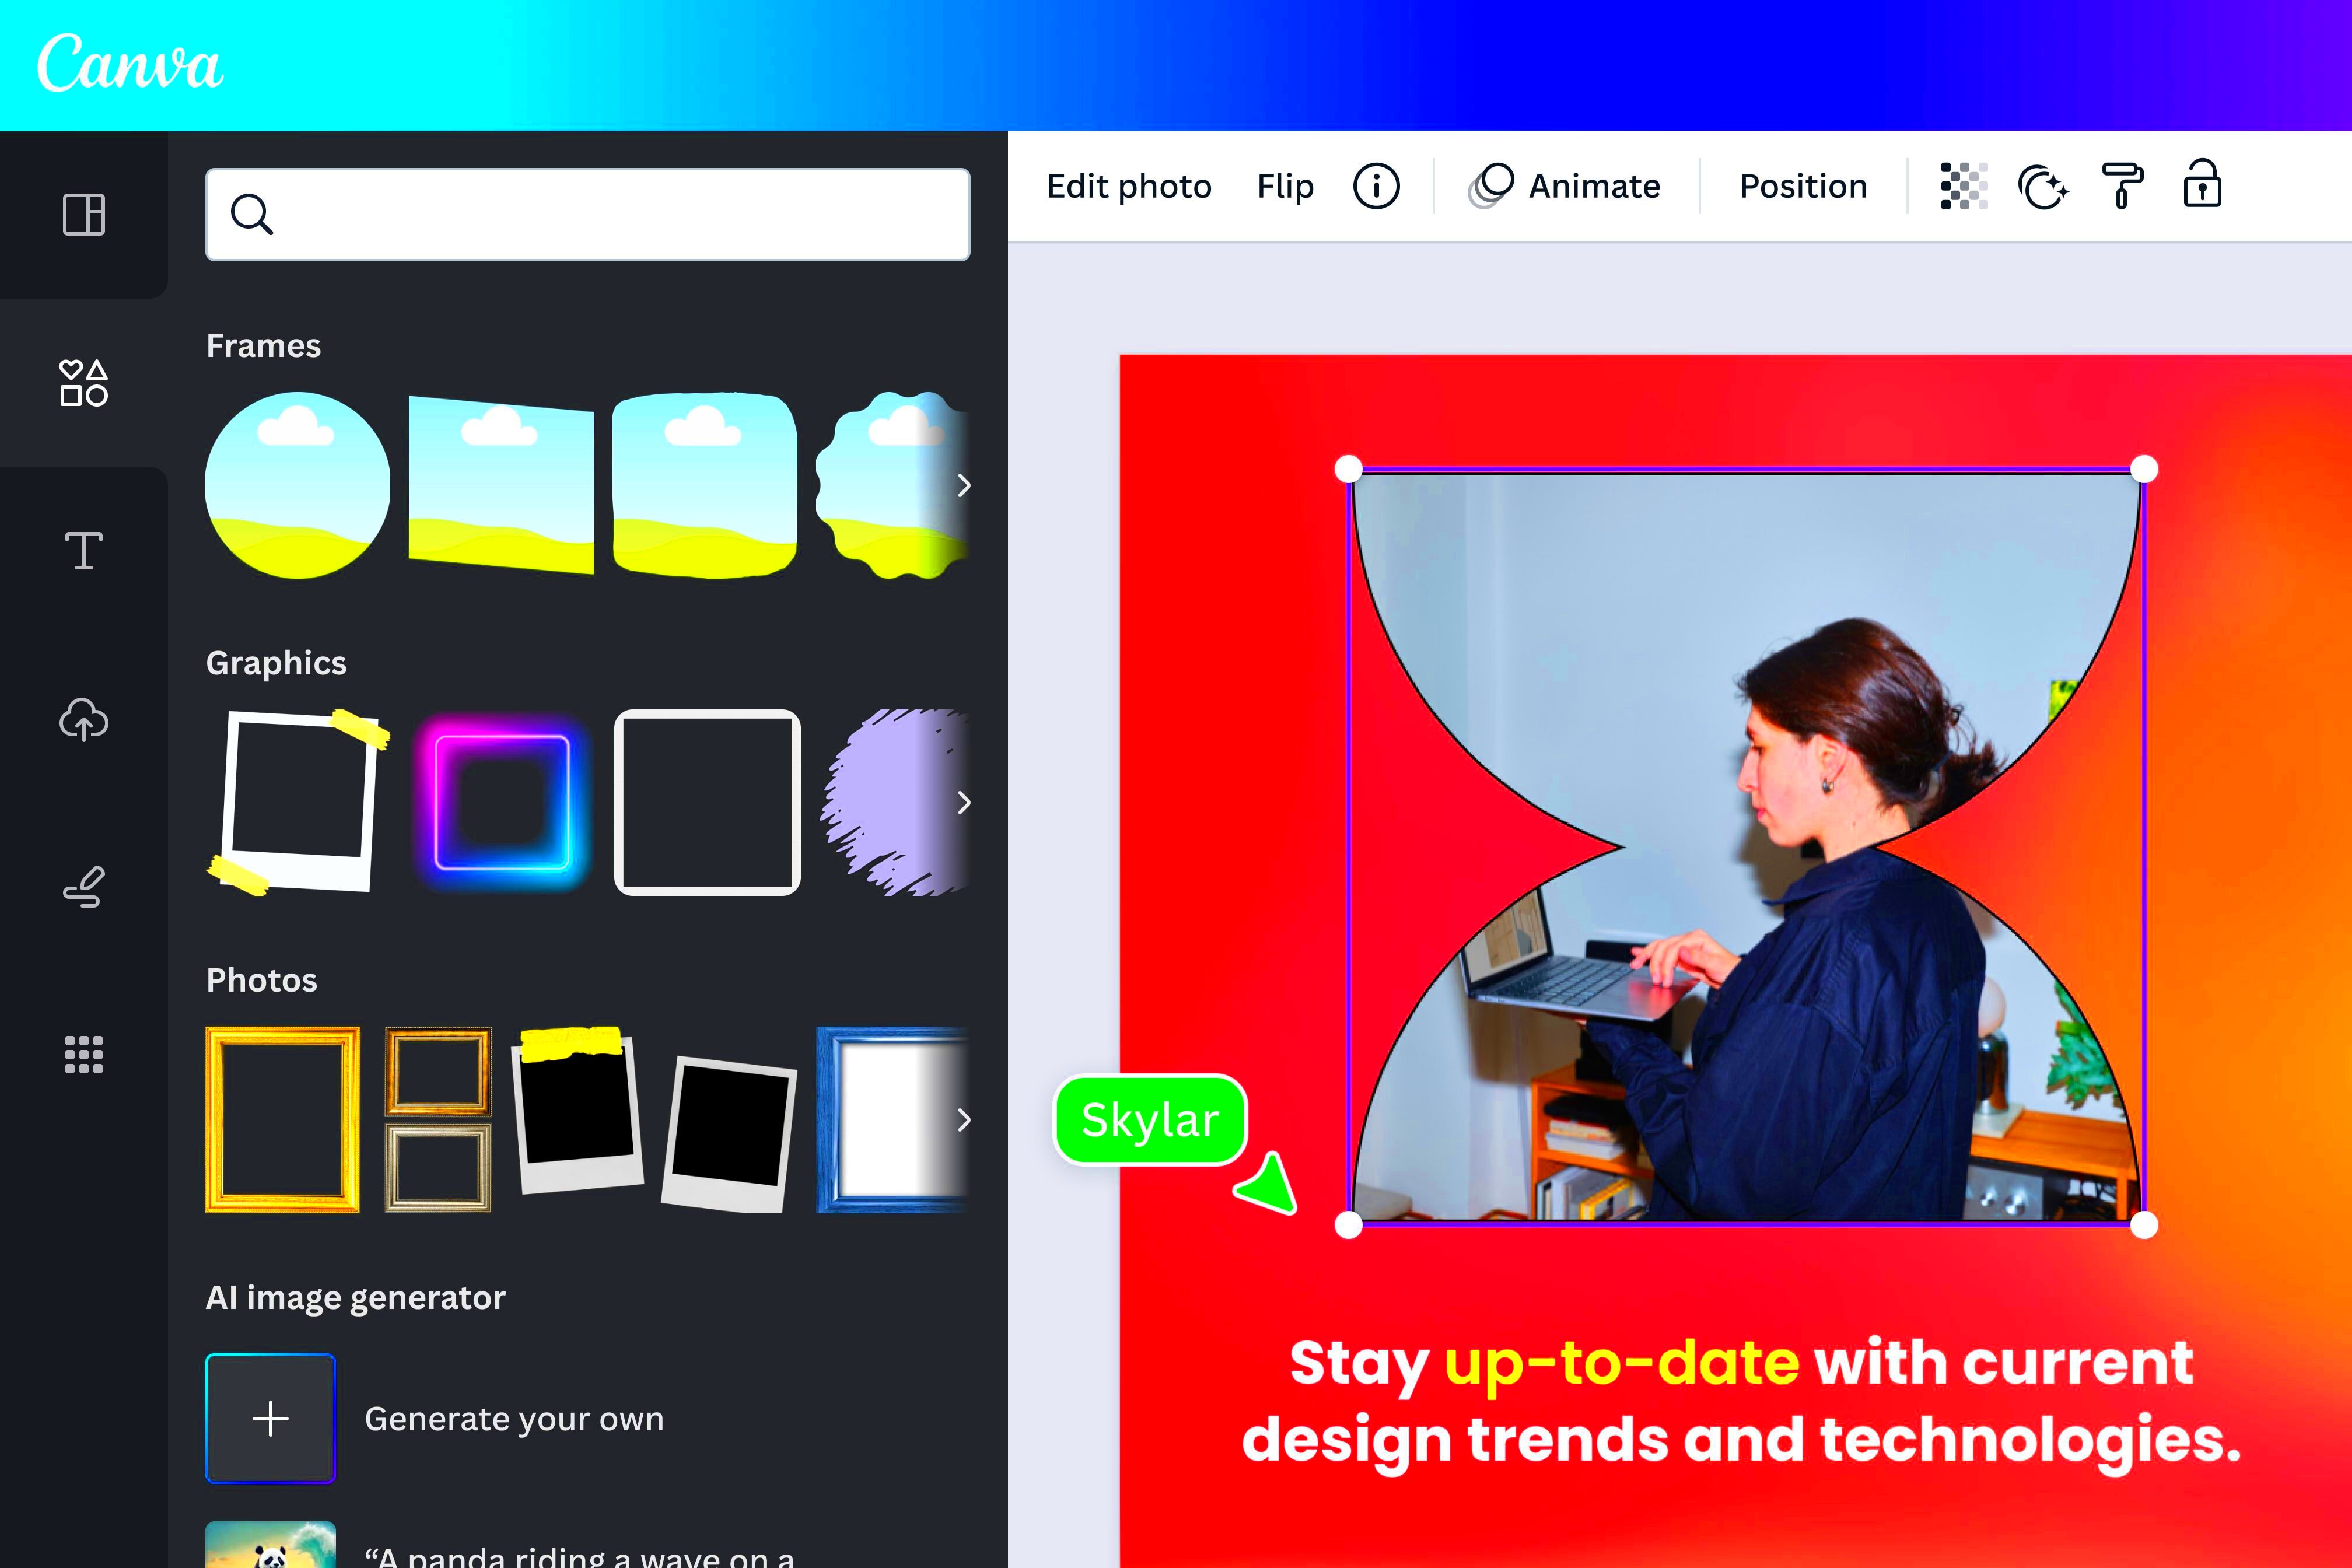
Image cropping is a crucial step in creating visually appealing designs. By cropping, you can remove unnecessary or distracting elements from the image and emphasize the focal point. Here are some reasons why cropping matters:
- Focus on key elements: Cropping helps direct attention to the most important parts of the image, ensuring your message is clear.
- Improves composition: By adjusting the framing of an image, cropping can create a more balanced and aesthetically pleasing layout.
- Fits design requirements: Different platforms require specific image dimensions, and cropping helps you adjust the image to fit those dimensions without distortion.
- Removes distractions: Cropping can eliminate unwanted background elements that might distract from the subject.
In short, cropping is not just about resizing an image; it’s a powerful tool to enhance the visual impact of your design.
Also Read This: How to Contour a Double Chin Effectively
How to Crop Images in Canva
Cropping an image in Canva is a straightforward process. Here’s how you can do it:
- First, open your design project in Canva.
- Upload the image you want to crop or select an image from Canva’s library.
- Click on the image to highlight it.
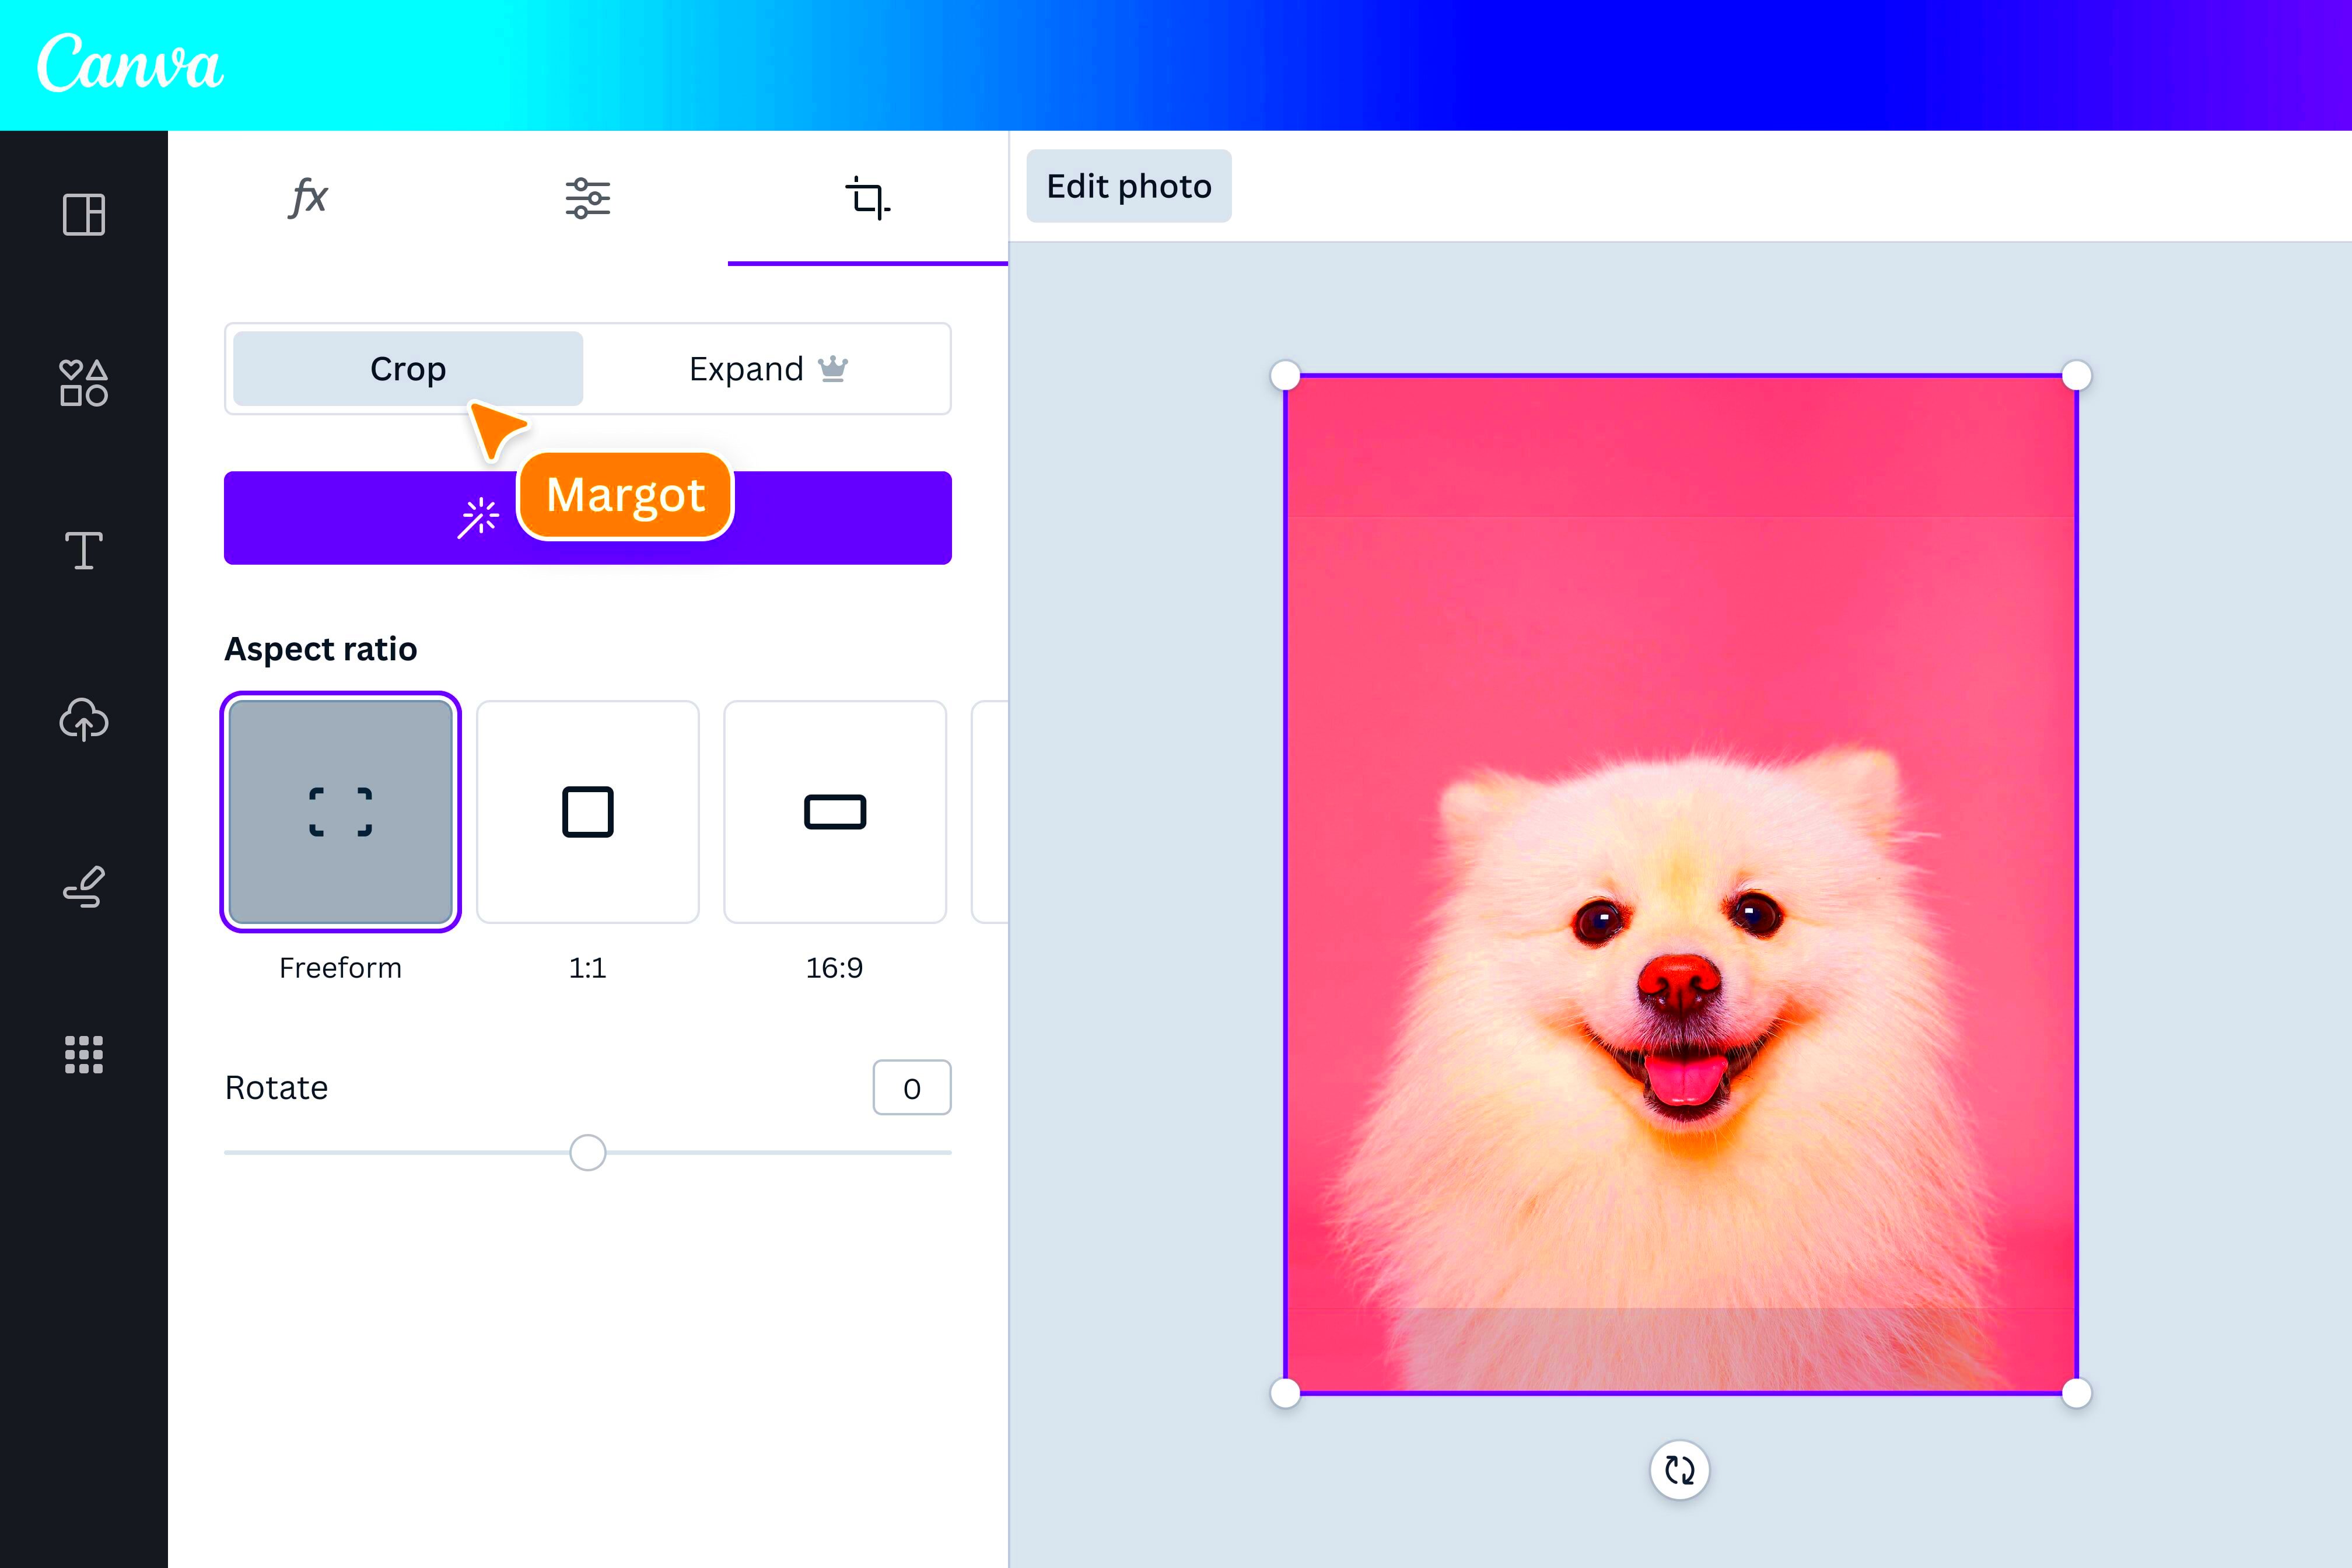
- Select the “Crop” button from the toolbar at the top of the screen.
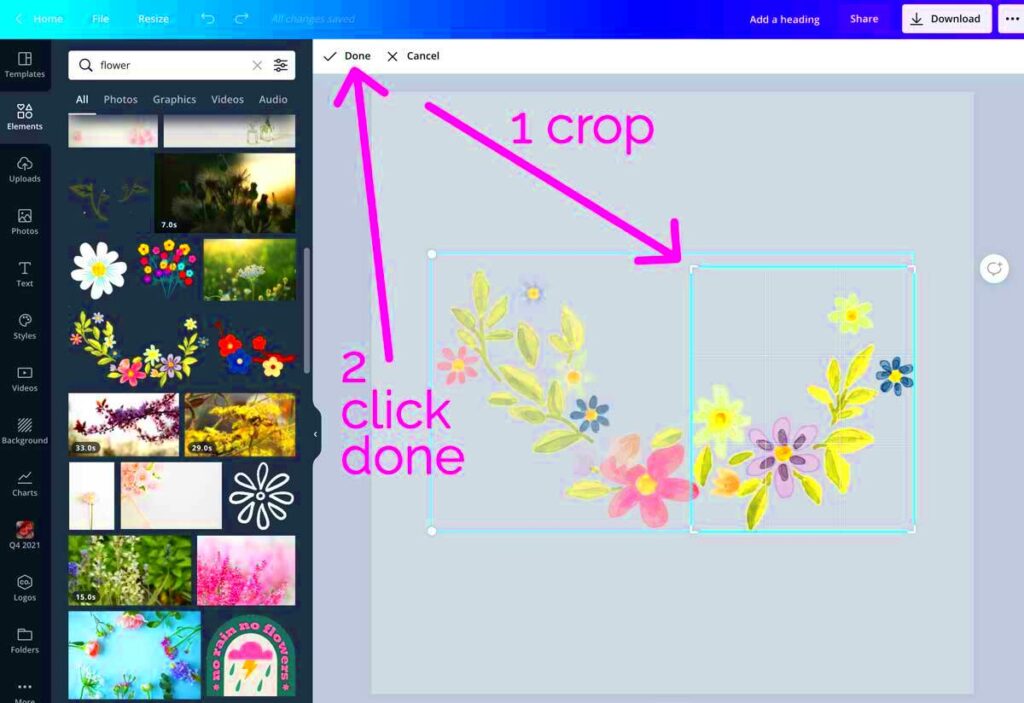
- Adjust the cropping box by dragging the corners to frame the part of the image you want to keep.
- Once you're satisfied with the crop, click “Done” to apply the changes.
Canva also offers more advanced options, such as cropping into different shapes like circles, hearts, or custom frames. You can find these options in the “Elements” section and experiment with various styles to fit your design needs.
Cropping in Canva is not only easy but also gives you full control over how your images look, helping you create professional-quality designs effortlessly.
Also Read This: How to Use Twitter Ads to Reach Your Target Audience
Using Canva’s Crop Tool for Different Shapes
Canva allows you to get creative with your cropping by offering a variety of shape options. Instead of sticking to a traditional rectangular crop, you can crop images into unique shapes that add flair to your design. This feature is particularly useful for social media posts, logos, or anything that requires a custom touch.
Here’s how you can crop into different shapes in Canva:
- Start by opening your project in Canva and selecting the image you want to crop.
- Go to the “Elements” tab in the sidebar and search for “Frames.”
- Choose from various shapes such as circles, stars, hearts, and more.
- Drag the shape you want onto your canvas, then upload or drag your image into the frame.
- Your image will automatically fit into the shape, and you can adjust its position within the frame by double-clicking and dragging the image.
This technique is great for adding a professional or fun touch to your designs, especially when using custom shapes that match your brand’s identity or the theme of your project. Whether it’s for profile pictures or decorative elements, shaped cropping can make your design stand out.
Also Read This: Understanding YouTube Dislikes and Video Feedback
Tips for Better Image Cropping in Canva
While cropping an image in Canva is simple, a few tips can help you achieve even better results:
- Keep the focus clear: Always ensure that the key subject of the image is well-positioned within the crop. The rule of thirds can be a useful guideline for placement.
- Use grid lines: Canva provides a grid overlay when you’re cropping, which helps you align the elements precisely. Use these lines to keep your image balanced.
- Don’t crop too tightly: Give the image some breathing space by not cropping too close to the edges. This prevents the design from looking cramped and allows for better visual flow.
- Test different shapes: Experiment with cropping into various shapes to see what fits your design best. Sometimes, a circular crop can add a dynamic feel compared to a standard rectangle.
- Match the crop to the platform: Keep in mind where your image will be used. For example, Instagram has square dimensions, so cropping your image to a square might be necessary.
These simple tips can elevate your cropping skills and help your images look more polished and intentional.
Also Read This: Extracting Audio from YouTube Videos on PC for Editing
Common Mistakes to Avoid When Cropping in Canva
Even though cropping in Canva is easy, there are some common mistakes that can take away from the overall quality of your design. Here are a few things to watch out for:
- Cropping out important details: Be careful not to accidentally crop out essential parts of the image, such as text or focal points. Always double-check the final crop before saving.
- Inconsistent cropping: If you're working with multiple images in a project, try to maintain consistency in the way you crop them. For example, if one image is tightly cropped, others should follow the same style to avoid a disjointed look.
- Overcropping: Sometimes, cropping too much can remove context from the image. Make sure you're leaving enough background or surroundings to give your image meaning and context.
- Ignoring aspect ratios: Pay attention to the aspect ratio, especially when preparing images for specific platforms like websites or social media. Cropping to the wrong aspect ratio can distort your image or cause issues when uploading.
- Forgetting to save the original: Always keep a backup of the original image before cropping. This way, if you make a mistake or need to adjust the crop later, you can start fresh.
By avoiding these common mistakes, you can ensure that your cropped images not only look great but also function well within your design.
Also Read This: How to Embed an MP4 on Behance
Saving and Exporting Cropped Images from Canva
Once you've cropped your images in Canva, saving and exporting them correctly ensures they look great across all platforms. Canva offers various options to save your project, depending on the format and quality you need. Here's how to do it:
- Click the “Share” button: After cropping your image and finalizing the design, click on the “Share” button at the top right of the screen.
- Select “Download”: From the dropdown menu, choose “Download.”
- Choose the file type: Canva allows you to export in several formats, including PNG, JPEG, PDF, and even GIF for animated content. For images, PNG and JPEG are most common. PNG is best for high-quality images with transparency, while JPEG is better for smaller file sizes.
- Adjust quality settings: Before downloading, Canva lets you adjust the image quality and size. You can select a lower resolution to reduce the file size or increase it for a higher-quality image.
- Download your file: Once you're happy with the settings, click the “Download” button, and your cropped image will be saved to your device.
Canva also offers options to export directly to social media platforms or cloud services like Google Drive. This saves time if you're sharing your images immediately after cropping.
By choosing the right format and quality settings, you can ensure your cropped images maintain their sharpness and clarity, no matter where they’re displayed.
Also Read This: Imago Stock Videos: Social Media Content
Frequently Asked Questions
Here are some common questions about cropping images in Canva:
- Can I undo a crop after saving? Yes, Canva automatically saves your original image. You can always go back and adjust the crop later.
- Does cropping reduce image quality? Cropping does not directly reduce image quality, but exporting at a lower resolution or file size might. Be sure to check your export settings.
- Can I crop multiple images at once in Canva? While Canva doesn’t have a batch crop feature, you can crop images one by one or duplicate a cropped image and replace the photo inside the same frame.
- Can I crop videos in Canva? Yes, you can crop videos just like images using the same cropping tool, making it easy to create consistent video and image content.
- What is the best file type to export cropped images? For most uses, PNG offers the best quality, especially for images with transparent backgrounds. JPEG is suitable for web use when file size is a concern.
Conclusion
Cropping images in Canva is an essential skill that enhances your designs by focusing on what matters most. Whether you’re using the standard crop tool or experimenting with different shapes, Canva makes the process simple and intuitive. Remember to follow best practices, avoid common mistakes, and export your images in the right format to achieve the best results.
With Canva’s versatile cropping features, you can create visually appealing and professional designs for any purpose, from social media posts to personal projects. Give it a try, and watch how a well-cropped image can transform your work.