Canva has really become a tool for people looking to make eye catching visuals without having to navigate the complexities of conventional design programs. One aspect that I find especially captivating is image bending. This method lets you play around with images in a way adding dimension and a distinct touch to your creations. As someone who has always had an appreciation for art I see image bending as more than just a technique; it's a way to unleash your imagination. In this article we will delve into the significance of this approach and share tips on how to incorporate it effectively into your designs.
Understanding the Importance of Image Bending

Image bending goes beyond being a mere optical illusion; it serves as a means to infuse vitality into your visuals. Here are some compelling reasons why this approach is crucial.
- Creativity Unleashed: Bending images opens up new possibilities, allowing you to create eye-catching designs that stand out in a crowded digital space.
- Enhancing Visual Appeal: Curved and warped images can create a sense of movement, drawing the viewer’s eye and keeping them engaged.
- Personalization: Every bend tells a story. You can manipulate images to reflect your personality, making your designs more relatable.
While I was checking out this feature in Canva I couldn't help but feel a rush of joy whenever I managed to twist an image to fit my idea. It turned the mundane into something remarkable just like how a meal can turn into a banquet with the seasoning.
Also Read This: Customize Your Digital Content with 123RF
How to Bend Images in Canva Effectively
Are you prepared to kick things off? Warping pictures in Canva is easy and enjoyable. Heres a walkthrough to help you through the process.
- Open Canva: Go to your Canva dashboard and choose a design template that suits your needs.
- Upload Your Image: Click on the “Uploads” tab to import the image you want to bend.
- Select the Image: Click on the image to select it. You’ll see a toolbar appear at the top.
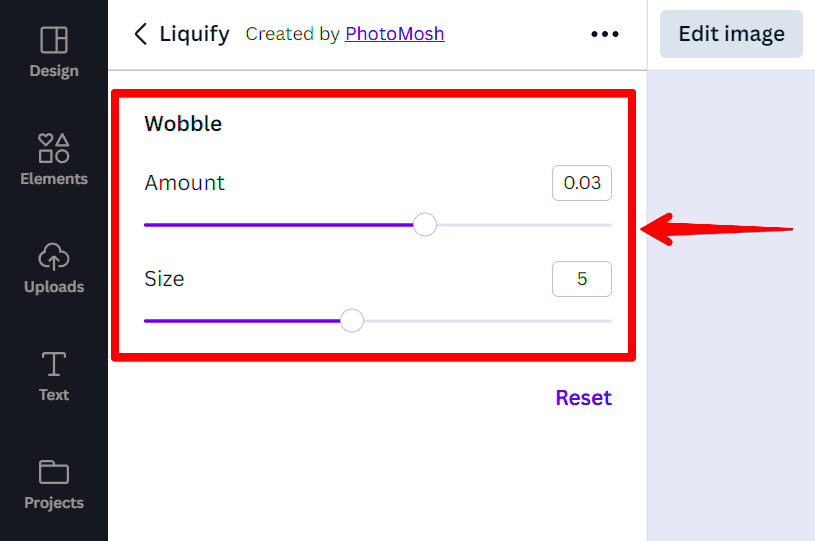
- Use the Effects Option: In the toolbar, find and click on “Effects.” Here, you’ll see options like “Curve,” “Lift,” and “Tilt.”
- Adjust the Bend: Use the sliders to bend your image to your desired effect. You can see the changes in real-time, making it easier to find the perfect look.
- Fine-Tune with Additional Edits: Once you’re happy with the bend, consider adjusting brightness, contrast, and saturation for a polished finish.
Through my experiences I have found that playing around with different twists can yield surprising and pleasing outcomes. I remember designing a poster for a community event where I curved images of flowers to give it a natural and fluid touch. This added an extra dimension that enhanced the overall warmth of the design.
Also Read This: Creating an Attractive LinkedIn Banner with Design Tips
Tips for Achieving the Best Results with Image Bending
When it comes to warping pictures in Canva a touch of skill can make a big difference. Here are a few suggestions I've picked up along the way to assist you in getting amazing outcomes.
- Start with High-Quality Images: The foundation of any great design is the quality of the images you use. Opt for high-resolution images to ensure that bending doesn’t compromise their clarity.
- Experiment with Different Effects: Don’t hesitate to try out various bending options. You might be surprised at how a slight tweak can transform an image into something breathtaking.
- Pay Attention to Composition: Consider how the bend affects the overall layout. Ensure that the image still aligns with other design elements to maintain balance.
- Use Color Grading: Sometimes, a bend might distort colors. Adjusting the color balance can help you retain the image's vibrancy and make it pop.
- Seek Feedback: Share your designs with friends or fellow creators. Their fresh perspective can provide valuable insights that you might have overlooked.
I recall facing challenges while creating a wedding invitation design for my sister. However after incorporating some creative twists and adjusting the color palette I witnessed her happiness upon seeing the end result. It truly made all the hard work worth it!
Also Read This: How to Create Collections in ShootProof
Common Mistakes to Avoid While Bending Images
Although distorting pictures can be an enjoyable activity there are some drawbacks to be mindful of. Here are a few typical blunders that I have come across and gained insights from.
- Overdoing the Bend: It’s easy to get carried away with bending effects. A subtle bend often works better than an exaggerated one, which can make your design look unprofessional.
- Ignoring Image Proportions: Bending an image without considering its proportions can lead to awkward results. Always keep an eye on how the bend alters the image’s dimensions.
- Neglecting Background Compatibility: Ensure that your bent image fits seamlessly with the background. A stark contrast can detract from the overall aesthetic.
- Not Saving Different Versions: Always save multiple versions of your design. This way, you can revert to an earlier version if the final result doesn’t meet your expectations.
There was an occasion when I was creating a flyer and accidentally pushed an image of a dancer too far. The outcome appeared warped and it made me realize the value of balance. By taking lessons from these missteps you can greatly enhance your designs.
Also Read This: Create Engaging Carousel Posts with Canva Carousel Templates
Exploring Creative Uses for Bending Images
Bending images is not solely about looks; it can serve as a potent creative tool. Here are a few inventive approaches to infuse bending into your design concepts.
- Creating Dynamic Backgrounds: Use bent images as backgrounds to add depth to your designs. A gently warped landscape can provide a dreamy backdrop for text.
- Enhancing Product Promotions: For product images, bending can highlight features, giving potential buyers a new perspective on the item.
- Artistic Posters: If you enjoy creating posters, bent images can give your artwork a whimsical touch that captures attention.
- Social Media Content: In the fast-paced world of social media, unique visuals stand out. Bending images can help your posts gain traction and engagement.
- Storytelling Through Design: Use bending to evoke emotions or tell a story. A bent image can symbolize movement or change, resonating with viewers on a deeper level.
I really enjoy using bending to craft invitations for family gatherings. It adds a special flair that feels heartfelt and unforgettable. Every design tells its own story making the event even more meaningful.
Also Read This: How to Revert to the Classic YouTube Layout
Frequently Asked Questions About Canva Image Bending
Like any tool, using image bending in Canva can raise some questions. Here are a few common ones I've come across along with my thoughts.
- Can I bend any image in Canva?
Yes, you can bend most images, but high-quality images yield better results. Images with clear outlines and less complex backgrounds tend to bend more seamlessly. - Will bending an image reduce its quality?
Not necessarily. However, if you bend an image too drastically, it can lead to pixelation. Always start with a high-resolution image to maintain quality. - How do I know if the bend looks good?
It’s all about balance. Step back and view your design as a whole. If the bend enhances the overall look without overwhelming the other elements, you’re on the right track. - Can I undo a bend if I don’t like it?
Absolutely! Canva has an undo feature that lets you revert any changes. I often use this when experimenting, as it allows me to play around without fear. - Are there limits to bending images?
While you can bend images in various ways, it’s essential to stay true to the original image’s context. Too much distortion can make the image unrecognizable.
The questions I get asked often mirror the path I took during my own learning process. It's completely natural to have some hesitations in the beginning but by trying things out and gaining insights from your experiences you can create stunning designs.
Conclusion on Using Image Bending in Canva
To sum it up bending images in Canva unlocks a range of creative opportunities. It's an excellent method to elevate your designs and give them a distinct flair. Whether you're working on invitations, social media content or marketing collateral the capability to manipulate images brings a personal element that can deeply connect with your audience. So go ahead and explore the realm of image bending and allow your imagination to dazzle!