Warning: Undefined array key 6 in /home/imgpanda.com/public_html/wp-content/themes/astra/template-parts/single/single-layout.php on line 176
Warning: Trying to access array offset on value of type null in /home/imgpanda.com/public_html/wp-content/themes/astra/template-parts/single/single-layout.php on line 179
Canva has gained popularity among a wide range of users including students and business owners due to its user friendly interface and versatility. However one aspect that is often overlooked by many users is the significance of canvas sizes. Whether you're creating a social media post, a presentation or a poster having a good understanding of canvas sizes can greatly enhance the quality and impact of your design. When I initially began using Canva I didn't pay much attention to the dimensions and I discovered the hard way that resizing a design can result in pixelation and a decrease in quality.
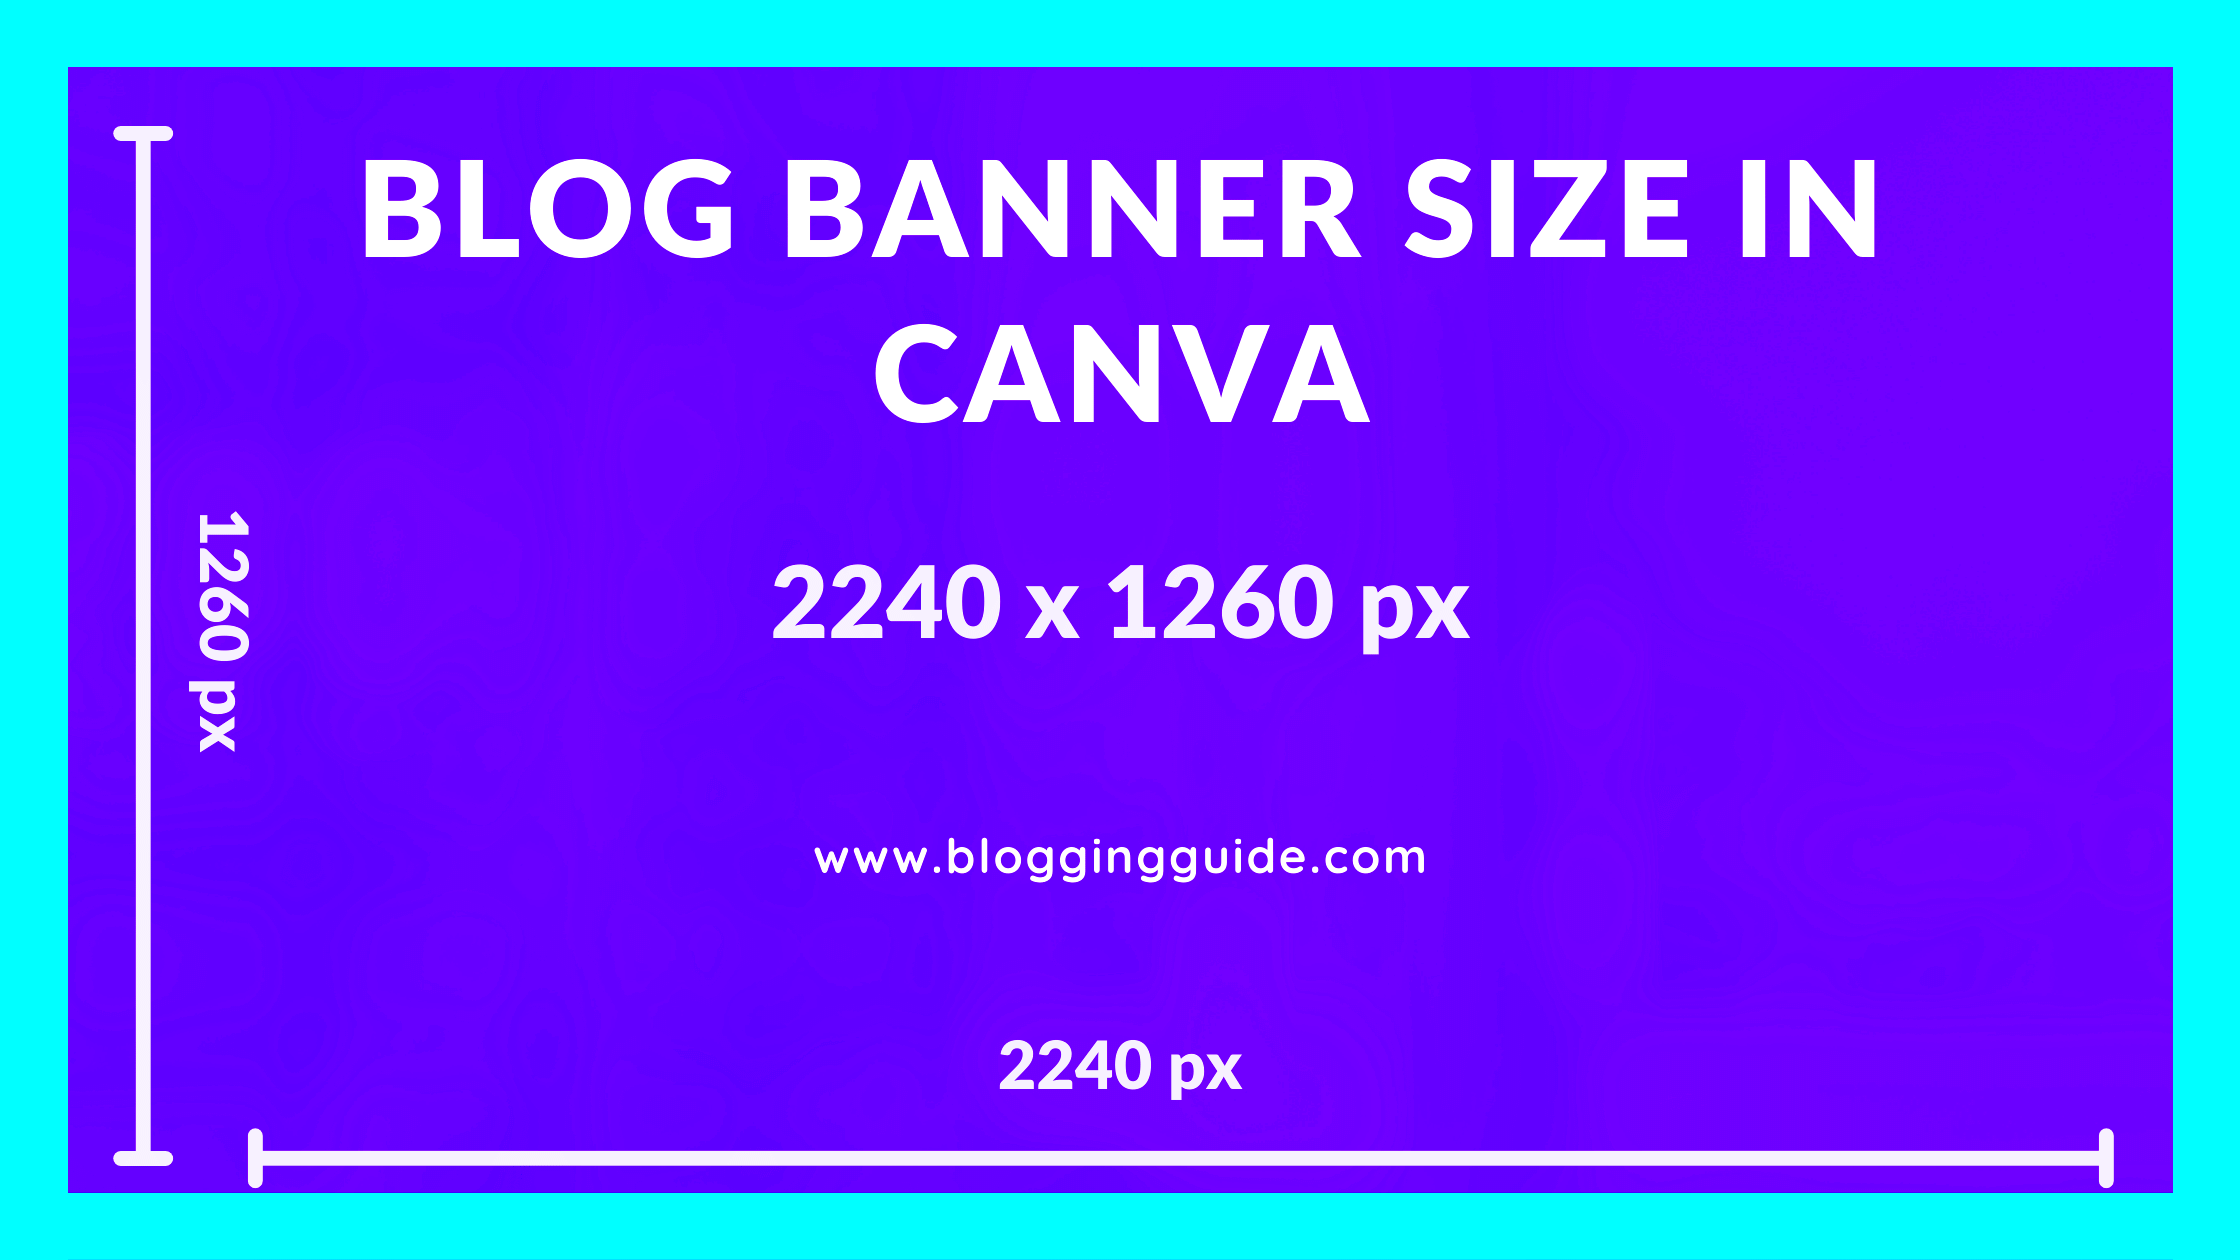
Canva provides various dimensions designed for different platforms and uses. For instance
- Instagram Posts: 1080 x 1080 pixels
- Facebook Cover Photos: 820 x 312 pixels
- Presentations: 1920 x 1080 pixels
Grasping these aspects is crucial to making your designs shine. Choosing the right dimensions for your canvas enables you to craft creations that not on align seamlessly with the platform but also captivate your viewers in a meaningful way.
Reasons to Expand Your Canva Canvas Size

Increasing the size of your Canva canvas may appear to be an extra step initially but it can unlock a realm of creative opportunities. I recall the moment when I had to design a poster for an event in my community. At first I believed a standard size would suffice but I soon came to the realization that my idea required more room to breathe.
Here are several persuasive arguments to think about enlarging your canvas dimensions.
- Increased Detail: A larger canvas allows you to incorporate finer details in your design, making it more visually appealing.
- Versatile Use: Bigger designs can be resized for various formats without compromising quality.
- Creative Freedom: With more space, you can experiment with layout, typography, and imagery, giving your work a unique flair.
- Better Composition: More room helps you arrange elements thoughtfully, creating a balanced and harmonious design.
When you increase the dimensions of your canvas it's not simply about creating a bigger artwork. Its an opportunity to unleash your imagination and explore new avenues of self expression that you may not have considered before.
Also Read This: Why Is 123RF Image Downloader the Go-To Tool for Budget-Conscious Designers?
How to Change Canvas Size in Canva

Adjusting the dimensions of your canvas in Canva is a simple task yet it tends to be overlooked by many beginners. When I stumbled upon this functionality for the time it felt like I had stumbled upon a hidden gem. Being aware of how to modify your canvas size can greatly improve your design journey.
Here’s a straightforward guide to help you through the process.
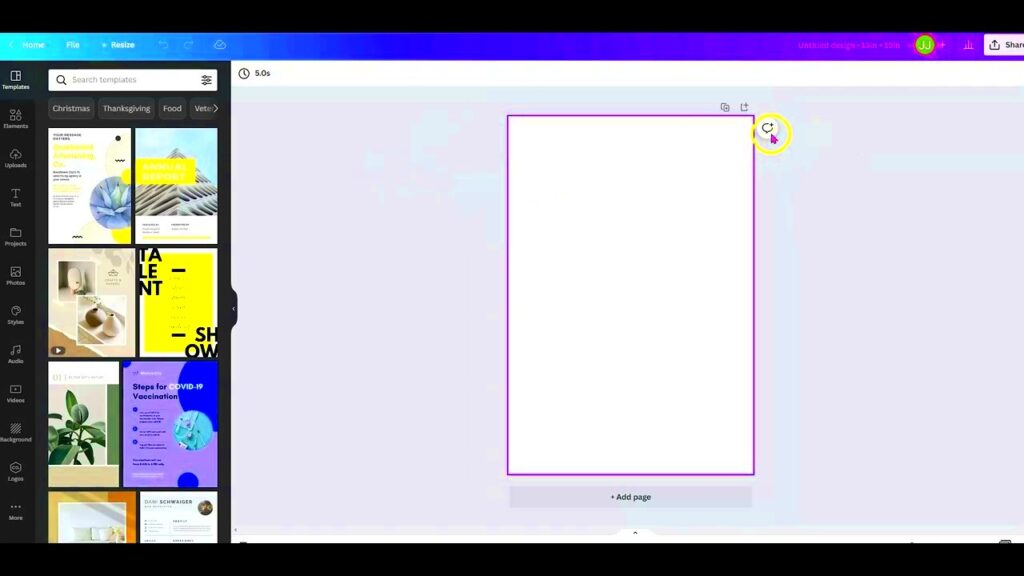
- Open your design in Canva.
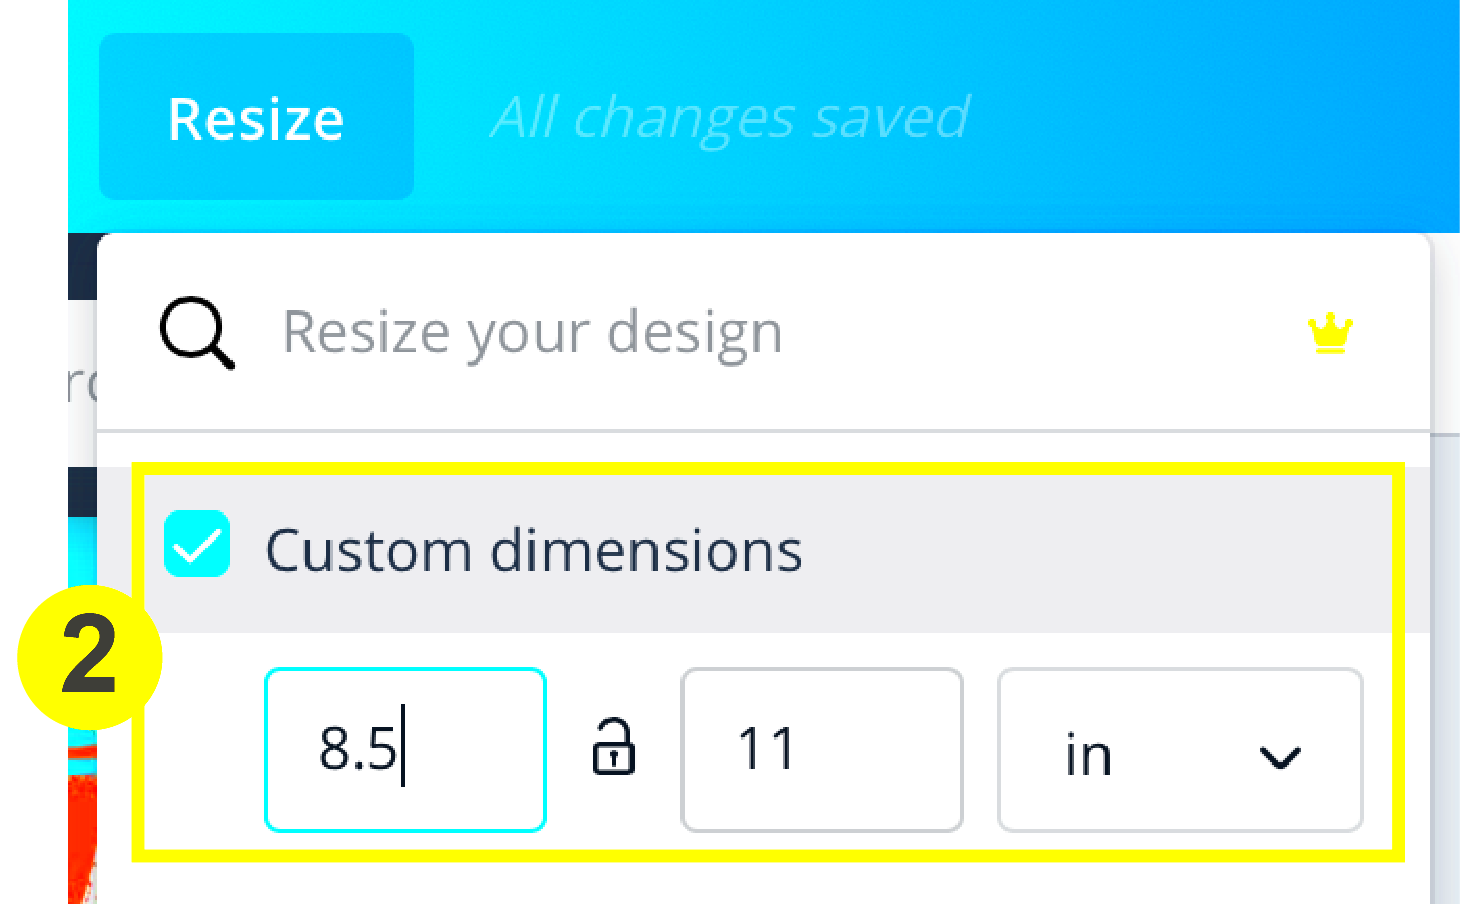
- Click on the “Resize” button located at the top left corner.
- Choose from the predefined sizes or enter custom dimensions in the width and height fields.
- Select the unit of measurement (pixels, inches, or millimeters) as per your requirement.
- Click on “Resize” to apply changes.
Keep in mind that resizing isn't solely about adjusting the size of elements; it's also about creating a layout that connects with your viewers making sure every aspect is thoughtfully positioned and visually pleasing.
Also Read This: Sharing Articles on LinkedIn Effectively
Best Practices for Designing on a Larger Canvas

When I initially tried my hand at creating on a bigger scale it was an experience that brought both excitement and a bit of pressure. The thrill of having the opportunity to fill up a larger area was exhilarating yet I soon realized that working with size could present its own challenges. There are certain guidelines and approaches for designing on a canvas that can enhance your journey and lead to more fulfilling results.
Here are a few guidelines to remember.
- Plan Your Layout: Before diving in, sketch out your layout. Having a roadmap helps in organizing your thoughts and elements. I often start with a rough pencil sketch, which keeps my ideas focused.
- Use Grids and Guides: Leverage Canva's grid and guide features. They help maintain alignment and balance, making your design visually appealing.
- Layer Wisely: Larger canvases can become cluttered quickly. Use layers strategically to separate elements. This keeps your design organized and manageable.
- Maintain Consistency: Stick to a cohesive color palette and font style. This unifies your design and ensures that even a large canvas doesn’t feel chaotic.
- Test Print Quality: If your design will be printed, test it out. Sometimes what looks good on-screen may not translate well to print, especially with large formats.
By following these guidelines you can transform your broader canvas into a work of art letting your imagination flow freely while ensuring the design journey remains fun.
Also Read This: Are Iranian Nomad Channels on YouTube Authentic or Fake
Using the Canva Image Downloader for Larger Designs
Having access to a tool like the Canva Image Downloader can really make a difference, particularly when dealing with designs. I found it essential to download images correctly to ensure the quality of a huge infographic I made for a community event. Canva lets you download your creations in different formats and being aware of how to use this feature efficiently can prevent a lot of hassles.
Here’s a guide on how to utilize the Canva Image Downloader for your more extensive creations.
- Choose Your Design: Open your design in Canva. Make sure you’ve completed all necessary edits.
- Select Download Options: Click on the “Download” button located in the top right corner. Choose the format—PNG, JPG, PDF, etc.—that best suits your needs.
- Set the Size: For larger designs, opt for higher resolution. This ensures clarity and quality in prints or larger displays.
- Use the Transparent Background Option: If your design includes a logo or graphic that needs to stand out, consider downloading it with a transparent background.
- Download and Check: Once downloaded, open the file to check for any issues. I’ve often caught small errors at this stage that could have marred the final product.
By using the Canva Image Downloader thoughtfully you can maintain the quality of your more extensive designs ensuring that your efforts stand out in every format.
Also Read This: Understanding YouTube Earnings for 100K Views
Common Challenges When Expanding Canvas Size
Making your canvas bigger can be refreshing but it can also come with some tricky challenges that can be annoying if you’re not ready for them. I recall the moment I enlarged my canvas for a project. I felt thrilled until I encountered some unforeseen obstacles. Recognizing these challenges beforehand can assist you in handling them more, effectively.
Here are a few obstacles you may come across.
- Loss of Quality: Resizing can sometimes lead to pixelation, especially if you’re using lower-quality images. Always use high-resolution images when working on larger canvases.
- Layout Issues: What works on a smaller canvas may not translate well to a larger one. Elements can feel lost or cluttered, so be prepared to rethink your layout.
- File Size Concerns: Larger files can be cumbersome to handle, leading to slow load times or crashes. Keep an eye on your file size to avoid these problems.
- Printing Problems: If your design is for print, be aware of bleed and trim areas. Many people overlook these details, leading to unexpected cutoffs.
- Increased Complexity: More space can sometimes lead to over-designing. It’s easy to get carried away, so remember to simplify wherever possible.
By acknowledging these obstacles in advance you can equip yourself more effectively and savor the creative journey without the pressure of unforeseen problems. Every design endeavor serves as an opportunity for growth and navigating through these challenges enhances your skills as a designer.
Also Read This: Create a Jeopardy Game with Canva Jeopardy Template
Tips to Optimize Your Designs for Different Sizes
When I started my journey in design I was taken aback by the range of dimensions required for various platforms. There was a time when I crafted a beautiful poster only to discover that it appeared completely different when adjusted for social media. That experience taught me a lesson about the significance of tailoring designs to fit different formats. In this article we’ll delve into some strategies to help you tackle this challenge successfully.
Here are a few suggestions to enhance your designs.
- Start with a Flexible Design: Always begin with a larger canvas. It’s easier to scale down than to stretch a small design. This way, you retain quality while resizing.
- Use Vector Graphics: Incorporating vector graphics ensures your images remain crisp, no matter the size. They are like magic—resize them, and they still look fantastic!
- Prioritize Key Elements: When resizing, focus on the most important elements of your design. Make sure they stand out, regardless of the size.
- Test on Multiple Devices: If you’re designing for digital platforms, preview your work on different devices. Sometimes, what looks good on a computer may not translate well to a mobile screen.
- Adjust Text Size: Be mindful of your text. It might need resizing to maintain readability across different formats. Aim for clarity over creativity in smaller designs.
By having these suggestions at your disposal you can make sure that your creations stand out regardless of their scale. Keep in mind that the key lies in conveying your message and using visuals that leave a lasting impression.
Also Read This: Leveraging Fortiguard Downloader Cloud Services
Frequently Asked Questions About Canva Canvas Size
During my design journey I often found myself seeking clarity on canvas size inquiries in Canva. It seems that many of us have similar concerns and tackling these issues can greatly improve our overall experience. So lets delve into some commonly asked questions.
1. What are the standard canvas sizes in Canva?
Canva provides various templates for social media, presentations, and more, with standard sizes such as:
- Instagram Post: 1080 x 1080 pixels
- Facebook Cover: 820 x 312 pixels
- A4 Document: 210 x 297 mm
2. Can I change the canvas size after creating a design?
Absolutely! You can resize your canvas at any point. Just click on the “Resize” button and choose your desired dimensions.
3. Will resizing affect the quality of my design?
If you’re careful and use high-quality images, resizing shouldn’t drastically affect the quality. However, scaling down is usually safer.
4. How do I maintain the aspect ratio when resizing?
Hold down the Shift key while dragging a corner to maintain the aspect ratio of your design.
5. What should I do if my text becomes too small after resizing?
You can adjust the font size to ensure readability. Sometimes, changing the font style can also help.
These frequently asked questions can help you navigate challenges and improve your grasp of handling canvas dimensions in Canva.
Conclusion on Expanding Canva Canvas Sizes
As I conclude my reflections on the idea of increasing canvas sizes in Canva I find myself reminiscing about my personal journey. At first I used to feel constrained by the dimensions but when I started to expand my canvas it opened up a world of creativity for me. It made me realize the significance of space in design and how it can enhance my creations.
When creating designs for both print and digital platforms having a solid grasp of canvas sizes can significantly enhance your work. Its important to keep in mind that the aim is to convey your message in a way that captivates your audience.
Embrace the hurdles that come with working on bigger surfaces and be open to trying new things. Design is not solely focused on the final outcome; it encompasses the journey, the lessons learned and the happiness it brings. Each design you create helps you evolve as an artist. So why not push your boundaries and allow your creativity to run wild!
