Are you organizing an occurrence and wanting to make absolute certain that your invitees are given prior notice? It is this that the Save the Date models from Canva come to offer. It is easy to use these templates; moreover they allow for customization and are eye-catching. Therefore, if you are planning a wedding, a birthday party or even a corporate function, there is a range of designs available on Canva that meet your requirements. The following are some advantages of utilizing Canva in your event invitations.
Benefits of Using Canva for Event Announcements
One of the main benefits of announcing your event via Canva would include:
- User-Friendly Interface: Canva’s drag-and-drop design features make it easy for anyone to create beautiful graphics, regardless of design experience.
- Customizable Templates: With a wide range of templates available, you can personalize your Save the Date announcements to reflect your event's theme and style.
- High-Quality Designs: Canva provides professional-looking designs that can impress your guests and make a lasting impression.
- Cost-Effective: Many templates are free, and premium options are affordable, making it budget-friendly for all types of events.
- Collaboration Features: Canva allows you to collaborate with friends or team members in real time, ensuring everyone’s input is considered.
Also Read This: How to Block YouTube on iPad Safari
How to Access Canva Save the Date Templates
It is easy to get going with Save the Date templates from Canva. This is how to get to them:
- Visit Canva: Go to the Canva website or download the app on your device.
- Create an Account: Sign up for a free account if you don’t have one yet. You can use your email or sign in with Google or Facebook.
- Search for Templates: In the search bar, type “Save the Date” to find a variety of templates available for your event.
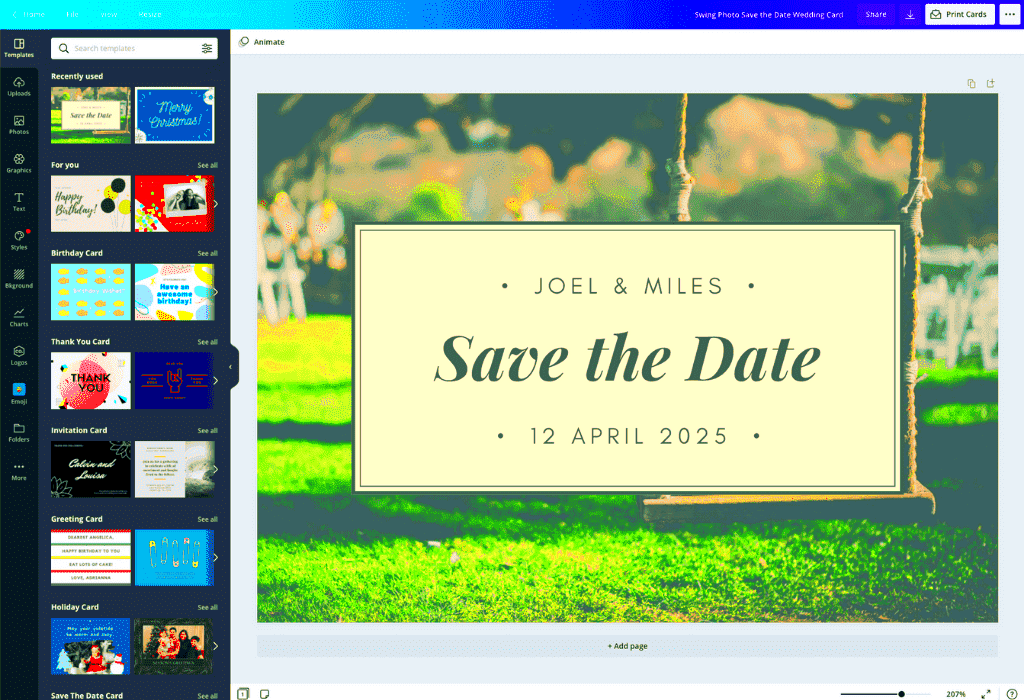
- Select a Template: Browse through the options and choose a template that resonates with your event theme.
- Start Designing: Click on the selected template to start customizing it according to your preferences. You can change colors, fonts, and images to make it unique.
Upon designing completion, you may either download your Save the Date announcement or share it through email or social media!
Also Read This: Does the Nintendo Switch Lite Have Rumble Features
Steps to Customize Your Save the Date Template
Personalization of your Save the Date template on Canva is an interesting and easy activity. Follow these guidelines to design an ideal one:
- Select Your Template: Once you’ve found a template you like, click on it to open the design editor.
- Edit Text: Click on the text boxes to enter your event details, such as the names, date, time, and location. Make sure to double-check for typos!
- Change Fonts: Highlight the text and choose from various fonts in the top toolbar. Select fonts that reflect the mood of your event.
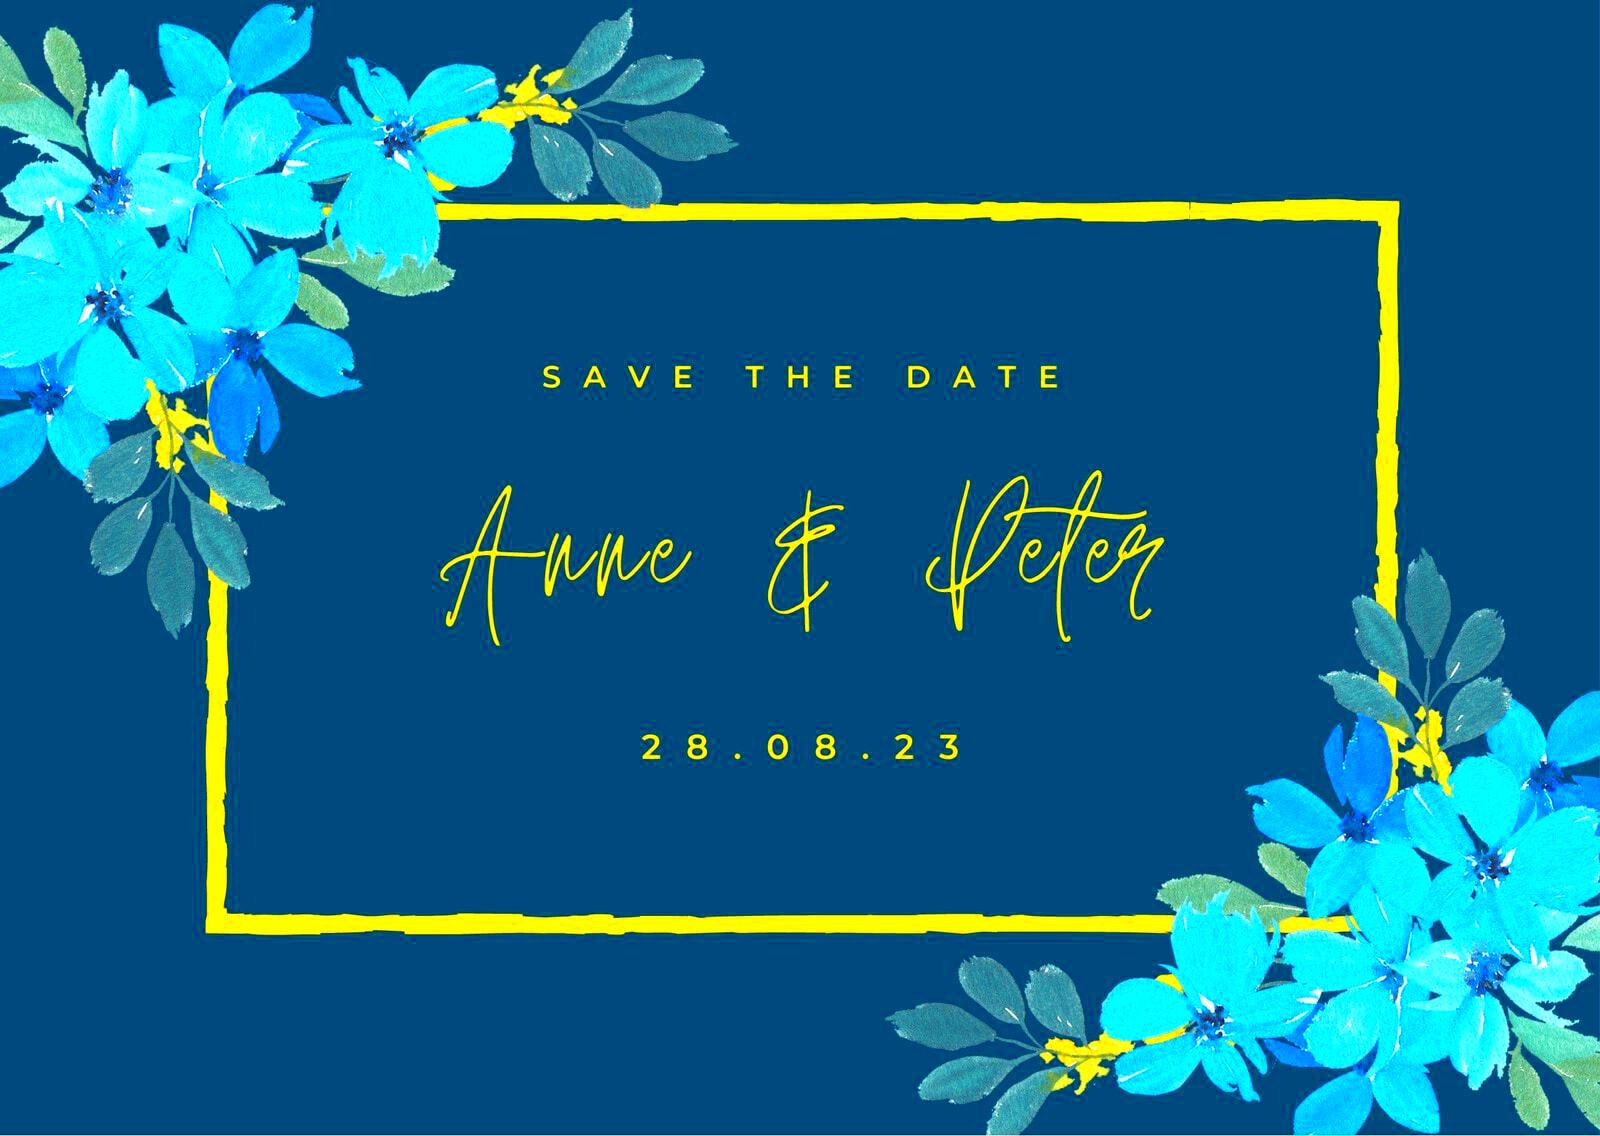
- Adjust Colors: Customize the color scheme to match your theme. Click on any element to change its color and create a cohesive look.
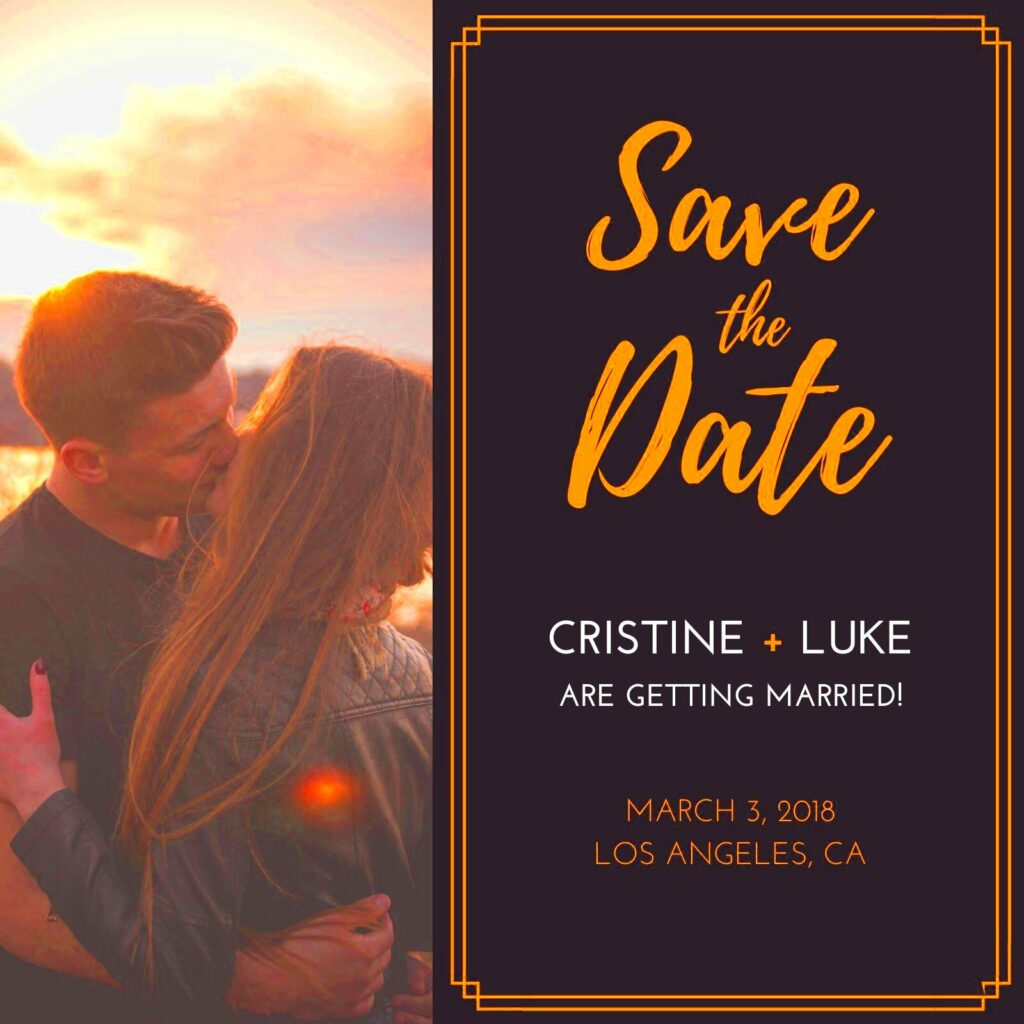
- Add Images: Personalize your template by uploading your images. You can use photos of the couple for weddings or relevant graphics for other events.
- Incorporate Graphics: Use Canva’s elements like shapes, lines, and icons to enhance your design. Just drag and drop them into your layout.
- Preview Your Design: Take a step back and review your announcement. Make sure everything looks great and all information is clear.
- Download or Share: Once you’re satisfied, click the download button to save your design or share it directly via social media or email.
Also Read This: Seeing who viewed your Behance project
Choosing the Right Design for Your Event
The importance of selecting a save the date announcement cannot be overstated; it shapes how guests perceive your whole event. Here are some helpful considerations to assist you in choosing an ideal design:
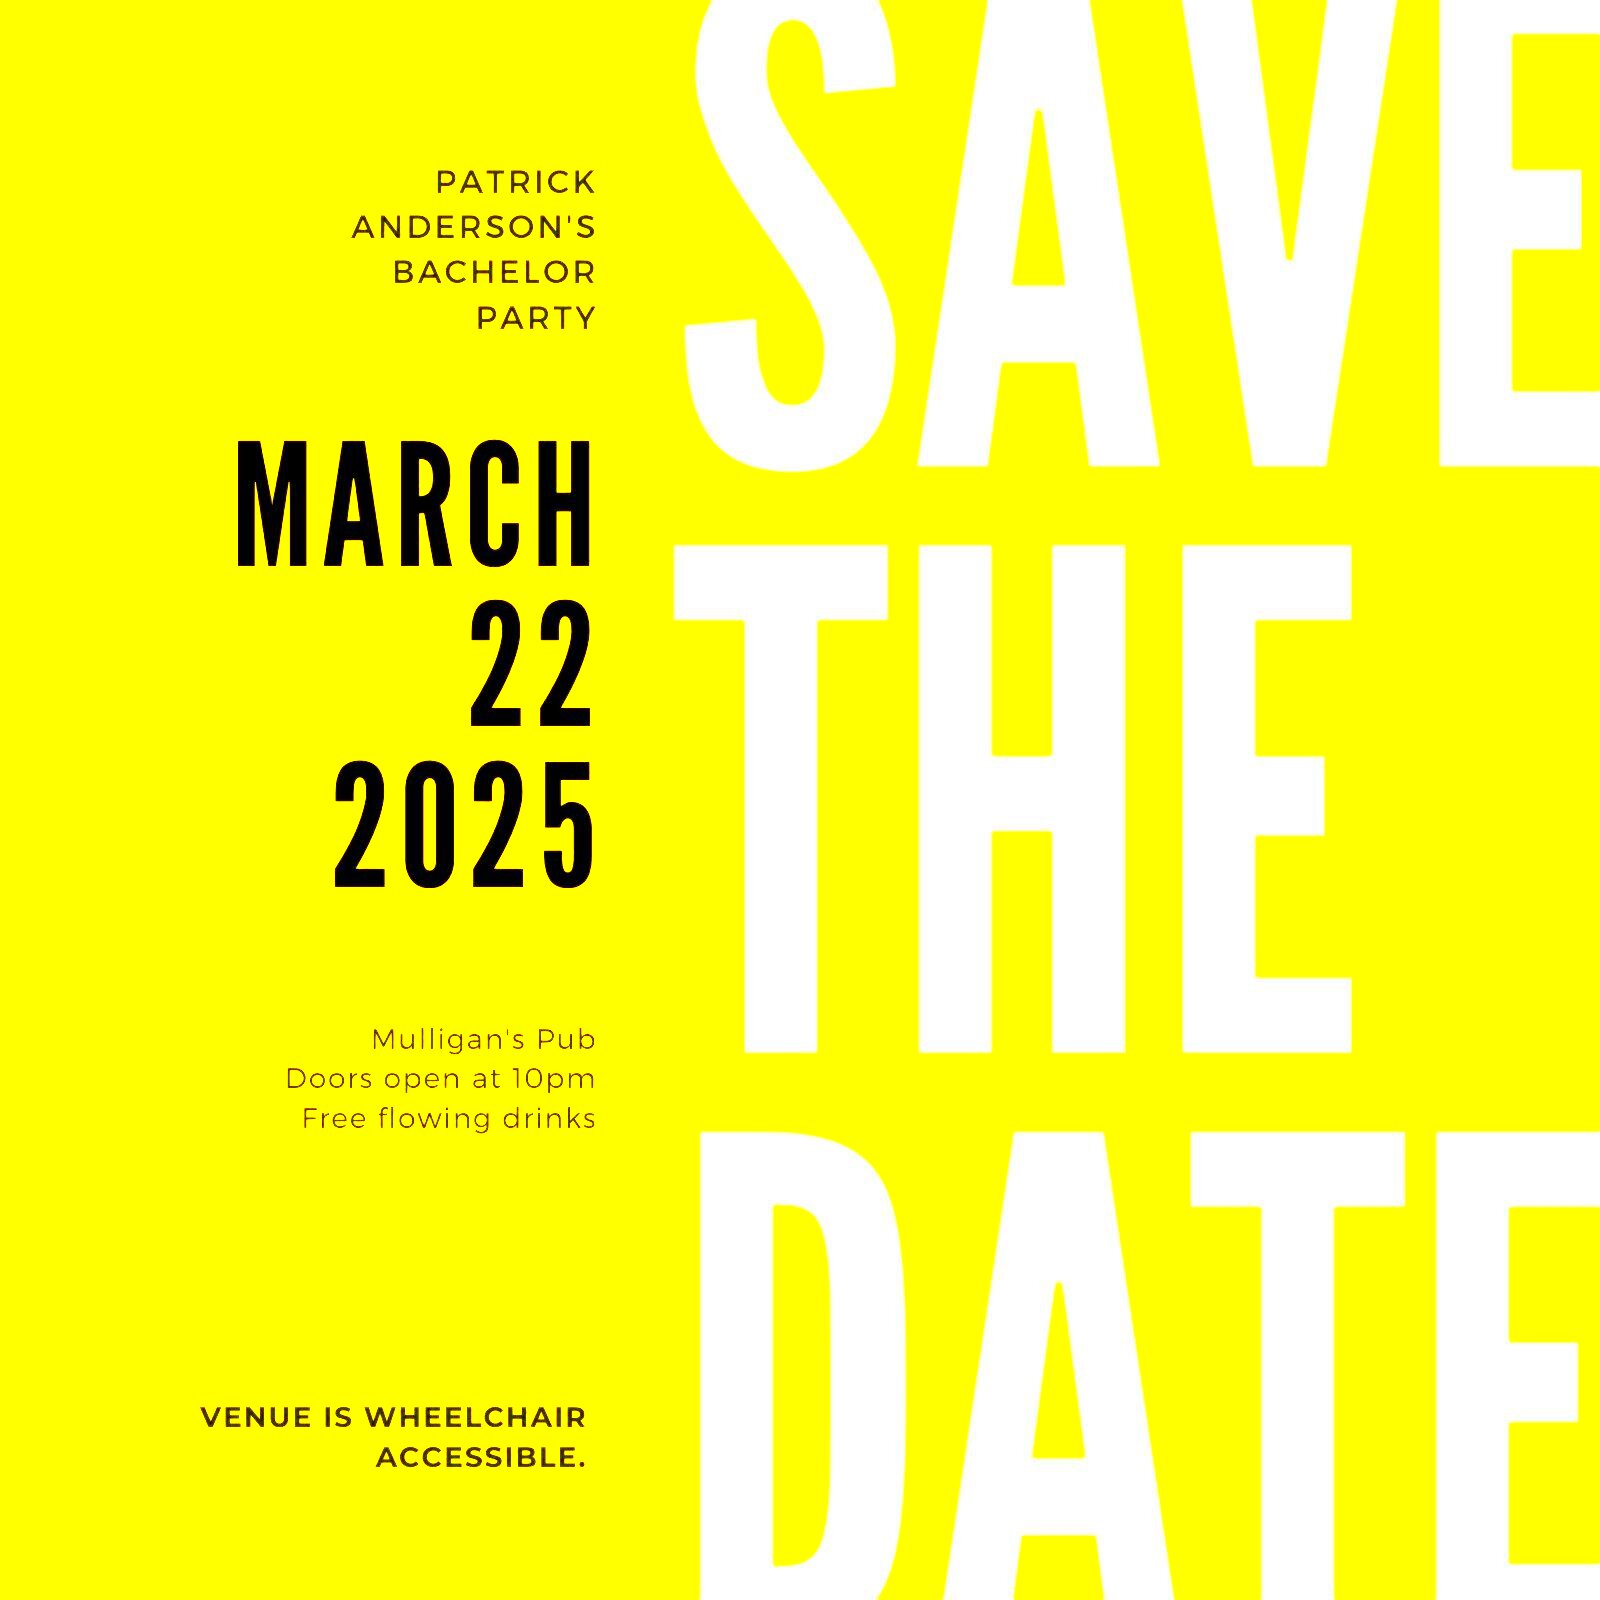
- Consider the Event Type: Think about the nature of your event. A wedding may call for elegant and romantic designs, while a birthday party can be more fun and colorful.
- Match the Theme: If your event has a specific theme, such as a vintage or beach vibe, choose designs and colors that align with that theme.
- Color Psychology: Different colors evoke different feelings. For example, pastels can create a soft and romantic feel, while bold colors can bring excitement.
- Font Selection: The font style can influence your announcement’s tone. Script fonts often feel formal, while sans-serif fonts may appear more modern and casual.
- Visual Balance: Make sure the elements in your design are balanced. Avoid overcrowding your template; give each piece of information its own space.
Remembering these factors will allow you to choose a design that is not only attractive but also expresses the spirit of your event in an effective manner.
Also Read This: Discovering iStock Vectors for Designers
Tips for Effective Event Announcement
An effective Save the Date announcement is about communication beyond just appearance. Here are some recommendations for achieving both beauty and message contents in your announcement:
- Be Clear and Concise: Provide essential details like the date, time, location, and any other important information. Avoid overwhelming your guests with too much text.
- Include RSVP Information: If you need guests to respond, make sure to include how and when they should RSVP. This helps with planning.
- Personal Touch: Adding personal elements, like a favorite quote or a photo of the couple, can make your announcement feel special.
- Send Early: Aim to send your Save the Date at least six months in advance, especially for destination events. This gives guests ample time to plan.
- Follow Up: A few weeks before the event, send a reminder or invitation to keep your event on your guests’ radar.
You can make your Save the Date announcement not just visually appealing but also ensure that it communicates your event details accurately so that your invitees will be thrilled and aware!
Also Read This: Understanding the Causes of Loud Belly Rumbles and How to Manage Them
Sharing Your Save the Date Announcement
Once you have crafted a lovely Save the Date announcement, it’s time to send it out to your guests! Here are a few ways of distributing your announcements which will get them noticed:
- Email: One of the most straightforward methods is to send your Save the Date via email. This allows for easy access and quick delivery. Make sure to personalize your emails for a warmer touch!
- Social Media: Share your Save the Date announcement on platforms like Facebook, Instagram, or Twitter. You can create a post or even a story to reach your friends and family quickly.
- Printed Invitations: If you prefer a more traditional approach, consider printing your Save the Date designs. Send them via regular mail for a tangible keepsake that your guests can display.
- Event Websites: If you're hosting a larger event, setting up a dedicated website can be beneficial. Share your Save the Date there and include other event details like accommodations or gift registries.
- Text Messages: For a quick and casual approach, consider sending your Save the Date through text messages. Attach the image and keep your message short and sweet.
In case you are anticipating replies, do not forget to follow up with them. Through this, it becomes easy for you to know who is attending and all the information that each of them requires!
Also Read This: Gaining followers on Behance
Frequently Asked Questions
Do you have inquiries concerning Save the Date notices? Here are some often requested queries, which can help to clarify:
- When should I send my Save the Date? Aim to send them 6-12 months before your event, especially for destination gatherings.
- Can I use a digital Save the Date? Absolutely! Digital announcements are convenient and eco-friendly, making them a popular choice.
- Do I need to include an RSVP? It’s not mandatory for Save the Dates, but you can mention it if you want to gauge attendance early.
- Can I change the template as I go? Yes, you can easily edit your template anytime until you're satisfied with the final design.
- What if my plans change? If your event details change after sending the Save the Date, just send an update as soon as possible.
Conclusion
The part that is enthralling in a plan for your event is generating and sending out Save-the-Date announcement. You can easily design a stunning announcement that captures the essence of your celebration using Canva’s simple templates and customization functions. As you select the design, ensure that it follows the theme of your event and distribute it to different avenues so that your guests are well informed. Your save-the-date announcement will lay a foundation for a memorable event with some bit of creativity and foresight.Happy Planning!