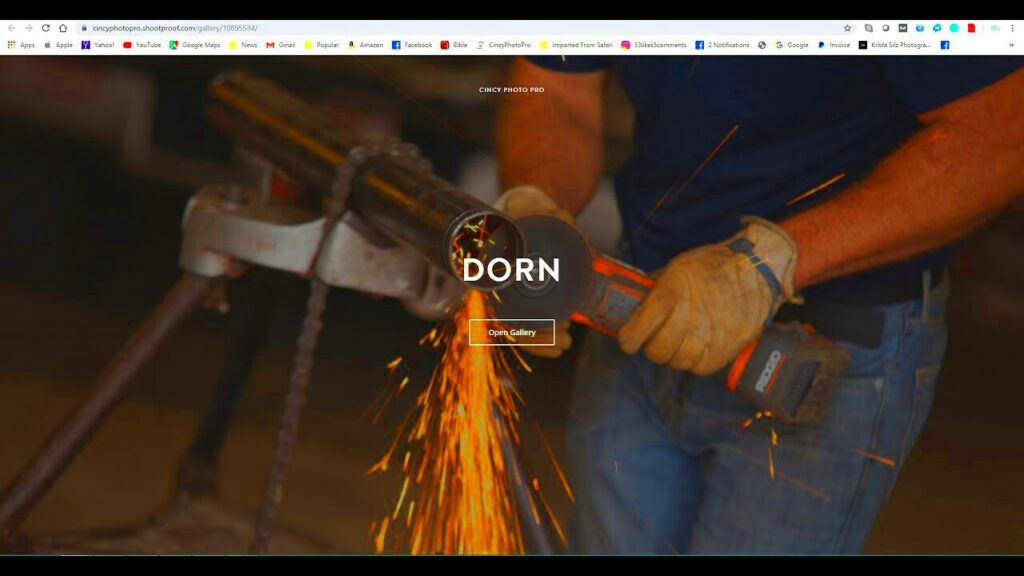
ShootProof is an excellent platform for handling your photography business. It not only lets you display your portfolio but also offers a smooth client communication experience. As a photographer I recall the times when I had to rush to send files via email only to have the quality get compromised along the way. With ShootProof you can say goodbye to that inconvenience.
Some key benefits of ShootProof include:
- User-Friendly Interface: Even if you’re not tech-savvy, navigating through ShootProof is a breeze.
- High-Quality Image and Video Storage: Your visuals retain their quality, which is crucial for professional presentation.
- Client Interaction: You can receive feedback and orders directly from your clients, streamlining your workflow.
- Customization Options: Tailor your galleries to reflect your unique style and branding.
ShootProof is not simply a storage tool; it offers a complete package of benefits for creative individuals.
Preparing Your Videos for Upload
Before getting into the upload process it’s crucial to get your videos ready. In my opinion a video that is prepped not only has an appearance but also connects more with clients. Here are a few steps to keep in mind;
- Format: Ensure your video is in a compatible format, like MP4 or MOV, for smooth uploading.
- Resolution: Aim for a resolution of at least 1080p to ensure clarity on various devices.
- Editing: Trim unnecessary parts and make any necessary edits. A concise video captures attention.
- File Size: Keep an eye on the file size. Large files may take longer to upload and can deter clients from viewing them.
Investing effort into getting ready for your videos can significantly impact how they are viewed.
Also Read This: Streaming on Rumble: A Complete Guide to Setting Up and Going Live
How to Add Videos to Your ShootProof Gallery
Once your videos are all set, it's easy to add them to your ShootProof gallery. I can still recall the excitement of uploading a video for the first time – it truly changed the game. Here's a simple guide to help you kick things off.
- Log In: Access your ShootProof account.
- Select Your Gallery: Choose the gallery where you want to add your video.
- Click on Upload: You’ll see an option to add videos. Click on it.
- Drag and Drop: Either drag your video files into the designated area or browse your computer to select them.
- Customize Settings: After uploading, you can add titles, descriptions, and choose privacy settings.
- Save Changes: Don’t forget to save your changes to make your video live!
This straightforward approach can greatly improve your exhibitions providing a more enriching experience for your customers. In my situation incorporating videos not only highlighted my creations more effectively but also strengthened my bond with clients.
Also Read This: Mastering Job Filters on LinkedIn for Targeted Results
Editing and Customizing Your Video Display
Once you’ve uploaded your videos to ShootProof it’s time to add some sparkle to them. I still recall the feeling I got when I first included a video in my gallery; it was like stepping into a realm of possibilities. However it’s not sufficient to simply upload your content. You must also personalize the way your videos are showcased to align with your unique style and resonate with your viewers.
Here are several methods to tweak and personalize how your video is shown.
- Thumbnails: Choose eye-catching thumbnails that represent the essence of your video. A good thumbnail can entice clients to click and watch.
- Titles and Descriptions: Don’t shy away from adding compelling titles and descriptions. They provide context and can set the tone for what viewers can expect.
- Video Order: Arrange your videos logically. Group similar themes together, or consider telling a story through the order of your videos.
- Privacy Settings: Decide who can view your videos. You can keep them private or share them with specific clients, giving you control over your content.
By following these steps you not only improve the experience for your audience but also demonstrate your level of professionalism. As a photographer I have discovered that showcasing a gallery reflects positively on my brand and creates a memorable impact.
Also Read This: Integration of Volt Typhoon with Fortiguard Downloader
Sharing Your Video Galleries with Clients
Once you’ve put the finishing touches on your videos and they’re all set to go there’s a rush of anticipation in sharing them with your clients. I vividly remember the exhilaration of unveiling my first gallery and witnessing the reactions of clients as it happened. With ShootProof this entire process becomes seamless enabling you to effortlessly nurture that connection.
Here’s how to share your video galleries:
- Generate a Link: ShootProof allows you to create a unique link for your gallery. This link can be easily shared via email or social media.
- Set Access Permissions: Before sharing, ensure that you’ve set the correct privacy settings to control who can view your content.
- Personalize Your Message: When sending the link, add a personal note. A simple message expressing your excitement can make your clients feel valued.
- Follow Up: After sharing, don’t forget to follow up. Ask for feedback or if they enjoyed the gallery. It shows you care and builds a stronger relationship.
Sharing goes beyond simply showcasing your work; it’s about fostering a collective journey with your clients. Every gallery holds a fragment of my soul and by sharing it I extend an invitation for my clients to embrace that happiness.
Also Read This: Streaming Dailymotion Content on Roku Devices
Tips for Optimizing Your Video Content
When you start making and sharing videos, optimizing them is key. Through my experiences I’ve discovered that even a great video can miss the mark without the right optimization. Here are some tips to boost your video content.
- Keep It Short and Sweet: Attention spans are short. Aim for videos that are concise yet impactful. A two-minute video often delivers the message better than a ten-minute one.
- Engage Your Audience: Start with a hook to grab attention within the first few seconds. Whether it’s an intriguing question or a stunning visual, make those first moments count.
- Quality over Quantity: It's better to have a few high-quality videos than numerous mediocre ones. Invest time in crafting each video to reflect your best work.
- Call to Action: End your videos with a clear call to action. Whether it’s visiting your website or booking a session, guide your viewers on what to do next.
Throughout my path these insights have had an impact. By enhancing my videos I not only draw in clients but also cultivate a stronger bond with them, adding depth and significance to my work.
Also Read This: Sharing YouTube Videos with Friends
Common Issues and Troubleshooting
Like with any online platform you may run into some bumps when it comes to adding videos to ShootProof. I recall my initial encounter where I struggled with video uploads it was rather exasperating. However there's no need to fret! With a bit of assistance most of these obstacles can be overcome.
Here are some problems and tips on how to fix them
- Upload Failures: If your video fails to upload, check your internet connection first. A weak connection can interrupt the process. Also, ensure your video format is compatible with ShootProof.
- Video Playback Issues: Sometimes, clients may face difficulties playing your videos. Encourage them to refresh their browser or check their device's compatibility.
- Quality Loss: If you notice a decrease in video quality, double-check the resolution settings before uploading. Always aim for at least 1080p for a crisp viewing experience.
- Access Problems: If clients can’t access your gallery, revisit your privacy settings. Ensure you’ve shared the correct link and that their permissions are set appropriately.
From what Ive seen taking your time and following a process can usually fix things. Keeping a record of these problem solving steps can also assist your clients in dealing with any challenges they encounter.
Also Read This: How Is It to Work for Shutterstock Custom and What to Expect
FAQs About Adding Videos to ShootProof
As someone who loves capturing moments through my camera, people often ask me about incorporating videos into ShootProof. I understand that providing information can help alleviate any worries, so let me share some common questions that come up.
- Can I upload multiple videos at once? Yes, ShootProof allows you to upload multiple videos simultaneously, saving you time and effort.
- What file formats are supported? ShootProof supports common formats like MP4 and MOV. Just ensure your video is within the required size limit.
- How can I edit my video after uploading? You can easily edit titles, descriptions, and privacy settings through the gallery settings at any time.
- Is there a limit to the number of videos I can upload? ShootProof doesn’t impose a strict limit on the number of videos, but keep in mind your storage plan may affect your capacity.
- Can I share my video gallery on social media? Absolutely! You can share the gallery link on various platforms, allowing a wider audience to view your work.
Addressing these inquiries not only clears up uncertainties but also gives clients the confidence to consider their choices. Keep in mind that transparent dialogue builds trust.
Conclusion and Next Steps
In conclusion of our conversation about incorporating videos into ShootProof, it's clear that this platform provides amazing possibilities for photographers to present their creations in engaging formats. Each stage, from uploading to editing and sharing is crucial in boosting client involvement.
To take the next step I suggest logging into your ShootProof account and checking out the video features. Here are some ideas to help you get started;
- Experiment with Different Content: Don’t hesitate to try various video types—behind-the-scenes, client testimonials, or project showcases—to see what resonates with your audience.
- Solicit Feedback: After sharing your videos, ask your clients for their thoughts. Their feedback can provide valuable insights for future projects.
- Stay Updated: Keep an eye on ShootProof's updates and new features. As technology evolves, so should your approach to using it.
- Network with Other Creatives: Join photography communities and forums to share experiences, tips, and tricks related to video content on ShootProof.
Throughout my path as a photographer I've found great fulfillment in the bond I create with my clients through videos. I trust that using ShootProof will enrich your artistic expression and deepen your connections with clients. Enjoy capturing moments!