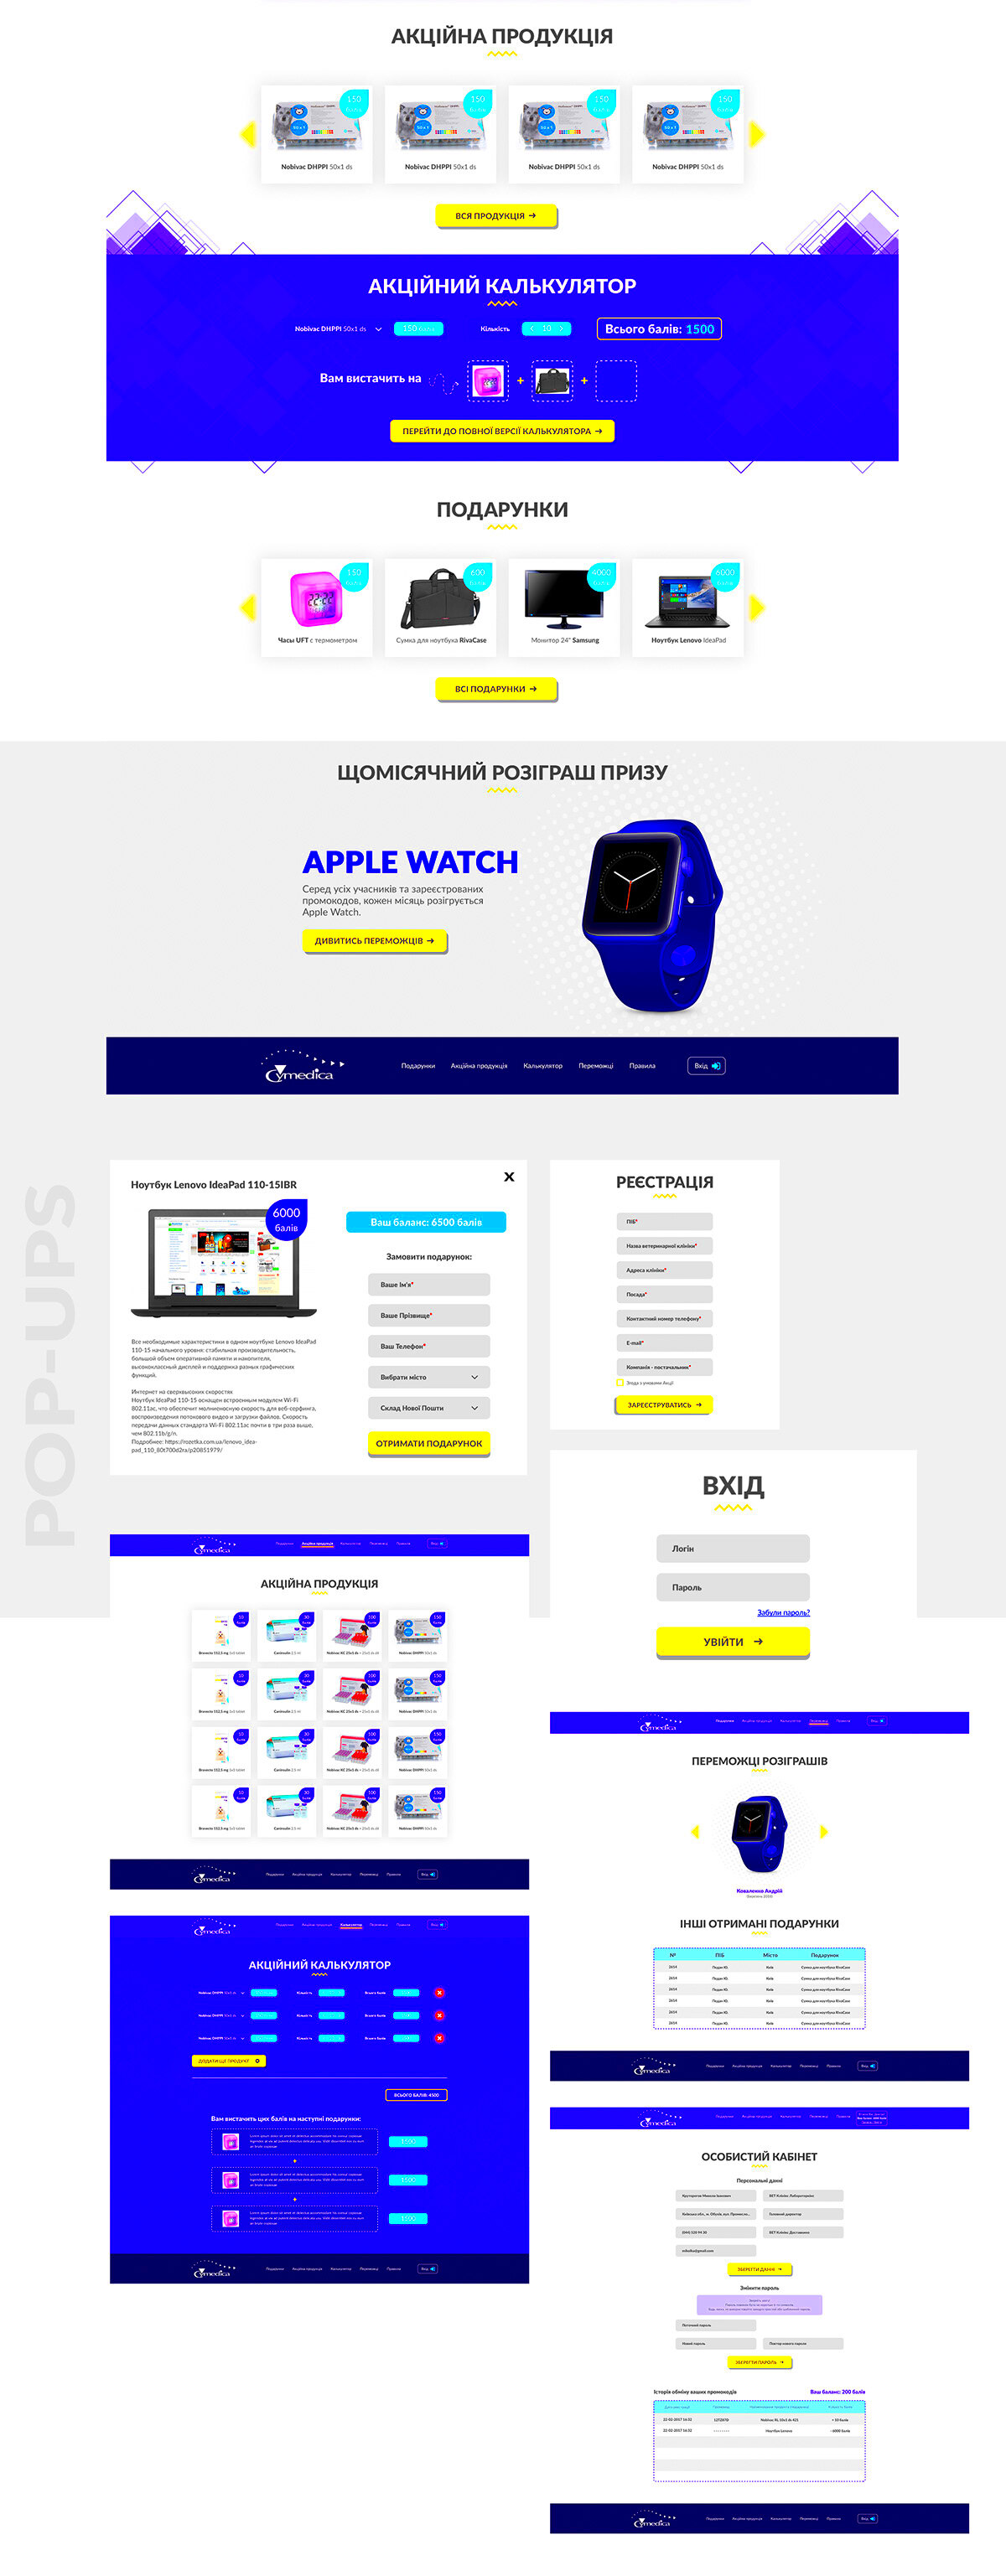
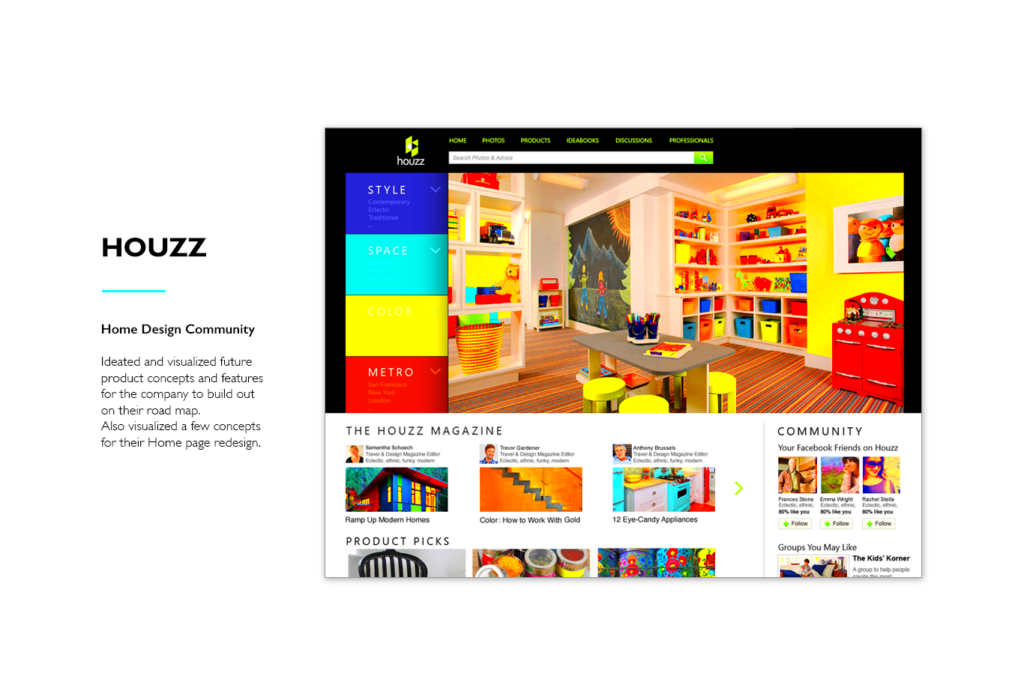
Adding projects to Behance is essential for showcasing your work and gaining visibility in the creative community. Each project you upload is an opportunity to present your skills, connect with other creatives, and even attract potential clients or collaborators. It helps you build a portfolio that speaks for itself, showing your unique style and expertise.
When you add projects regularly, you demonstrate your growth and commitment to your craft. This not only keeps your profile active but also encourages others to engage with your work. The more projects you have, the more likely you are to receive feedback and recognition from your peers. So, make sure to take the time to add your projects and highlight your creative journey.
Preparing Your Content Before Uploading

Before you upload your project, preparation is key. Here are some steps to ensure your content is ready:
- Gather Your Best Work: Select images or designs that best represent your skills. Make sure they are high quality and showcase your unique style.
- Create a Compelling Story: Think about the narrative behind your project. What inspired you? What challenges did you face? A good story makes your project more engaging.
- Write a Clear Description: Be concise but informative. Explain the project’s purpose, your role, and any tools or techniques you used.
- Optimize Images: Ensure your images are properly sized for Behance. Large, clear images attract more viewers.
By preparing your content well, you set the stage for a successful project upload. Take your time to refine your materials, and you'll be more confident when sharing your work.
Also Read This: Understanding the Cost of One Credit on iStock
Steps for Uploading Your Project on Behance
Now that you have your content ready, let’s go through the steps to upload your project on Behance:
- Create a Behance Account: If you haven’t done this already, sign up for an account. It’s free and easy!
- Log In to Your Account: Access your Behance profile by logging in with your credentials.
- Click on the “Create a Project” Button: You’ll find this option on your dashboard. This takes you to the project creation page.
- Upload Your Images: Drag and drop your images or click to upload them from your device. Arrange them in the order you want.
- Add a Project Title: Give your project a catchy title that reflects its content.
- Write Your Description: Use the space provided to tell your story. Include details about the project, your thought process, and any relevant information.
- Tag Your Project: Add relevant tags to help others find your work. Think about keywords that describe your project.
- Publish Your Project: Once you’re satisfied with everything, click “Publish” to make your project live!
By following these steps, you can successfully upload your project and share your creativity with the world. Remember, each project is a chance to express yourself and connect with others in the community.
Also Read This: How to Properly Cite Dailymotion Content
Tips for Writing an Engaging Project Description
Writing an engaging project description is vital for capturing your audience's attention on Behance. This is your chance to explain the essence of your work and draw viewers in. A well-crafted description not only provides context but also showcases your personality and passion for the project.
Here are some tips to help you create a compelling project description:
- Start with a Hook: Grab the reader's attention right away. Use an interesting fact, a question, or a brief anecdote related to your project.
- Be Clear and Concise: Avoid overly complex language. Keep sentences short and to the point. Aim for clarity to ensure your message is understood.
- Tell a Story: Share the journey behind your project. What inspired you? What challenges did you overcome? Personal stories make your work relatable.
- Highlight Your Role: If you collaborated with others, clarify what your contributions were. This helps potential clients understand your skills and strengths.
- Include Key Details: Mention any tools, techniques, or styles you used. This adds depth and shows your expertise.
- Invite Feedback: Encourage viewers to share their thoughts. This can foster engagement and create a dialogue about your work.
By following these tips, you can craft a project description that not only informs but also engages your audience, making them want to learn more about your work.
Also Read This: A Rumbling Sound Was Heard in the Distance
Choosing the Right Images for Your Project
Images are the heart of your Behance project. They can make or break how your work is perceived. Selecting the right images is crucial for attracting viewers and conveying your message effectively.
Here are some guidelines for choosing the best images for your project:
- Use High-Quality Images: Always opt for clear, high-resolution images. Blurry or pixelated visuals can turn potential viewers away.
- Showcase Variety: Include different angles, close-ups, and details of your work. This gives a fuller picture of your project.
- Maintain Consistency: Ensure that the images have a cohesive look. This could mean similar lighting, color palettes, or styles to create a unified presentation.
- Tell a Story with Images: Arrange your images in a way that guides viewers through your project. Consider starting with a strong visual that grabs attention.
- Consider the Order: Place your most impactful images at the beginning. First impressions matter, so lead with your best work.
By carefully selecting and presenting your images, you can enhance the overall impact of your project and leave a lasting impression on your audience.
Also Read This: Invite Friends with Spidey and His Amazing Friends Invitation Template from Canva
Using Tags to Increase Project Visibility
Tags are an essential part of getting your project noticed on Behance. They help categorize your work and make it easier for others to find you. By using the right tags, you can significantly boost your project's visibility.
Here are some tips for effectively using tags:
- Research Popular Tags: Look at similar projects in your field. What tags are they using? This can give you ideas for relevant keywords.
- Be Specific: Use tags that accurately describe your project. Instead of just “design,” consider “graphic design,” “branding,” or “illustration” based on your work.
- Limit Your Tags: Aim for a balanced number of tags. Too many can be overwhelming, while too few might limit exposure. About 5 to 10 focused tags is ideal.
- Include Related Keywords: Think about what potential viewers might search for. Use these keywords as tags to broaden your reach.
- Update Tags as Needed: If your project evolves or if you notice new trends, don’t hesitate to change or add tags to keep your work relevant.
By thoughtfully choosing and managing your tags, you can increase the chances of your project being discovered by a wider audience, helping you connect with fellow creatives and potential clients.
Also Read This: Memes Accounts: Top 10 Accounts to Follow on Twitter for Memes
Sharing Your Project with Others
Once you've uploaded your project on Behance, it's time to share it with the world. Sharing your work is crucial for gaining visibility and feedback. When you engage with others, you create opportunities for collaboration, networking, and even finding potential clients. So, how do you effectively share your project? Here are some strategies to consider:
- Utilize Social Media: Share your project on platforms like Instagram, Twitter, and Facebook. Use eye-catching images and include a link to your Behance project.
- Engage with the Behance Community: Follow other creatives and comment on their work. They may return the favor and check out your projects.
- Join Creative Groups: Participate in online communities or forums related to your field. Sharing your project in these groups can reach a more targeted audience.
- Email Newsletters: If you have a mailing list, share your latest projects with your subscribers. Highlight what makes the project special to encourage clicks.
- Network at Events: If you attend creative events or workshops, share your work with fellow attendees. Carry business cards with your Behance link to make it easy for them to find you.
By sharing your project widely, you increase the chances of getting noticed and appreciated in the creative community. Remember, the more you share, the more connections you can make!
Also Read This: How to Download Shutterstock Videos Without a Watermark for Free
FAQ About Adding Projects on Behance
Adding projects on Behance can raise several questions. Here are some frequently asked questions that might help you navigate the platform:
- What types of projects can I upload? You can upload various projects, including graphic design, photography, illustration, and more. Just make sure it showcases your skills.
- Is there a limit on the number of projects I can add? No, you can add as many projects as you want. Regularly adding new projects keeps your profile active and engaging.
- Can I edit my project after publishing? Yes, you can edit your project at any time. Just go to your project and click the edit option.
- How can I make my project more visible? Use tags, share your project on social media, and engage with other users to increase visibility.
- Can I collaborate with others on Behance? Absolutely! Behance allows for collaboration. You can co-create projects and share the spotlight with fellow creatives.
If you have more questions, the Behance community is always there to help. Don’t hesitate to reach out!
Conclusion and Final Thoughts
Adding new projects on Behance is not just about showcasing your work; it’s about connecting with a vibrant community of creatives. By following the tips and guidelines shared in this post, you can enhance your profile and attract more attention to your projects.
Remember, each project you upload is a step in your creative journey. Whether you're just starting or have been in the game for years, sharing your work can open doors to exciting opportunities. Don't be afraid to experiment, tell your story, and engage with others. The more you invest in your Behance presence, the more you’ll gain in return.
So, go ahead and start adding your projects today. Embrace the feedback, celebrate the connections, and enjoy the process of sharing your creativity with the world!
