In todays fast moving world having a dependable method to sign documents is crucial. Whether you’re a photographer sharing contracts or a business owner wrapping up deals ShootProof has simplified the process of adding your signature to papers. I recall the time when I had to print, sign and scan documents which was quite a hassle. Now with just a few clicks I can effortlessly append my signature digitally streamlining the entire procedure.
Understanding the Importance of Signatures
Signatures hold significance as they symbolize approval, consensus and genuineness. By signing a paper you indicate that you have reviewed comprehended and accepted the conditions presented. Here are some reasons why signatures matter.
- Legal Validity: A signature often holds legal significance, making agreements binding.
- Professionalism: Adding a signature adds a professional touch to your documents.
- Trust: A signed document fosters trust between parties, ensuring transparency.
From what I've seen adding a signature to my proposals really stands out. Clients value the personal touch and tend to have more confidence in a document that comes across as genuine.
Also Read This: Mastering Behance for Creative Professionals
How to Access the Signature Feature
Using the signature feature in ShootProof is a straightforward and intuitive process. Here’s a step by step guide to help you begin.
- Log in to your ShootProof account.
- Navigate to the dashboard where you manage your documents.
- Look for the Signature option in the menu—it's usually prominently displayed.
- Click on it to open the signature settings.
When you get to the part of adding your signature there are features to create, modify and handle your signatures. It feels user friendly and I have to say I was quite impressed by how swiftly I could establish my signature without any difficulties.
Also Read This: Standard or Extended License? Understanding Adobe Stock License Options
Steps for Creating Your Signature
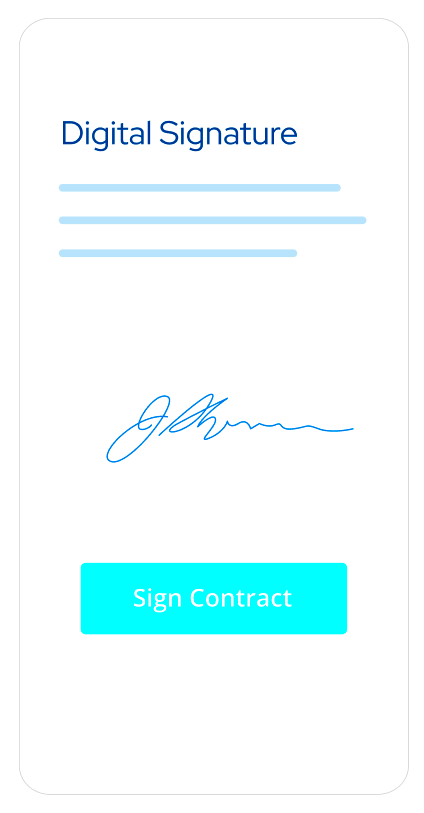
Making a signature in ShootProof goes beyond being a job; it’s a chance to show off a touch of your individuality. I still recall the moment I crafted my signature—it was a seemingly minor but meaningful move towards streamlining my processes. Here’s a simple way for you to create your own signature:
- Choose Your Style: Decide if you want to draw your signature using a mouse or a touchpad, or if you prefer to upload an image of your handwritten signature. Personally, I find drawing it with my stylus gives it a more personal touch.
- Use the Signature Tool: Click on the Create Signature option in the signature menu. You’ll see a canvas where you can start signing. Don't worry about perfection; it should feel natural and authentic.
- Adjust Size and Position: Once you've created your signature, you can adjust its size and position within the tool. Make sure it fits well within the intended area.
- Save Your Signature: After you’re happy with it, click on the Save button. Your signature is now ready to use!
Designing your signature can be an enjoyable process. Keep in mind that it should reflect your individuality.
Also Read This: How to Make Shawarma in Urdu Video: Complete Cooking Guide on Dailymotion
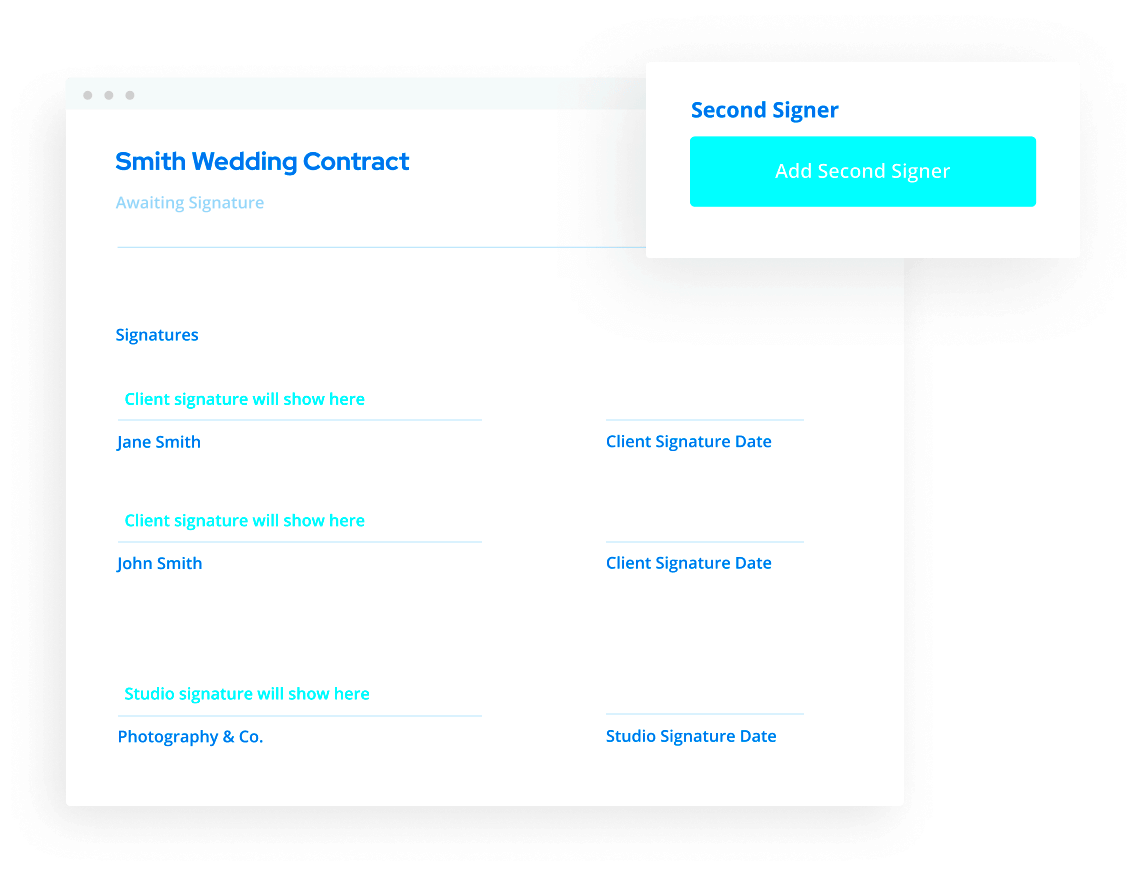
Adding Your Signature to Documents
Signing documents in ShootProof is truly a game changer. It’s a moment that highlights the advancements in technology. I can’t help but laugh when I think about the time I used to waste printing and scanning. Let me show you the way to add your signature effortlessly.
- Select the Document: Go to the documents section and choose the document where you want to add your signature.
- Click on Signature Field: Look for the area designated for signatures. Click on it to bring up your saved signature options.
- Insert Your Signature: Select your signature from the list and place it in the desired location on the document. You can resize it if necessary.
- Finalize the Document: Once you’ve placed your signature, review the document to ensure everything looks good. After confirming, hit the Finalize button to complete the process.
The whole thing is set up to be simple. Every time I go through it I realize how much time I save compared to the old school ways of doing things.
Also Read This: How to Download a Template on Behance
Saving and Using Your Signature
After you’ve crafted and appended your signature to a document the subsequent step is to understand how to save and utilize it efficiently. This feature has really enhanced my productivity. Here’s a breakdown of the steps you should follow.
- Saving Your Signature: After creating your signature, it is automatically saved in your ShootProof account. You don’t have to worry about losing it!
- Accessing Your Signature: Whenever you need to use it, just head back to the signature menu. Your saved signatures will be readily available for use.
- Using Across Documents: You can use your signature across multiple documents. Whether it’s contracts, invoices, or forms, your signature will always be at your fingertips.
- Updating Your Signature: If you ever feel the need to refresh your signature, you can always create a new one and replace the old version. It’s as easy as that!
This arrangement helps me stay on top of things and work more effectively. Having my signature securely stored and readily available brings me comfort, letting me concentrate on what really counts—my tasks at hand.
Also Read This: How to Find Your Saved Posts and Job Listings on LinkedIn
Troubleshooting Common Issues
Even the most intuitive platforms can have their fair share of hiccups. I’ve run into some challenges when it comes to adding my signature in ShootProof but each obstacle has been a valuable lesson. Here are some common problems you may encounter and tips on how to tackle them:
- Signature Not Appearing: Sometimes, after creating a signature, it may not show up. If this happens, try refreshing the page or logging out and back in. It’s a simple trick that has worked for me more than once.
- Signature Size Issues: If your signature appears too large or small, you can adjust the size when inserting it into the document. Don’t hesitate to play around with it until it feels just right.
- Uploading Image Problems: If you’re uploading an image of your handwritten signature and it doesn’t seem to work, ensure that the file format is supported (like PNG or JPEG) and that the image is clear. I once uploaded a blurry image, and it was a nightmare to read!
- Technical Glitches: Occasionally, you might encounter glitches. In such cases, clearing your browser cache or switching to a different browser often resolves the issue. I’ve found that patience and a bit of troubleshooting usually get things back on track.
Keep in mind that encountering a few bumps along the way is completely natural. Every obstacle you encounter helps you improve your skills in using the platform!
Also Read This: Understanding Rumble and Its Comparison to Other Video Platforms
FAQs About Adding Signatures in ShootProof
Regarding adding signatures in ShootProof you may have some queries. Drawing from my experience and discussions with other users heres a list of commonly asked questions.
- Can I use my mobile device to create a signature?
Absolutely! ShootProof is mobile-friendly, so you can create and manage your signature on your smartphone or tablet. It’s incredibly convenient when you're on the go. - Is my signature secure?
Yes, your signature is stored securely within your ShootProof account. They take data privacy seriously, so you can rest easy knowing your information is protected. - Can I change my signature later?
Of course! If you ever want to update or change your signature, simply go back to the signature settings and create a new one. It’s a hassle-free process. - What if I forget my login details?
No worries! ShootProof has a simple password recovery option. Just follow the prompts, and you’ll be back in your account in no time.
Here are some of the inquiries I’ve come across. If you require help don’t hesitate to contact ShootProof’s support for assistance!
Conclusion and Final Thoughts
Incorporating a signature into your paperwork using ShootProof can streamline your process, helping you save time and energy while adding a personal flair. Through my experiences I’ve discovered that adopting these technological advancements not only boosts professionalism but also simplifies our daily routines. I still recall my hesitance towards signatures at first but now I find it hard to envision reverting to traditional methods.
As you go through this journey keep in mind that every move you make is aimed at ensuring a smooth experience for both you and your clients. Embrace the tech and feel free to add a personal touch to your documents with your signature. This is all about establishing trust and leaving your imprint, in the professional realm.
Ultimately its the small things that matter and your signature is a true representation of who you are. So why not infuse that personal flair and relish in the convenience that ShootProof brings?