Pictures are everywhere, right? Your blog, your Instagram, your portfolio, even that presentation you’re throwing together at the last minute. But big image files? They’re a pain in the neck. They make your website crawl, eat up your storage, or turn emailing into a chore. I’ve been there, folks. A few years ago, I was putting together my photography portfolio, and my website loaded slower than my grandma walking uphill. Why? My images were huge, like multi-MB monsters! I had to shrink them without making them look like they were shot on a flip phone. So, I went hunting for free online tools that could compress images while keeping them sharp. Good news: it’s totally possible! Let me walk you through my journey, some oops moments, and the tools that became my lifesavers.
Why Should You Care About Compressing Images?
Before we get to the good stuff, let’s talk about why this matters. Big images cause big problems. Ever tried uploading a massive photo and got that annoying “file too large” error? Or waited forever for your webpage to load? That’s because uncompressed images can be heavy, sometimes several MBs for just one shot. Here’s why compressing them is a game-changer:
-
Faster Websites: Smaller files mean your site loads quick, keeping visitors from clicking away.
-
More Storage Space: Compressed images save room on your phone, laptop, or cloud.
-
Easy Sharing: Smaller files zip through email or upload to platforms like Twitter or LinkedIn no problem.
-
SEO Perks: Google loves speedy sites, so compression can give your rankings a boost.
But here’s the kicker: you don’t want your images looking fuzzy or pixelated. So, how do you shrink files without ruining quality? Let’s dive in.
Also Read This: Enhancing Your Social Selling Index on LinkedIn
Lossy vs. Lossless: What’s That All About?
Okay, let’s break it down, but I’ll keep it chill. There are two ways to compress images: Lossy and Lossless. What’s the difference, you ask?
-
Lossy Compression: This cuts file size by tossing out some data, like cleaning out your fridge and ditching the expired yogurt. The file gets smaller, but you might notice a slight quality drop. Perfect for casual stuff like social media posts.
-
Lossless Compression: This shrinks files without losing anything. It’s like packing your suitcase super tight but keeping every sock. The image stays identical, just smaller. Great for pro work like photography or graphic design.
When I was fixing my portfolio, I stuck with lossless compression because I didn’t want my photos looking like a bad Snapchat filter. But for my blog, where I’m just tossing in random graphics, lossy worked fine. It’s all about knowing what you need.
Also Read This: How to Spell the Chauffeur Song from the Original YouTube Video
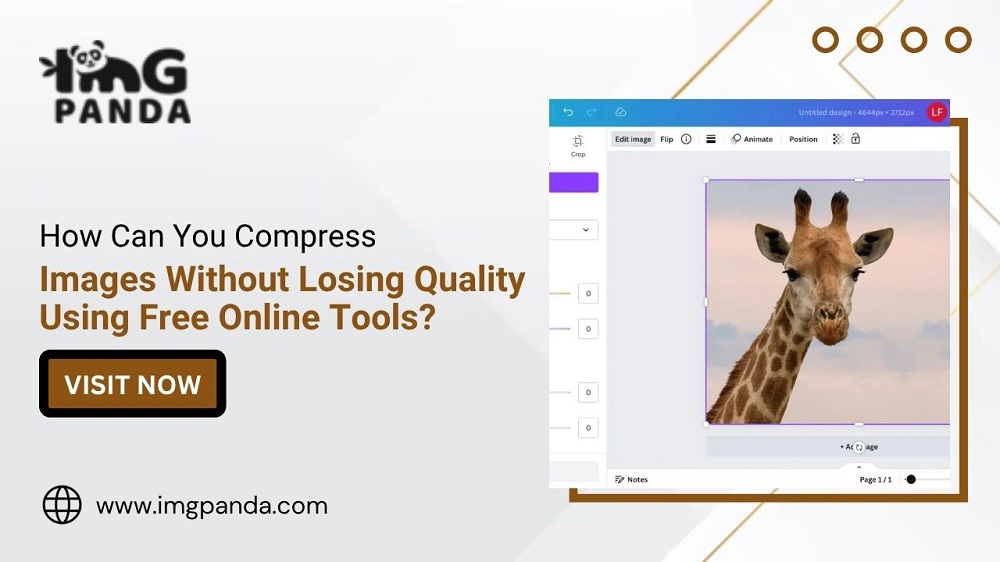
My Top Free Tools for Image Compression
I’ve tested a bunch of tools over the years, some awesome, some not worth the click. Here’s my list of the best free online tools for compressing images without wrecking their quality. I’ve also thrown in a table to compare them, so you can pick what suits you.
|
Tool |
Compression Type |
Ease of Use |
Batch Processing |
Cool Extras |
|---|---|---|---|---|
|
TinyPNG |
Lossy & Lossless |
Stupid Easy |
Yes |
WebP conversion, color tweaks |
|
Compress JPEG |
Lossy |
Pretty Simple |
Yes |
Quality slider for control |
|
Squoosh |
Lossy & Lossless |
Kinda Techy |
No |
Advanced settings, format swapping |
|
ILoveIMG |
Lossy |
Really Easy |
Yes |
Resize, crop, watermark options |
|
Optimizilla |
Lossy |
Simple Enough |
Yes |
Quality preview, adjustable settings |
1. TinyPNG: My Best Buddy
TinyPNG is like that friend who always shows up when you’re in a pinch. I found it when my website was loading slower than dial-up internet. You just drag your images (PNG or JPEG) onto the site, and it works like magic. It uses smart lossy compression, shrinking files while keeping them crisp. I once took a 2.5MB PNG down to 400KB, and I swear, I couldn’t spot any difference. How awesome is that?
Why I’m Obsessed:
-
Works with PNG and JPEG.
-
Lets you compress up to 20 images at once for free.
-
Has plugins for stuff like WordPress.
Hot Tip: TinyPNG can turn your images into WebP, a tiny format that’s perfect for websites. I switched my blog to WebP, and my site started loading like a champ.
2. Compress JPEG: Fast and No Fuss
Compress JPEG is my go-to when I need something done quick. It’s super simple: upload your JPEGs, mess with the quality slider if you feel like it, and grab the smaller files. I used it for a client who needed product photos emailed ASAP. The originals were too big for Gmail, but after a quick run through Compress JPEG, they sent just fine and still looked sharp.
Why It’s Great:
-
Crazy fast for JPEGs.
-
You can tweak how much compression you want.
-
Handles multiple images at once.
Downside: It’s JPEG-only, so if you’ve got PNGs, you’ll need another tool.
3. Squoosh: For When I’m Feeling Nerdy
Squoosh, made by Google, is for folks who like to get their hands dirty. It’s got more settings than my microwave, letting you pick compression types like MozJPEG or AVIF and see a side-by-side comparison of the original and compressed image. I used it for a design project where I needed total control over every pixel. It’s not the easiest, but it’s powerful.
Why It’s Neat:
-
Supports cool formats like AVIF and WebP.
-
Shows quality changes as you tweak.
-
Works offline after the first load.
Fair Warning: It’s one image at a time, so don’t plan on batching your whole photo library.
4. ILoveIMG: The Jack-of-All-Trades
ILoveIMG is like a toolbox for images. Compression is just one trick; you can also resize, crop, or add watermarks. I used it for a friend’s online shop, compressing and resizing 50 product photos in one go. The interface is so easy, even my tech-averse dad could figure it out.
Why It’s Handy:
-
Batch processing for lots of images.
-
Extra tools like resizing and watermarking.
-
Free version is pretty generous.
Heads-Up: The free version has limits on file size and number of images, so check before uploading a ton.
5. Optimizilla: For the Picky Ones
Optimizilla is perfect if you’re a bit of a control freak like me. It lets you adjust compression and see the results before downloading. I used it for a blog post with a bunch of screenshots. I wanted them clear but not hogging bandwidth. Optimizilla let me fine-tune the quality, cutting file sizes by about 60% without losing that sharpness.
Why It’s Cool:
-
Real-time preview of quality changes.
-
Works with JPEG and PNG.
-
Can handle up to 20 images at once.
Drawback: It’s a tad slow with big files, so don’t be in a rush.
Also Read This: Develop Proposals with Canva Proposal Template
My Journey: Some Facepalm Moments
When I started messing with compression, I made some dumb mistakes. One time, I cranked the lossy compression way too high for a client’s logo, and it looked like a pixelated mess on their website. Total embarrassment. Another time, I didn’t back up my original files before compressing, and I was stuck with low-quality versions. Now, I always save my originals and check every compressed image before using it.
What surprised me was how different images need different approaches. A high-res photo from my camera needs a gentle touch to keep the details, but a random blog graphic can handle heavier compression. It’s all about experimenting.
Also Read This: How to Record Shows on YouTube TV
Tips to Compress Like a Pro
Here’s what I’ve learned to make compression a breeze:
-
Choose the Right Format: JPEG for photos, PNG for graphics with clear backgrounds, WebP for web stuff.
-
Check Image Size: If your image is 6000x4000 but your site only needs 1200x800, resize it first.
-
Keep Backups: Always save your original images somewhere safe.
-
Test Your Site: After compressing, see how your images load on your website or app.
-
Batch It Up: Got a ton of images? Use tools like TinyPNG or ILoveIMG to save time.
Also Read This: How to Cancel Adobe Stock Simplified Steps for Ending Your Subscription
Questions I Had (And You Might Too)
Q: Will compression make my images look crappy?
A: Not if you’re smart about it. Lossless keeps things perfect, and lossy can look great if you don’t overdo it.
Q: Are these tools free forever?
A: Most have free versions with some limits. If you’re compressing a ton, you might need a paid plan, but the free ones are usually enough.
Q: What’s best for beginners?
A: TinyPNG or ILoveIMG. They’re so simple, you can’t screw it up.
Wrapping It Up
Compressing images without losing quality is totally doable with free tools like TinyPNG, Compress JPEG, Squoosh, ILoveIMG, and Optimizilla. They’ve saved my website from dragging, kept my clients happy, and stopped my storage from exploding. It’s all about picking the right tool and playing around to see what works. So, what’s holding you back? Grab those giant image files and start compressing. Your website, your inbox, and your peace of mind will thank you!