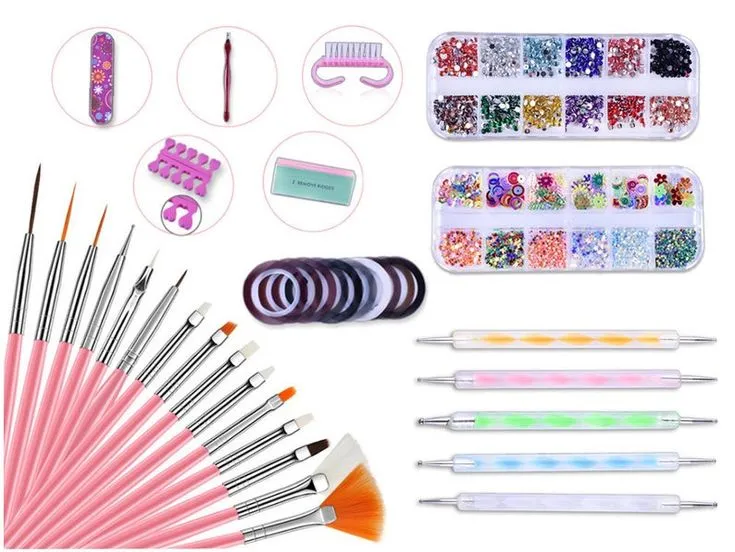
Are you ready to unleash your creativity right at your fingertips? DIY nail art tools can transform your manicure game without breaking the bank. Instead of splurging on expensive tools, you can easily create your own with everyday items. Not only is it budget-friendly, but making your own tools also adds a personal touch to your nail art. Imagine crafting stunning designs using tools made by you! In this guide, we'll explore the essentials of DIY nail art tools and the materials you'll need to get started. So, let’s dive in and get those creative juices flowing!
Essential Materials Needed for DIY Nail Art Tools
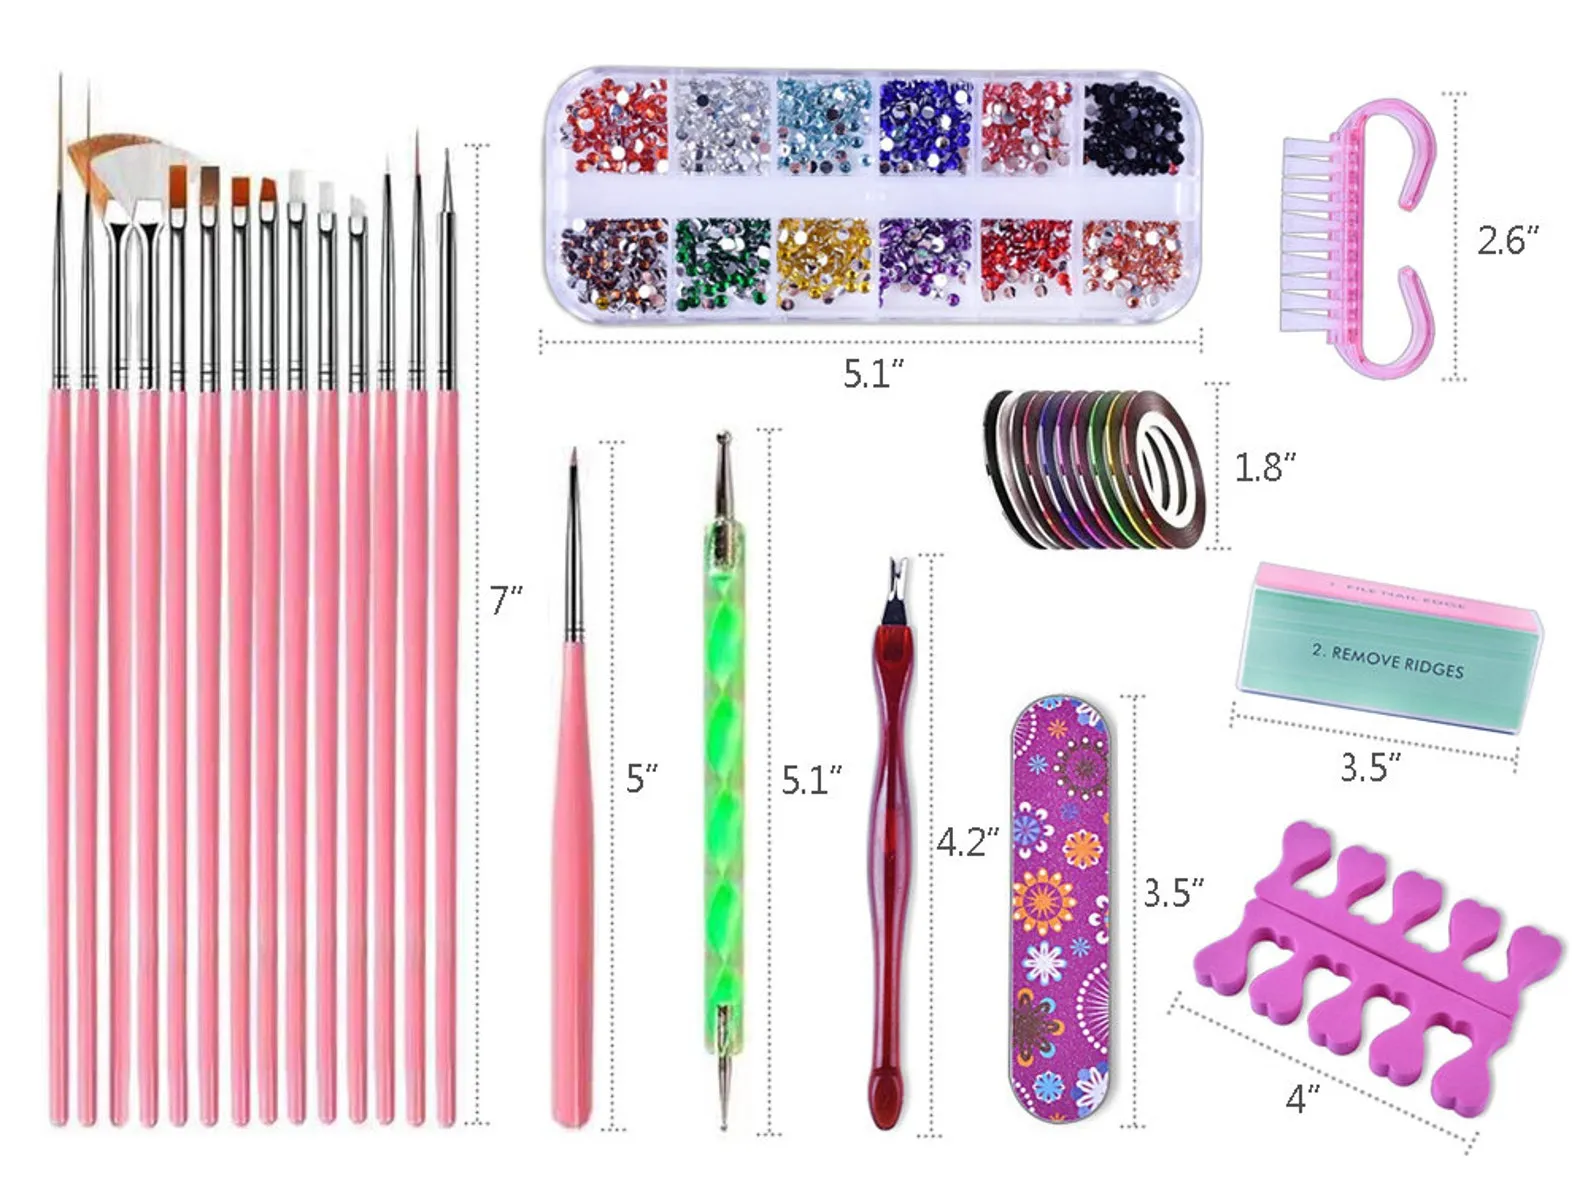
Creating your own nail art tools is simple and fun! Here’s a handy list of essential materials you'll need to kickstart your DIY journey:
- Toothpicks: Perfect for fine detailing and creating intricate designs.
- Old Makeup Brushes: Use these for applying polish or blending colors smoothly.
- Bobby Pins: Great for dotting and creating various shapes.
- Scissors: You'll need these to cut materials like sponges or tape.
- Sponges: Ideal for creating gradient effects and texture on your nails.
- Empty Nail Polish Bottles: Repurpose them for mixing custom colors or storing homemade nail art tools.
- Painter’s Tape: This is excellent for creating clean lines and geometric designs.
- Plastic Wrap: Perfect for the saran wrap technique, giving your nails a unique look.
With these materials, your creativity knows no bounds! Whether it's creating unique patterns or experimenting with colors, having the right tools will make the process much more enjoyable. Get ready to express yourself through your nails like never before!
Also Read This: Start Earning Online by Uploading Videos to Dailymotion
Step-by-Step Guide to Making Your Own Nail Art Tools
Creating your own nail art tools at home is not only fun but also allows you to customize your designs! Here’s a simple guide to making some popular tools:
- Dotting Tool
To create perfect dots for your nail art, follow these steps:
- Take a straightened paper clip or a toothpick.
- Dip one end into your nail polish of choice.
- Simply press it onto your nail to create dots of various sizes.
Striping brushes can be made using:
- A thin paintbrush from your local craft store.
- Trim the bristles to your desired length.
- Dip it into nail polish and gently swipe across your nail.
For a quick and stylish stamping option:
- Get a clean potato or an eraser.
- Carve your desired pattern into the surface.
- Apply nail polish to the carved area, press it onto your nail, and voila!
Also Read This: Ordering Guide for Fortiguard Downloader Services
Creative Uses for Your DIY Nail Art Tools
Your homemade nail art tools can do wonders beyond basic nail designs! Here are some creative uses to explore:
- Gradient Effects: Use a sponge with your dotting tool to create stunning ombre effects. Just dab the colors on your nail for that perfect blend!
- Floral Patterns: Utilize your striping brush to paint intricate flower designs. Mix colors and use your dotting tool for the flower centers!
- Negative Space Art: Your stamping tool can help create unique designs that play with negative space. Carve out shapes and stamp for a chic look!
- Seasonal Designs: Get festive by creating holiday-specific art using your tools. Think snowflakes for winter or leaves for fall!
With these DIY tools, your nail art possibilities are endless! So gather your materials and let your creativity shine.
Also Read This: Understanding 123RF Credit Pricing and Options
Tips for Successful Nail Art with Your Homemade Tools
Creating your own nail art tools can be a fun and budget-friendly way to express your creativity. However, to really make the most of these homemade tools, here are some tips that can help elevate your nail art game:
- Practice Patience: Nail art requires fine motor skills and precision. Take your time and don’t rush the process. Allow each layer of polish to dry completely before moving on.
- Experiment with Techniques: Try different techniques like dotting, striping, or sponging with your tools. Each method can produce unique effects. For instance, using a toothpick can create intricate details.
- Keep It Clean: Clean your tools frequently while working. This can prevent color mixing and ensure crisp lines. You can use rubbing alcohol or nail polish remover for cleaning.
- Use Quality Polish: Invest in good-quality nail polish. Cheaper brands might not give you the desired finish or longevity. Look for polishes that are fast-drying and chip-resistant.
- Practice on Paper: Before going straight onto your nails, practice your designs on paper or a nail wheel. This helps you get a feel for the design and tool usage.
Remember, nail art is all about having fun and expressing yourself! Don’t be afraid to make mistakes; they often lead to the best creative discoveries.
Also Read This: How to Find a Designer on Behance and Discover the Best Creative Professionals
Where to Find Inspiration for Nail Art Designs
Finding inspiration for nail art can be as easy as looking around you! Here are some fantastic sources to spark your creativity:
- Social Media Platforms: Websites like Instagram, Pinterest, and TikTok are filled with nail art ideas. Search for hashtags like #NailArt or #NailDesigns to discover trending designs.
- Nature: Flowers, leaves, and landscapes can inspire color combinations and patterns. Consider a sunset gradient or a floral pattern inspired by your garden.
- Fashion Trends: Keep an eye on runway shows and fashion magazines. The latest colors and patterns in clothing can easily translate into stunning nail art.
- Art and Culture: Museums and local art galleries are great places to draw inspiration. Look at famous paintings or cultural motifs to create unique designs.
- Nail Art Tutorials: YouTube and beauty blogs are treasure troves of detailed tutorials. Following along can help you learn new techniques while getting inspired.
With so many resources at your fingertips, you're sure to find the perfect design for your next nail art project!
Create DIY Nail Art Tools at Home
Nail art has become a popular form of self-expression, but professional tools can be pricey. Fortunately, you can create your own DIY nail art tools using everyday household items. This not only saves money but also allows you to customize tools to suit your unique style. Here are some easy-to-make nail art tools you can try at home:
1. Dotting Tool
To create intricate dots and patterns, you can use:
- *Bobby pins: Simply use the rounded end to create dots.
- Toothpicks: Great for smaller dots or detailed designs.
- Ballpoint pens: Remove the ink cartridge for a sturdy dotting tool.
2. Nail Art Brushes
For painting fine lines and intricate designs, consider the following:
- Old makeup brushes: Clean them thoroughly and cut them to the desired length.
- Cotton swabs: Use them for quick and easy designs.
- Paintbrushes: Use different sizes for different effects.
3. Stencils
Create your own nail art stencils using:
- Cardstock: Cut out shapes or patterns you want to apply.
- Tape: Use painter's tape to create straight lines and geometric designs.
4. Striping Tape
You can make striping tape using:
- Scotch tape: Cut into thin strips for nail designs.
- Masking tape*: Offers flexibility for various designs.
Using these simple DIY tools, you can unleash your creativity and personalize your nail art. Experiment with different techniques and colors to achieve stunning results without breaking the bank.
Conclusion: Embrace Your Creativity with DIY Nail Art Tools