Creating a banner in Photoshop CS5 is an exciting journey that allows you to express your creativity while promoting your brand or event. Whether you’re designing for social media, a website, or a physical display, understanding the basics of Photoshop will help you craft a stunning banner. In this guide, we’ll walk you through the steps to set up your document and start designing like a pro!
Setting Up Your Document
Before you dive into the creative process, it’s crucial to set up your document correctly. This ensures that your banner not only looks great but also meets any specifications needed for its final use. Here’s a simple breakdown of how to get started:
- Open Photoshop CS5: Launch the program and prepare to create a new document.
- Create a New Document: Click on File in the top menu, then select New. This opens the New Document dialog box.
- Choose Your Dimensions: Depending on where the banner will be displayed, you’ll want to choose the right size. Common dimensions are:
- Web Banner: 728 x 90 pixels
- Social Media: 1200 x 628 pixels
- Print Banner: 36 x 12 inches
- Set the Resolution: For web banners, a resolution of 72 DPI (dots per inch) works well, while print banners typically require 300 DPI.
- Select the Color Mode: Choose RGB for web use and CMYK if you're printing.
- Background Contents: Decide whether you want a white background, transparent, or a specific color by selecting from the dropdown menu.
- Name Your Document: Give your file a memorable name to easily identify it later.
Once you’ve set these parameters, click OK, and you’re ready to start designing your banner! Remember, a well-set document is the foundation of a great design.
Also Read This: Revamp Your Content: Free Stock Photos That Wow from Freerange
Choosing the Right Dimensions
When creating a banner in Photoshop CS5, the first step is to select the right dimensions. This choice not only affects the aesthetics of your design but also how it performs across various platforms. Different uses require different sizes, so understanding your purpose is key.
For instance, if you’re designing a banner for social media, the dimensions will vary greatly compared to a website header. Here are some common sizes:
- Web Banners: 728 x 90 pixels (Leaderboard)
- Social Media Banners: 820 x 312 pixels (Facebook Cover Photo)
- Event Banners: 1500 x 500 pixels (for larger display)
To select the dimensions in Photoshop, simply go to File > New, then input your desired width and height. Remember, the resolution is also important; 72 DPI is standard for online banners, but if you plan to print, consider 300 DPI.
Additionally, think about the platform you'll be using. For example:
| Platform | Recommended Size |
|---|---|
| 820 x 312 pixels | |
| 1500 x 500 pixels | |
| 1584 x 396 pixels |
Ultimately, choosing the right dimensions ensures your banner looks great and is effective in conveying your message.
Also Read This: The Role of Fortiguard Downloader DNS Filters
Selecting Background and Color Scheme
Once you’ve nailed down the dimensions, it’s time to choose the background and color scheme for your banner. This is your chance to make a strong visual impact, so let's get creative!
Start with the background. You can go for a solid color, a gradient, or even an image. Consider the following:
- Solid Colors: These can be powerful and attention-grabbing. Choose colors that reflect your brand's identity.
- Gradients: A smooth transition from one color to another can add depth and interest without being overwhelming.
- Images: Using a relevant background image can tell a story, but make sure it doesn’t distract from the main message.
Next, the color scheme is vital to maintaining harmony in your design. Aim for a cohesive palette that enhances readability. Here are some tips:
- Use a maximum of three main colors to avoid a cluttered look.
- Consider using complementary colors—those opposite each other on the color wheel—to create contrast.
- Online tools like Adobe Color or Coolors can help you explore various schemes.
In summary, the right background and color scheme can elevate your banner from ordinary to exceptional, drawing in viewers and keeping their attention longer. So, choose wisely and let your creativity shine!
Also Read This: Using Incognito Mode on YouTube and Its Benefits
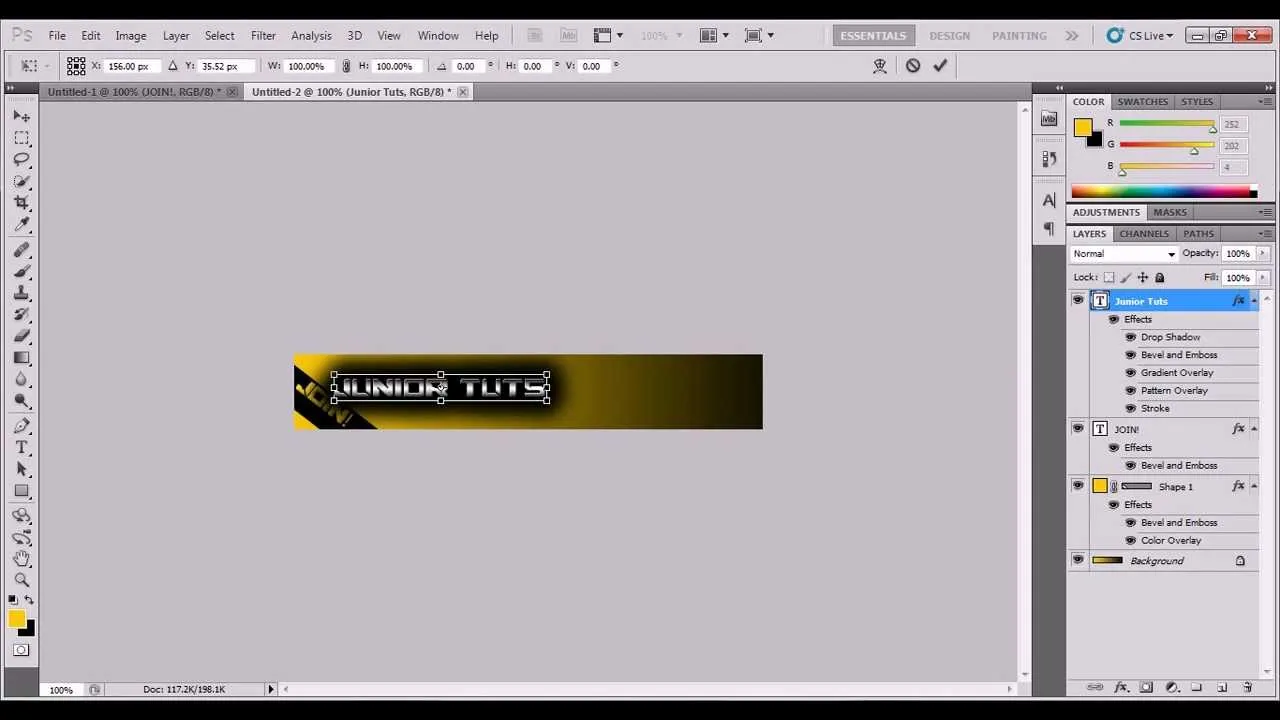
5. Adding Text to Your Banner
Adding text to your banner is a crucial step in conveying your message effectively. In Photoshop CS5, this process is intuitive and fun. Here’s how you can make your text stand out:
- Select the Text Tool: On the left toolbar, click on the “T” icon. This will activate the Text Tool.
- Choose the Font: Before typing, select the font style from the top options bar. You can experiment with various fonts to see what fits best.
- Set the Font Size: Adjust the size of your text to ensure it’s readable. A good starting point is around 48pt, but this can vary based on your banner size.
- Pick a Color: The color of your text should contrast with the background. Use the color picker to select a color that pops!
- Align Your Text: Once your text is placed, you can align it using the Move Tool. Center it, or position it according to your design.
Don't forget to add effects to your text, such as shadows or strokes, to give it more depth. You can do this by double-clicking the text layer and exploring the Layer Style options.
Also Read This: Downloading Audio from YouTube Videos
6. Incorporating Images and Graphics
Images and graphics are the heart of a banner. They can capture attention and convey a message quicker than text. Here’s how to incorporate them into your banner design:
- Importing Images: Go to File > Place to import an image. Choose the image you want and click Place.
- Resizing Images: After placing the image, you can resize it by dragging the corners. Hold the Shift key to maintain the aspect ratio.
- Using Layers: Each image will appear as a new layer. Organize your layers in the Layers panel, allowing you to adjust their order easily.
- Adding Effects: Just like with text, you can add layer styles to images. Experiment with blending options to make them integrate better with your background.
- Using Graphic Elements: Don’t hesitate to add shapes or icons. Use the Shape Tool for simple designs or import graphic assets for a professional look.
Remember, the key to a great banner is balance. Ensure that images and graphics complement the text rather than overpowering it. Play around until you achieve that perfect harmony!
Also Read This: Troubleshooting LinkedIn Certificate Upload Issues
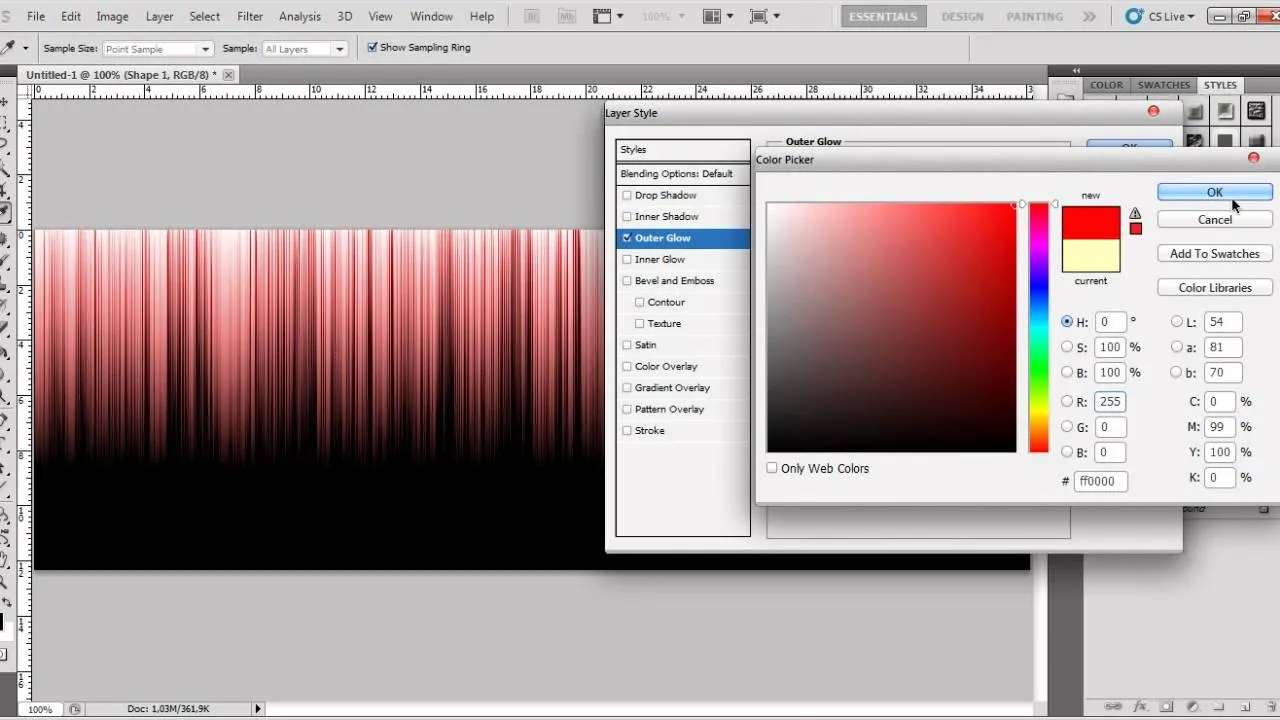
7. Applying Effects and Enhancements
Now that you have your banner layout ready, it’s time to add some flair! Applying effects and enhancements can really make your banner pop and grab attention. Here are a few tips to get you started:
- Layer Styles: Double-click on your text or layer to bring up the Layer Style options. You can add effects like Drop Shadow, Bevel & Emboss, and Gradient Overlay. Each of these can give your banner a polished, professional look.
- Filters: Go to the Filter menu and explore options like Gaussian Blur for softening backgrounds or adding artistic effects. Be cautious not to overdo it—subtlety is key!
- Adjustment Layers: Use adjustment layers, like Brightness/Contrast or Hue/Saturation, to enhance the overall color and tone of your banner. This method is non-destructive, allowing you to tweak settings without permanently altering your original layers.
- Text Effects: Consider using different fonts or incorporating textures to your text. Photoshop allows you to warp text, giving it a unique shape that can fit your banner’s theme.
Experiment with these tools to see what combinations work best for your design. Don’t forget to regularly save your work!
Also Read This: Cracking the Code: Shutterstock Watermark Removal
8. Saving and Exporting Your Banner
Once you’re satisfied with your banner, it’s crucial to save and export it correctly. Here’s how you can do it:
| File Format | Use Case |
|---|---|
| PSD | For working files with all layers intact. |
| JPEG | For high-quality images ideal for web use. |
| PNG | For images requiring transparency. |
To save your work, simply go to File > Save As and choose the desired format. For exporting:
- Click on File > Export > Save for Web to optimize your banner for online use. Adjust the quality settings to balance file size and image quality.
- Make sure to preview your banner in different formats and sizes to ensure it looks perfect on various devices.
Remember, the right saving method can dramatically affect how your banner is displayed, so choose wisely!
How to Create a Banner in Photoshop CS5
Creating a banner in Photoshop CS5 is a straightforward process that allows you to express your creativity while promoting your brand or message. Follow the steps below to design an eye-catching banner.
Step 1: Set Up Your Document
Start by launching Photoshop CS5 and setting up a new document.
- Go to File > New.
- Choose the dimensions for your banner. Common sizes include:
- 728 x 90 pixels (Leaderboard)
- 300 x 250 pixels (Medium Rectangle)
- 160 x 600 pixels (Wide Skyscraper)
- Select Resolution (72 pixels/inch for web use).
- Click Create.
Step 2: Design Your Banner
Now it's time to add design elements to your banner.
- Background: Use the Paint Bucket Tool or Gradient Tool to fill your background with color or a gradient.
- Images: Import images by dragging them into your document or using File > Place.
- Text: Use the Text Tool to add your message. Choose a font and size that is readable and eye-catching.
Step 3: Final Touches
Enhance your banner with the following:
- Layer Styles (like Drop Shadow or Stroke) for depth.
- Shapes and icons to highlight important information.
- Adjustments to color and contrast for vibrancy.
Step 4: Save Your Banner
Once you're satisfied with your design, save your work:
- Go to File > Save As.
- Choose the format (e.g., JPEG, PNG) suitable for your needs.
Creating a banner in Photoshop CS5 can be simple and enjoyable. With the right tools and a bit of creativity, you can produce a professional-looking banner that effectively conveys your message.
Conclusion
By following these steps, you can easily create a stunning banner in Photoshop CS5 that captures attention and communicates your brand effectively.