Creating beautiful paper tulips is a delightful DIY craft that brings a touch of spring to any space. Whether you're looking to decorate your home or create a unique gift, these vibrant blooms are perfect for any occasion. Paper tulips are not only visually appealing but are also a great way to engage your creativity. The best part? They require minimal supplies and can be crafted in just a few simple steps. So, grab your materials and let’s dive into the joyful world of paper crafting!
Materials Needed for Paper Tulip
To craft stunning paper tulips, you'll need a few essential materials. Here’s a comprehensive list to get you started:
- Colored Paper: Choose vibrant colors like red, yellow, pink, or purple for the petals. Green paper is essential for the leaves and stems.
- Scissors: A sharp pair of scissors will help you cut the paper with precision.
- Glue or Tape: Use craft glue or double-sided tape to secure the petals and leaves.
- Pencil: For sketching the petal shapes before cutting.
- Floral Wire or Straws: These will serve as the stems. Floral wire is flexible, while straws provide good support.
- Ruler: To measure and ensure even cuts for a polished look.
- Optional Embellishments: Consider using glitter, markers, or beads for extra flair.
Here’s a simple table to visualize the materials:
| Material | Purpose |
|---|---|
| Colored Paper | Petals and Leaves |
| Scissors | Cutting Shapes |
| Glue/Tape | Securing Parts |
| Pencil | Sketching Designs |
| Floral Wire/Straws | Creating Stems |
| Ruler | Measuring |
| Embellishments | Decorative Touches |
Gather these materials, and you’ll be all set to create your very own paper tulips!
Also Read This: How to Become a Getty Sports Photographer
3. Step-by-Step Instructions to Make a Paper Tulip
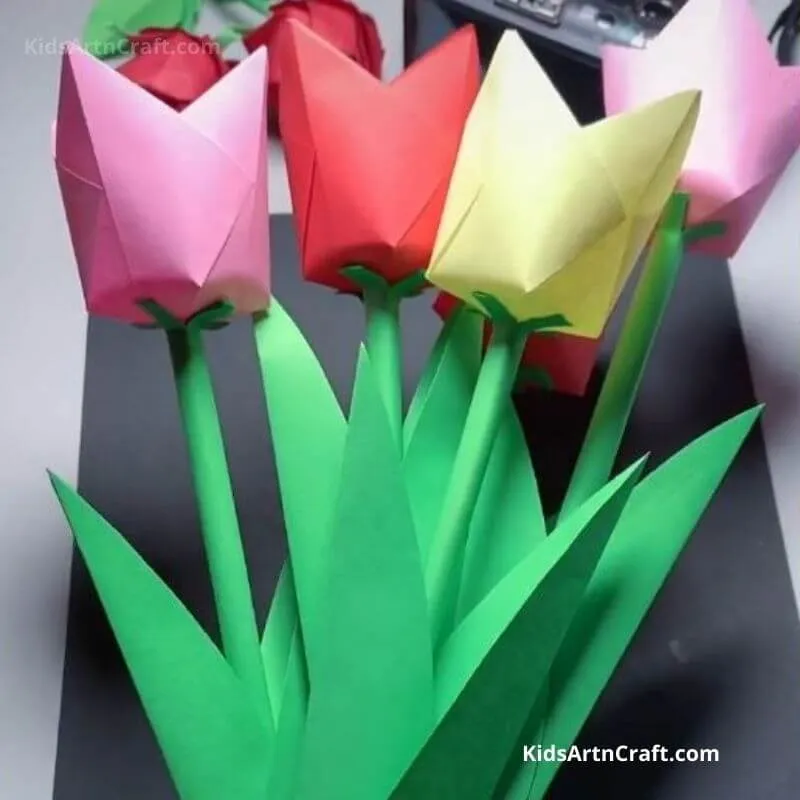
Creating a beautiful paper tulip is a delightful DIY craft that anyone can enjoy. Follow these simple steps to bring your tulip to life!
- Gather Your Materials: Before you start, make sure you have the following supplies:
- Colored paper (green for leaves and any color for petals)
- Scissors
- Glue or tape
- Pencil or pen for tracing
- Floral wire (optional, for a sturdy stem)
- Decorative embellishments (like glitter or stickers, if desired)
And there you have it—your very own paper tulip!
Also Read This: How to Make Simple Cupcakes at Home
4. Tips for Personalizing Your Paper Tulip
Personalizing your paper tulip can turn a simple craft into a unique masterpiece. Here are some fun tips to help you add your own flair:
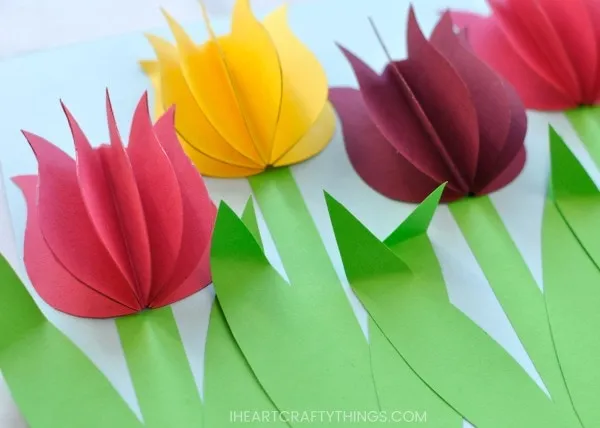
- Experiment with Colors: Choose a color palette that resonates with you. Don’t be afraid to mix and match—think vibrant reds with soft pinks or even duotones!
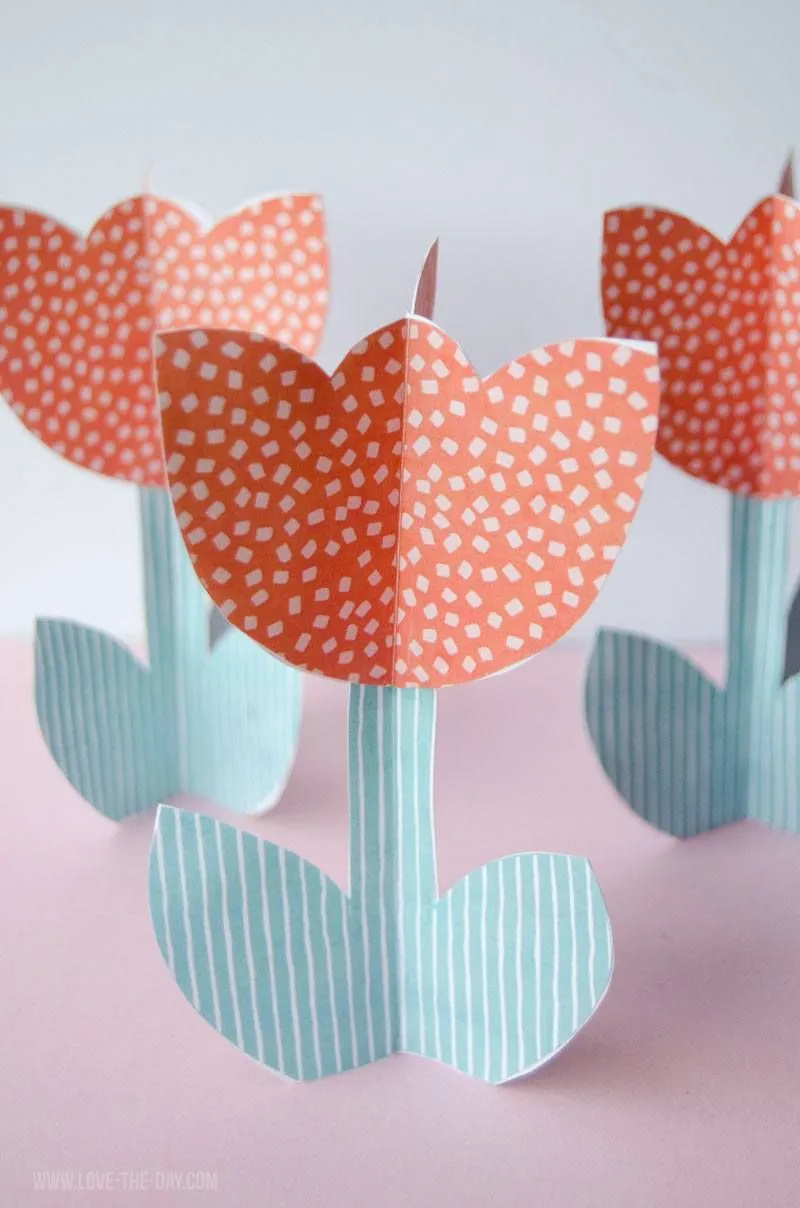
- Add Patterns: Use patterned paper for a playful touch. Floral designs or polka dots can make your tulip stand out even more.
- Use Different Textures: Consider using textured paper like cardstock or even recycled materials, like old wrapping paper, to give your tulip a unique feel.
- Incorporate Embellishments: Get creative with embellishments. Add sequins, buttons, or even lace around the petals for an extra layer of charm.
- Write a Message: Attach a small tag with a personal message or a quote about flowers to make your tulip even more special.
By applying these tips, you can transform a basic paper tulip into a stunning centerpiece or a thoughtful gift! Happy crafting!
Also Read This: Guide to Submitting Editorial Photos for Sale on Adobe Stock
Creative Ways to Display Your Paper Tulips
Once you've crafted your stunning paper tulips, it’s time to think about how to show them off! Here are some creative ideas to help you display your beautiful creations:
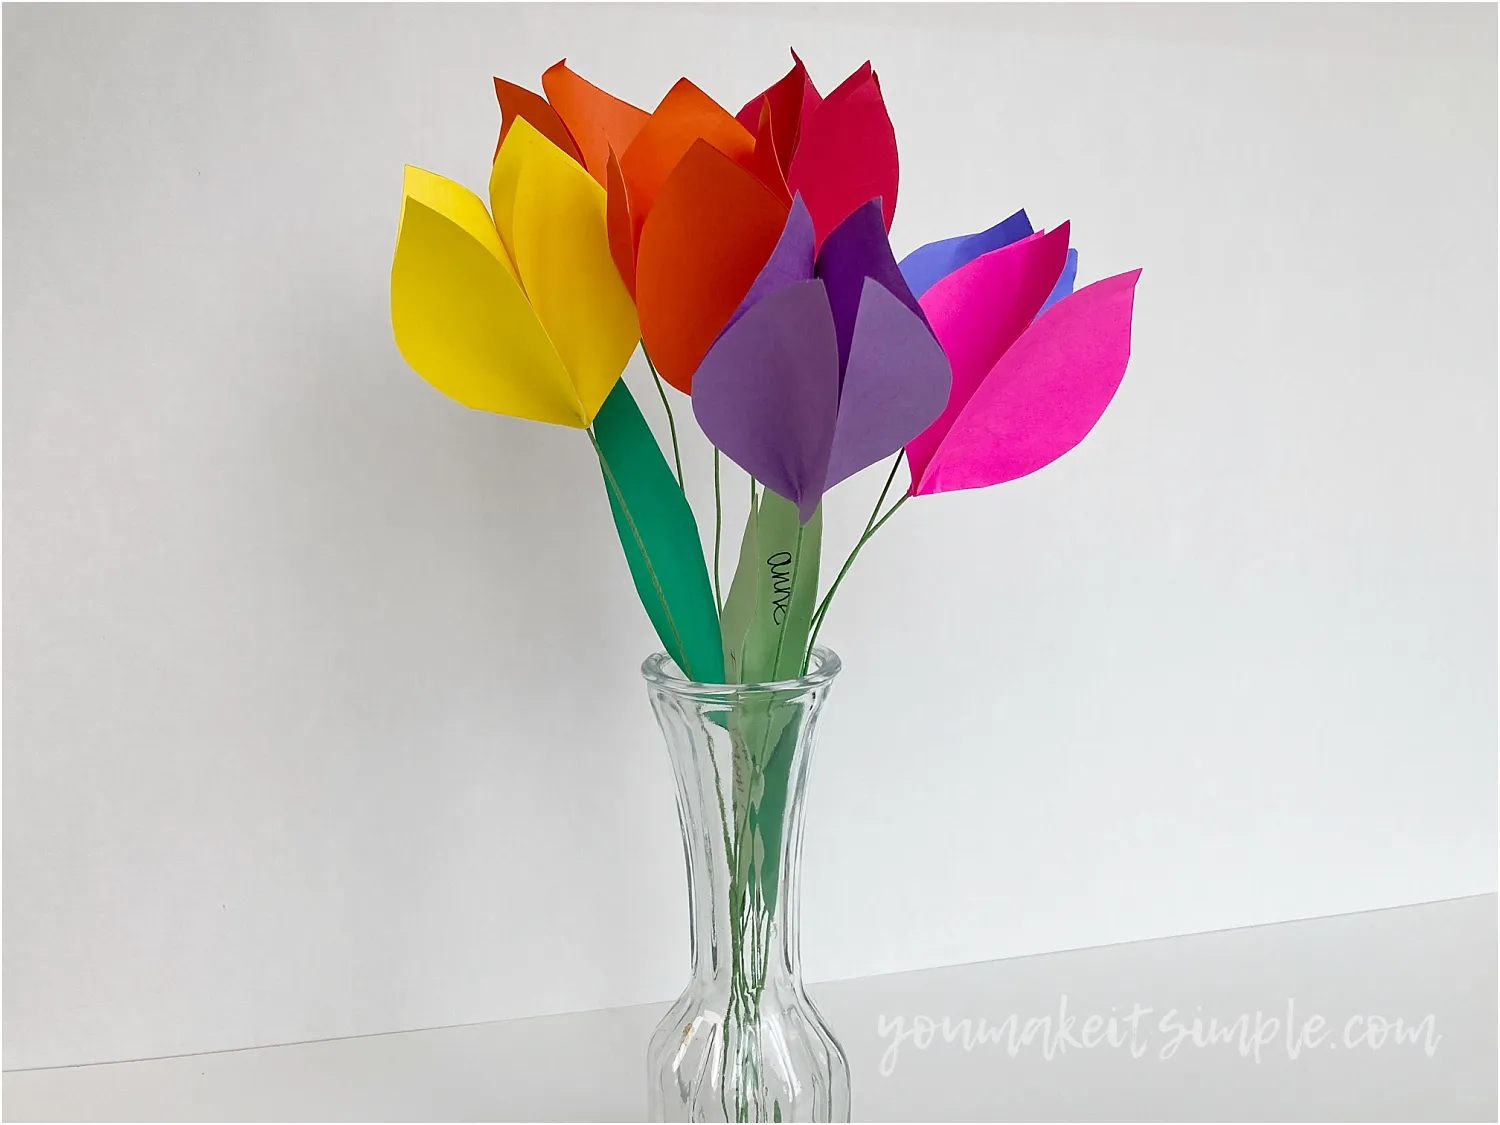
- Flower Arrangements: Combine your paper tulips with other paper flowers or even real ones for a vibrant bouquet. Use a decorative vase that complements your tulip colors.
- Table Centerpieces: Create a striking centerpiece for your dining table. Arrange several tulips in varying heights by using different-sized vases; it adds depth and interest.
- Wall Art: Create a stunning wall display by attaching your tulips to a canvas or a decorative board. You can either arrange them in a pattern or create a beautiful bouquet layout.
- Gift Wrapping: Use your paper tulips to embellish gift packages. Tuck a few tulips into a ribbon or attach them to a gift tag for a personal touch.
- Seasonal Displays: Change your displays according to the season. For instance, add pastel tulips for spring, vibrant colors for summer, and deeper hues for fall.
With these ideas, your paper tulips will not only look beautiful but also bring joy to your space. Get creative and let your craftsmanship shine!
Conclusion: Embrace Your Creativity with Paper Crafts
Creating paper tulips is just the beginning of an exciting journey into the world of paper crafts. This DIY project not only allows you to hone your skills but also encourages you to express your unique style. Here’s why embracing this craft can be so rewarding:
- Stress Relief: Engaging in creative activities like crafting can be a great way to unwind. The repetitive actions involved in making tulips can be incredibly meditative.
- Personal Expression: Each tulip can be made to reflect your personal taste. From colors to patterns, you have the freedom to create something truly unique.
- Sharing Joy: Handmade crafts make thoughtful gifts. Your paper tulips can spread happiness to friends and family, bringing a smile to their faces.
- Community Engagement: Consider joining a local crafting group or sharing your creations online. This can inspire others and foster connections with fellow craft enthusiasts.
So, gather your materials and let your imagination run wild. Remember, crafting is not just about the end product; it’s about enjoying the process. Happy crafting!