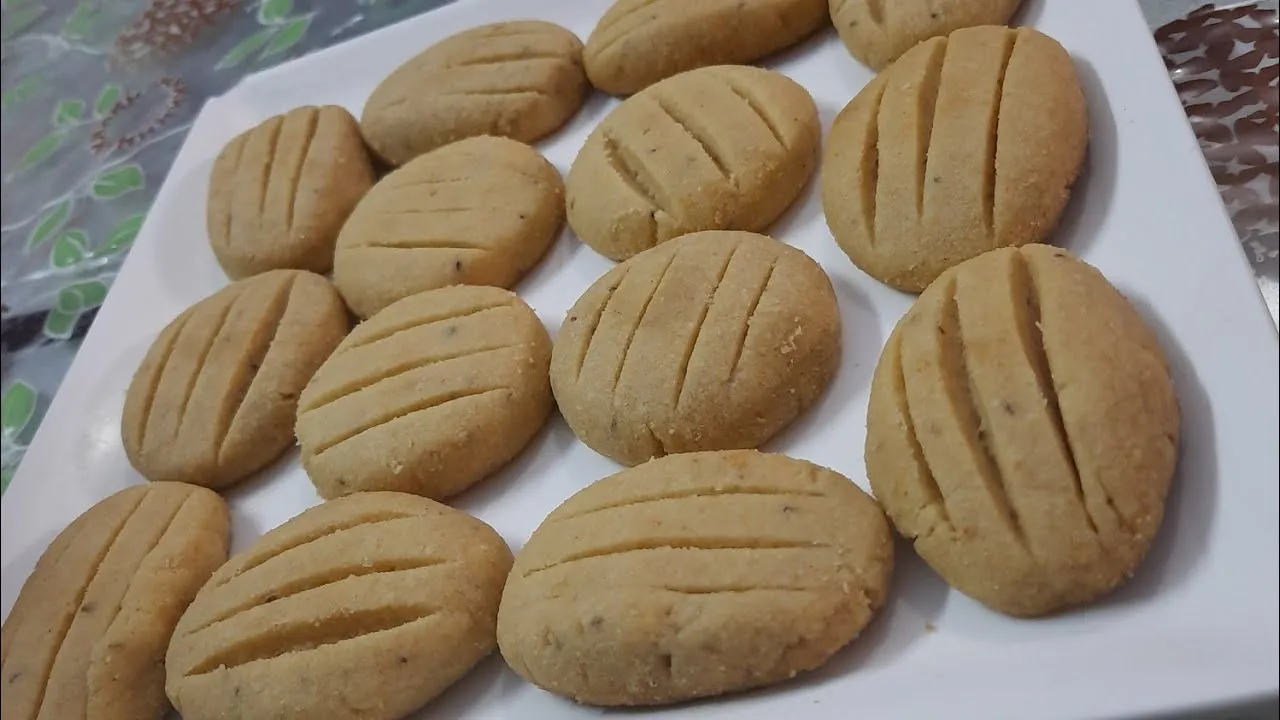
If you’ve ever craved warm, flaky biscuits but don’t have an oven, don’t fret! Making biscuits without an oven is not only possible but also surprisingly simple. With just a few ingredients and some clever techniques, you can whip up a batch of delectable biscuits using a stovetop or even a microwave. This guide will walk you through the entire process, ensuring that you can satisfy your biscuit cravings anytime. Let’s dive into the ingredients you’ll need to get started!
Ingredients Needed
To create delicious biscuits without the use of an oven, you'll need a few essential ingredients. Here's a handy list to help you gather everything you'll need:
- 2 cups all-purpose flour: This is the base of your biscuits, providing structure and texture.
- 1 tablespoon baking powder: A crucial leavening agent that helps the biscuits rise.
- ½ teaspoon salt: Enhances flavor and balances the sweetness.
- ½ cup cold butter: Cut into small pieces to create a flaky texture. You can also use margarine or shortening.
- ¾ cup milk: This adds moisture and binds the dry ingredients together. You can substitute with almond or oat milk if desired.
- Optional Add-ins: Consider adding ingredients like shredded cheese, herbs, or spices to elevate the flavor.
These ingredients are generally staples in most kitchens, making it easy for you to get started. With everything on hand, you’ll be well on your way to enjoying freshly made biscuits without an oven!
Also Read This: When Does Eren Begin the Rumbling in Attack on Titan
Step-by-Step Instructions
Making biscuits without an oven might sound tricky, but it’s quite simple and fun! Let’s dive into the step-by-step process to create those fluffy, golden circles of goodness.
- Gather Your Ingredients: Start by assembling everything you need. Here’s a quick checklist:
- 2 cups all-purpose flour
- 1 tablespoon baking powder
- 1/2 teaspoon salt
- 1/4 cup unsalted butter (cold and cubed)
- 3/4 cup milk
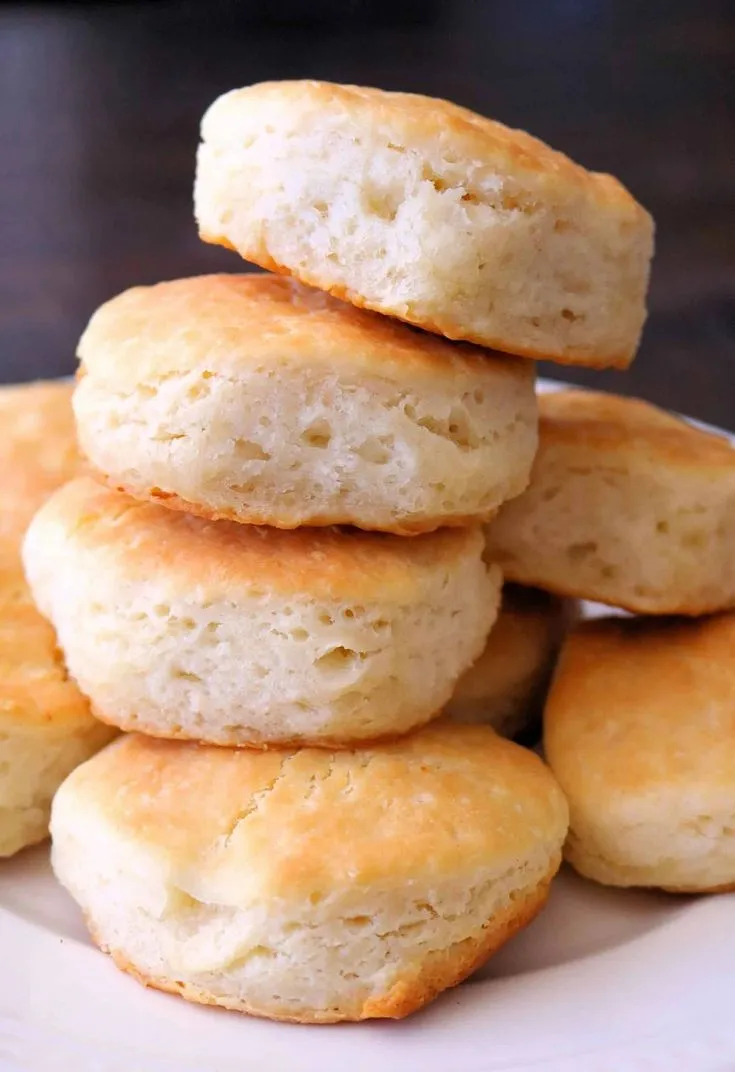
And there you have it! Homemade biscuits cooked right on your stovetop.
Also Read This: Mastering Image Editing with 123RF Tools for Your Projects
Tips for Perfect Biscuits
Getting your biscuits just right can take a bit of practice, but these handy tips will help ensure you achieve that perfect, fluffy texture every time:
- Use Cold Ingredients: Keeping your butter and milk cold helps create those flaky layers. You can even chill your flour beforehand!
- Don’t Overwork the Dough: The key to light biscuits is to mix just until the ingredients come together. Overmixing can lead to tough biscuits.
- Choose the Right Flour: All-purpose flour works great, but if you want a lighter texture, consider using cake flour.
- Experiment with Add-Ins: Feel free to customize your biscuits! Add cheese, herbs, or even chocolate chips to make them your own.
- Be Mindful of Cooking Time: Every stove is different, so keep an eye on your biscuits while they cook. If they’re browning too fast, reduce the heat.
With these tips in hand, you're well on your way to biscuit perfection. Happy cooking!
Also Read This: How to Listen to YouTube Music in the Background Without Premium
5. Serving Suggestions
Once you’ve whipped up a batch of delicious biscuits without the need for an oven, it's time to think about how to serve them! These biscuits can be quite versatile, making them perfect for any occasion.
- Traditional Butter and Jam: Spread some creamy butter and your favorite jam on a warm biscuit. Strawberry or raspberry jam pairs beautifully!
- Breakfast Sandwiches: Slice a biscuit in half and fill it with eggs, cheese, and a slice of ham or bacon for a hearty breakfast.
- Biscuits and Gravy: Pour some savory sausage gravy over your biscuits for a classic Southern dish that’s sure to please.
- Sweet Treats: Top your biscuits with whipped cream and fresh berries for a delightful dessert.
- Cheesy Biscuits: Incorporate shredded cheese into the biscuit dough for a savory twist that makes for an excellent side with soups and salads.
Don’t forget to serve them with a warm cup of coffee or tea! These biscuits are not just food; they’re an experience that’s meant to be savored. Feel free to get creative with toppings and fillings to match your taste preferences!
6. Conclusion
Making biscuits without an oven is not only easy but also a fun culinary adventure! Whether you’re looking to impress guests or simply want a comfort food treat, this DIY recipe has you covered. By following the steps outlined, you can achieve light, fluffy biscuits that rival those baked in the oven.
Remember, the key to perfect biscuits lies in the mixing technique and cooking method, so don’t skimp on those details. Plus, with so many serving suggestions, you can customize your biscuits to suit any occasion.
So, roll up your sleeves, gather your ingredients, and get ready to enjoy delicious homemade biscuits that bring warmth and joy without the need for an oven. Happy baking!