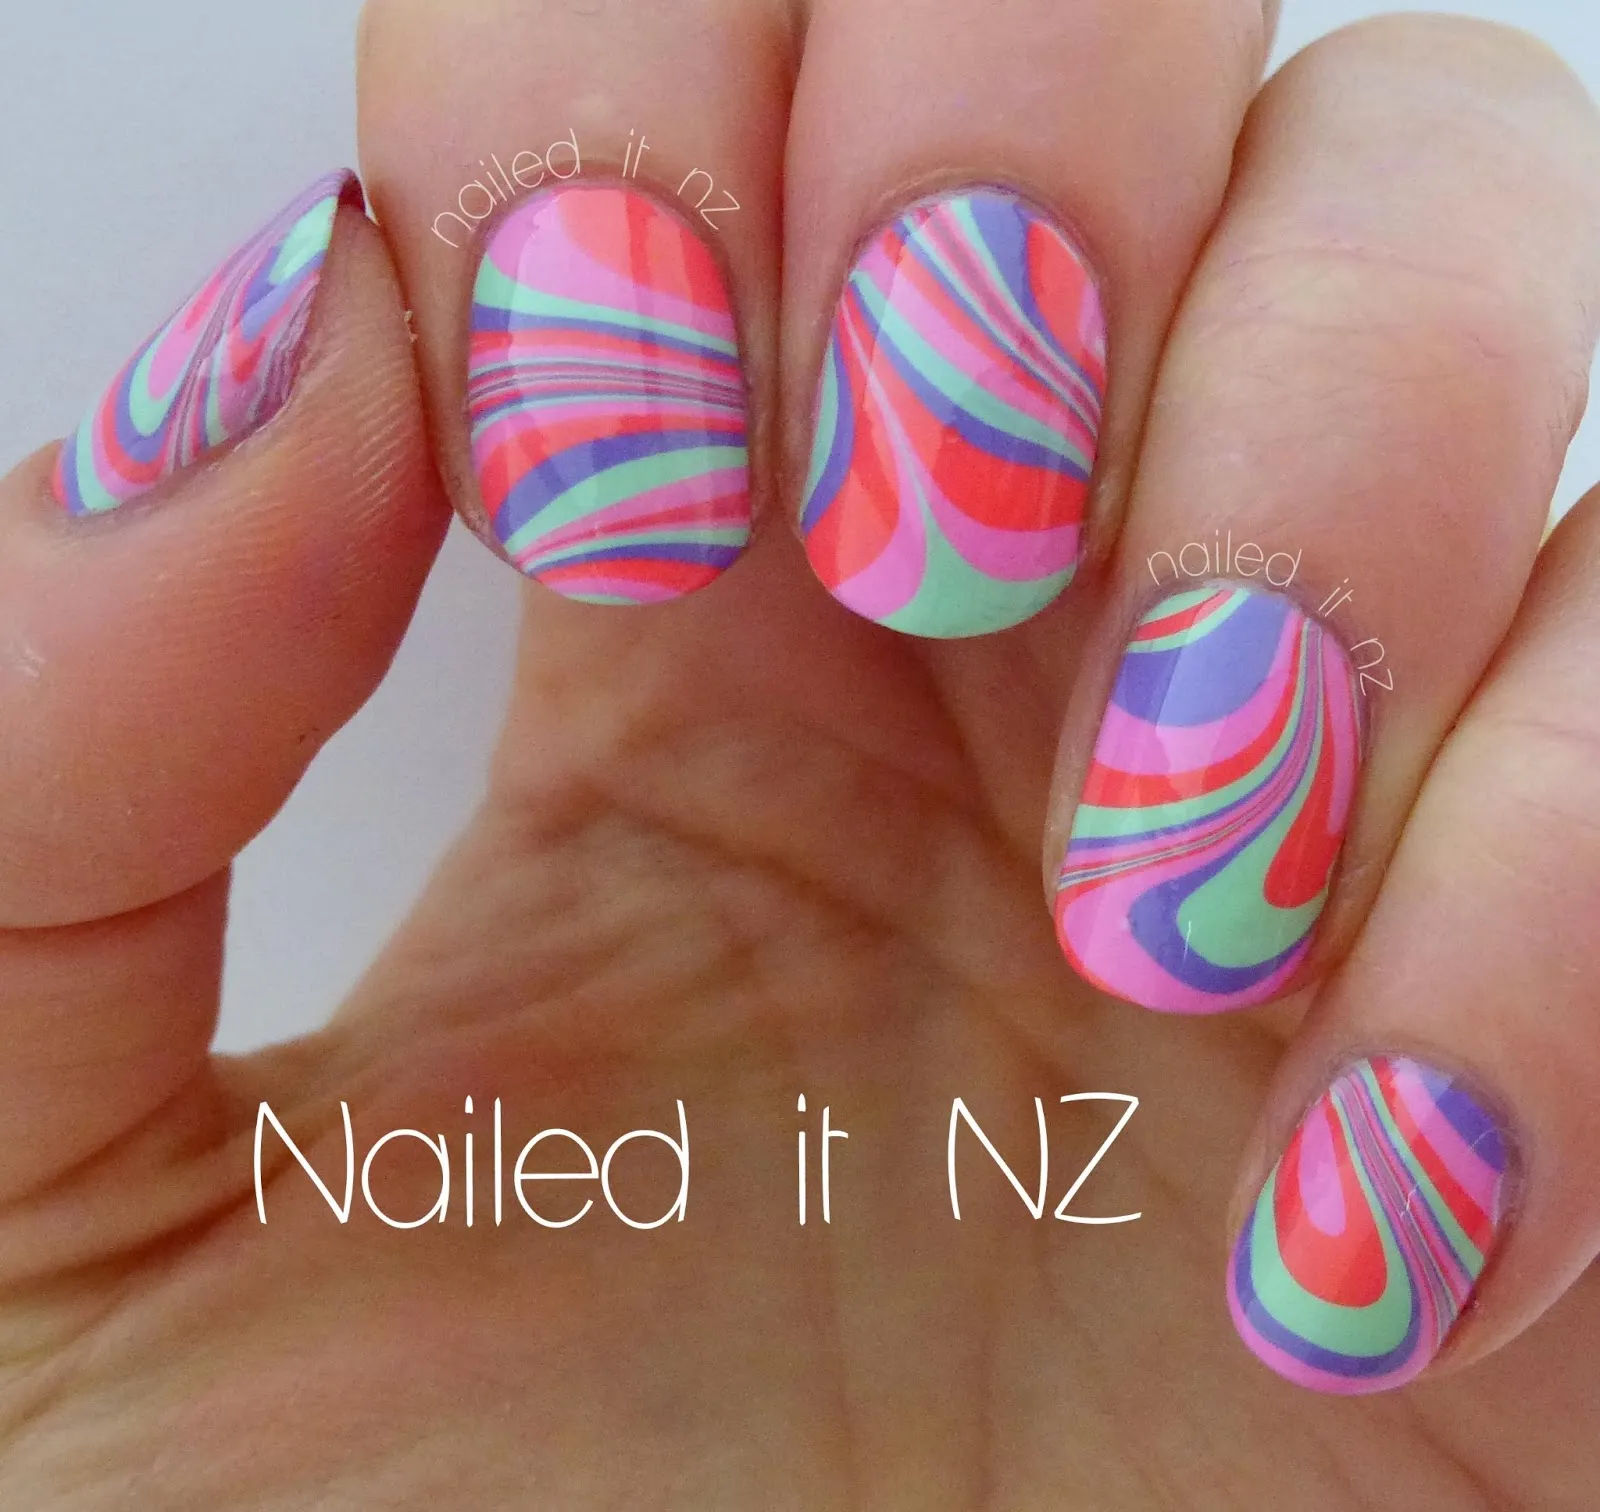
Water marble nail art is a mesmerizing technique that transforms ordinary nails into stunning works of art. Using simple materials and a bit of creativity, you can create beautiful swirls and patterns that mimic the intricate designs found in marble stone. Whether you're a nail art novice or have some experience under your belt, this method allows for endless possibilities and personal expression. Plus, with resources like Dailymotion, you can easily access tutorials that guide you through the process step by step. Ready to dive into the colorful world of water marble nail art? Let’s get started!
Essential Tools and Materials Needed
Before you embark on your water marble nail art journey, it's crucial to gather the right tools and materials. Here’s a handy list to ensure you have everything you need:
- Nail Polish: Choose at least three to five colors. Opt for fast-drying, pigmented polishes for the best results.
- Room Temperature Water: Distilled water is preferred, as it helps the polish spread evenly. Ensure it's at room temperature for optimal marbling.
- Small Cup or Bowl: This will hold the water for your marbling process. A shallow bowl is ideal.
- Toothpick or Dotting Tool: Use this to create swirling patterns in the nail polish.
- Nail Tape or Liquid Latex: These will protect your skin from the nail polish, making cleanup easier.
- Base Coat and Top Coat: Essential for prepping your nails and sealing in your design.
- Paper Towels or Cotton Balls: For quick cleanup between designs and removing excess polish.
By having these tools at your fingertips, you’ll set yourself up for a successful water marble nail art session. Let your creativity flow as you experiment with different colors and patterns!
Also Read This: Is YouTube Automation Legal and What You Need to Know About YouTube Growth Services
Step-by-Step Guide to Creating Water Marble Designs
Water marble nail art is a stunning way to express your creativity right at home! If you're ready to dive into the colorful world of water marble designs, here’s a simple step-by-step guide to get you started:
- Gather Your Supplies: You’ll need:
- Nail polish (3-4 colors of your choice)
- A small container of room-temperature water
- Toothpicks or a nail art tool
- Clear top coat
- Scotch tape (optional)
- Paper towels for cleanup
There you have it! With a little practice, you’ll master the art of water marble nail designs.
Also Read This: Why Do YouTube Videos Keep Stopping and How to Fix Playback Issues
Common Mistakes to Avoid
While water marble nail art is fun, it can also be tricky. Here are some common mistakes that can hinder your gorgeous designs:
| Mistake | Solution |
|---|---|
| Using Cold Water: Cold water causes the nail polish to sink instead of spread. | Always use room-temperature water for the best results. |
| Overmixing Colors: Mixing too much can create a muddy appearance. | Swirl gently and stop once you see a beautiful pattern. |
| Not Using Enough Polish: If you don't drop enough polish, the design won't be vibrant. | Use 3-4 colors for a richer, more dynamic design. |
| Dipping Too Quickly: Rushing can lead to a messy outcome. | Take your time to align your nail with the design before dipping. |
| Skipping the Base Coat: This can lead to stains or peeling. | Always apply a base coat for protection and better adhesion. |
By avoiding these common pitfalls, you'll set yourself up for success in creating stunning water marble designs. Happy painting!
Also Read This: How to Choose the Right Contact Lenses: A Guide to Coloured and Varifocal Options
Tips for Perfecting Your Technique
Mastering water marble nail art can be a bit tricky, but with practice and the right techniques, you’ll create stunning designs in no time! Here are some essential tips that can make a significant difference:
- Use Room Temperature Water: The temperature of the water is crucial. Use room temperature water for the best results, as cold water can cause the nail polish to dry too quickly, making it difficult to create your design.
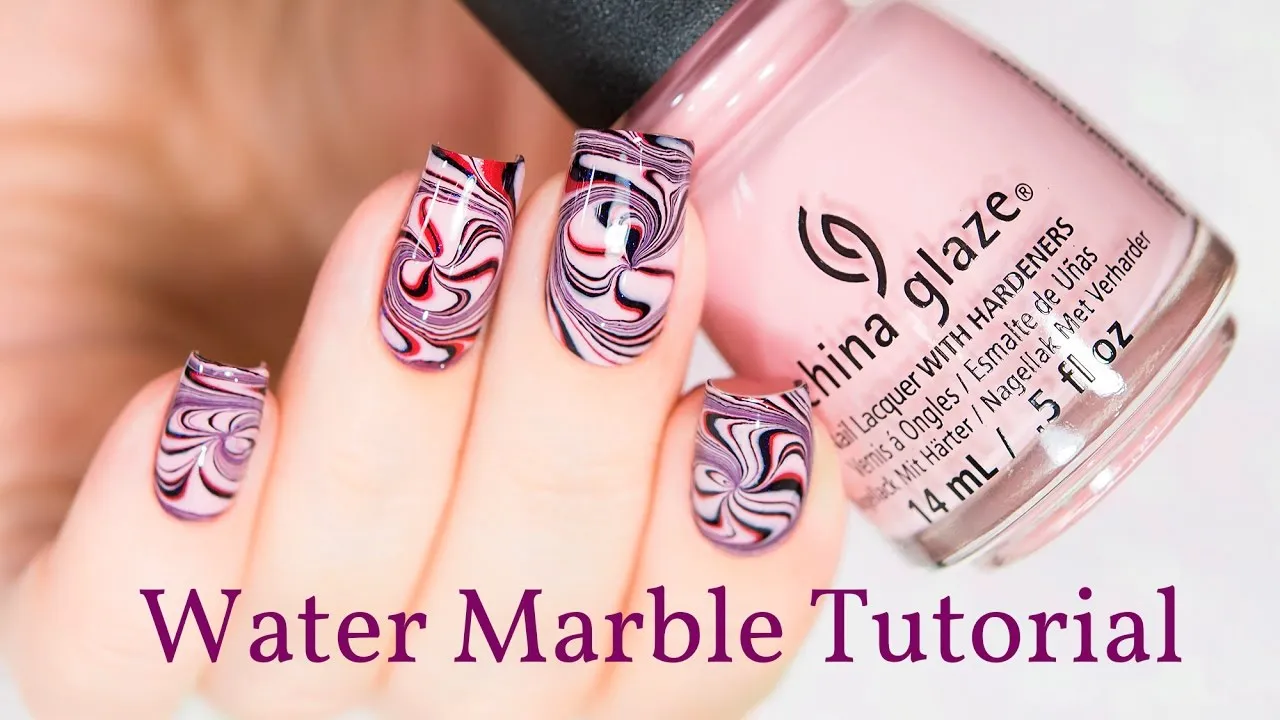
- Choose the Right Nail Polish: Not all nail polishes are suitable for water marbling. Look for polishes that are thin and fluid. Brands like OPI or Essie often work well. Avoid thick, glittery, or quick-dry formulas.
- Work Quickly: Nail polish can dry fast on the water surface, so once you drop the polish, work quickly to create your design. Have your tool (like a toothpick or a dotting tool) ready!
- Practice Your Swirl: The swirly designs can make or break your marble. Practice swirling the polish with a toothpick before you start on your nails to find your rhythm.
- Protect Your Skin: To avoid a mess, apply tape or a peel-off base around your nails. This way, cleanup is a breeze after you’re done!
Remember, practice makes perfect! Don’t get discouraged if your first attempts don’t turn out as expected. Keep experimenting and have fun!
Also Read This: How Many Pixels Are Ideal for Shutterstock and Tips for Image Quality
Exploring Different Designs and Patterns
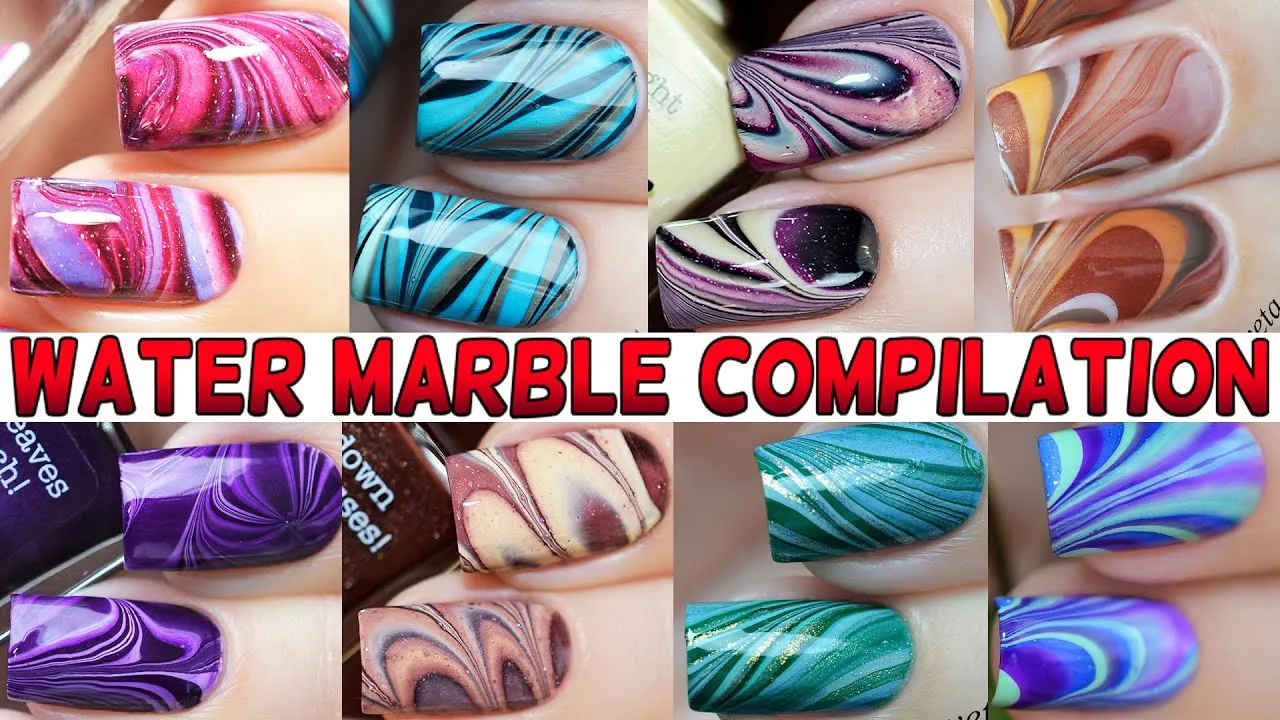
Once you have the basic technique down, it’s time to unleash your creativity! There are countless designs and patterns you can create with water marble nail art. Here are some popular styles to explore:
| Design Name | Description |
|---|---|
| Classic Marble | This is the quintessential water marble look, featuring a swirl of two or three contrasting colors. |
| Ombre Marble | Blend two colors to create a gradient effect before swirling for a soft transition. |
| Floral Design | Add floral patterns by dragging a tool in petal shapes after dropping your polish. |
| Geometric Patterns | Create sharp lines by alternating colors and using tape for clean edges. |
Feel free to mix and match colors, and don’t shy away from experimenting with new color combos! Each design can reflect your personality and style, so let your imagination run wild.
Also Read This: Can You Get Shadowbanned on YouTube?
Using Dailymotion for Tutorials and Inspiration
If you're looking to master water marble nail art, Dailymotion is a treasure trove of resources that can help you elevate your skills. This platform offers a variety of video tutorials created by nail art enthusiasts and professionals alike. Here’s why Dailymotion should be your go-to for nail art inspiration:
- Diverse Content: From beginner-friendly tutorials to advanced techniques, Dailymotion features content for every skill level.
- Visual Learning: Nail art is a visual art, and watching someone else create stunning designs can be incredibly helpful. You can pause, rewind, and rewatch as needed.
- Community Engagement: Many creators engage with their audience through comments, making it easy to ask questions and gain tips directly from experts.
- Trendy Designs: Stay updated on the latest trends by following popular nail artists on the platform. You’ll find seasonal designs, holiday themes, and innovative techniques.
To get started, search for keywords like "water marble nail art" or "nail art tutorials" on Dailymotion. You might discover hidden gems with unique styles and methods that resonate with you. Don’t forget to take notes while you watch, and consider trying out different techniques to find your own signature style!
Conclusion and Final Thoughts
In conclusion, mastering water marble nail art at home is not just a fun hobby; it’s a fantastic way to express your creativity. With the help of Dailymotion, you have access to a wealth of tutorials and inspiration that can turn your nail art dreams into reality.
Here are a few final takeaways:
- Practice Makes Perfect: Don’t get discouraged by initial mishaps. Every great nail artist started somewhere!
- Experiment: Use different colors, tools, and techniques to develop your unique style.
- Share Your Creations: Don’t forget to share your work with the community. You might inspire others in their nail art journey!
So gather your supplies, queue up some Dailymotion tutorials, and dive into the colorful world of water marble nail art. Happy painting!