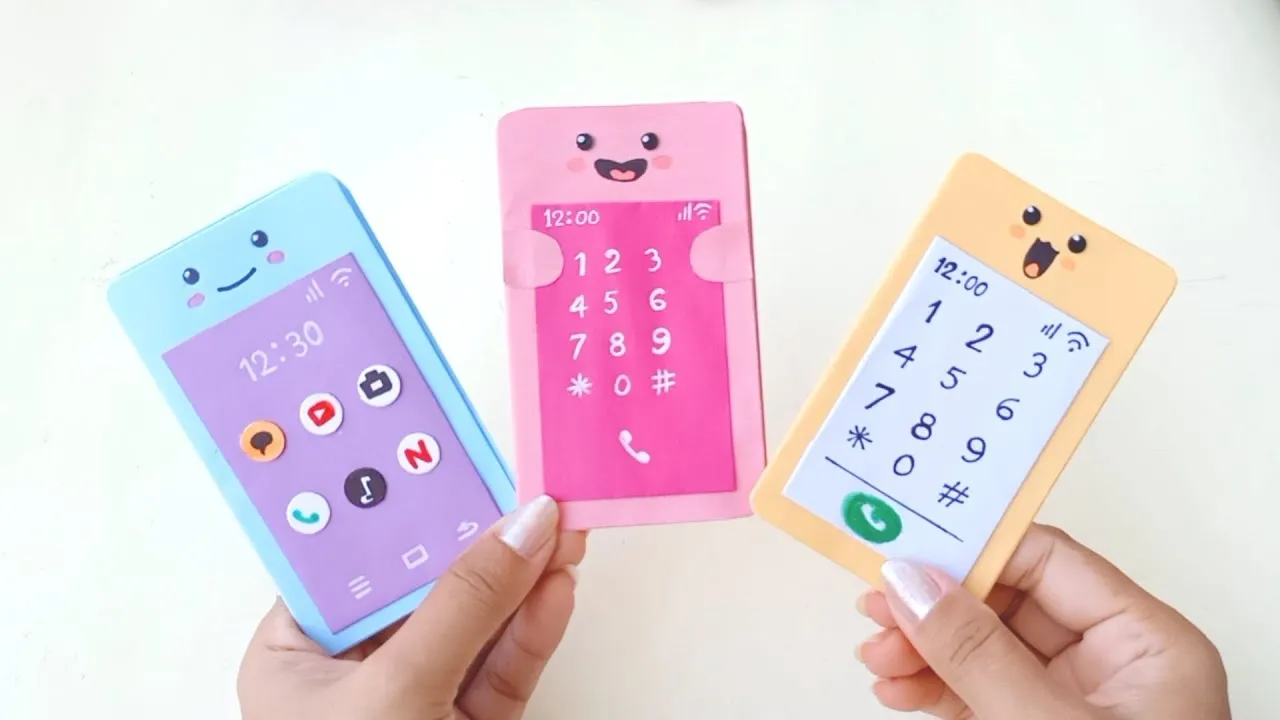
Have you ever thought about the simplicity of a paper phone? In a world dominated by screens and digital distractions, creating a paper phone can be a fun and refreshing project. It’s not just a nostalgic nod to the past but also a practical way to declutter your mind. In this guide, we’ll walk you through the process of making your very own paper phone, detailing everything from the materials needed to the step-by-step creation process. Whether you’re looking to engage in a fun craft or simply want a break from technology, this guide is here to help!
Materials Needed
Before diving into the creation of your paper phone, it's essential to gather all the necessary materials. Here's a comprehensive list to get you started:
- Paper: Choose a sturdy type like cardstock or even recycled paper. You’ll want something that can withstand folding and handling.
- Scissors: A good pair of scissors is crucial for cutting out your phone’s shape and features.
- Glue or Tape: Use glue or double-sided tape to secure different parts of your paper phone together.
- Pencils or Markers: These will be used for drawing the phone's interface and adding personal touches.
- Ruler: To measure and create straight lines for a polished look.
- Craft Knife (optional): For more intricate designs and cuts, a craft knife can provide precision.
- Templates (optional): You can find printable templates online or create your own for reference.
Having these materials ready will make the process smoother and more enjoyable. Don't hesitate to get creative with your choices! You can use colored paper, washi tape, or stickers to add flair and personality to your paper phone.
Also Read This: How to Make Dough Flowers Step by Step
Step 1: Designing the Phone
Designing your paper phone is the first exciting step in this creative process! Think of it as sketching out a blueprint before construction. Grab a pencil and some graph paper, or use a digital design tool if you prefer.
Here are some key elements to consider while designing:
- Size: Decide on the dimensions of your paper phone. A typical smartphone is about 6 inches tall and 3 inches wide. Adjust according to your preference!
- Layout: Sketch the screen, buttons, and camera placement. Remember to leave space for any extra features you want, like speakers or a charging port.
- Colors and Patterns: Choose a color scheme that reflects your style. You can go for a classic black or white, or maybe some vibrant colors or funky patterns!
Once you have a design in mind, refine it! Make sure everything is proportionate and that your buttons and icons are easily recognizable. If you’re not confident in your drawing skills, you can find templates online to guide you. Don't hesitate to add personal touches—maybe your favorite app icons or a unique logo!
Finally, take a clear picture of your design or print it out. This will serve as your template for the next step. Designing your phone is all about making it your own, so have fun with it!
Also Read This: Engage on Social Media with Canva Social Media Templates
Step 2: Cutting the Paper
Now that you’ve designed your paper phone, it’s time to bring it to life by cutting the paper! This step requires patience and precision, but don't worry; it’s all part of the fun!
Here's how to go about it:
- Gather Materials: You’ll need high-quality paper (like cardstock for durability), scissors or a craft knife, and a cutting mat if you’re using a knife.
- Trace Your Design: Place your printed design on the paper and carefully trace it with a pencil. Make sure to mark out any cut lines clearly.
- Cut Carefully: Using scissors for straight edges and a craft knife for intricate parts, cut along the traced lines. Take your time—precision is key! If you’re using a craft knife, always cut on a mat to protect your surfaces.
- Check Your Work: Once you’ve made the cuts, gently remove any excess paper and check for any rough edges. You can use an emery board or a fine sandpaper to smooth them out.
And there you have it! With your paper phone cut out, you’re one step closer to showcasing your creation. Keep it safe; the next stage is going to be just as exciting!
Also Read This: Understanding the Costs and Licensing Fees of Getty Images Stock Photos
Step 3: Assembling the Phone

Now that you have all your materials ready, it’s time to bring your paper phone to life! This step is where the magic happens. Let's break it down:
- Gather Your Materials: Make sure you have your printed components ready, including the front and back panels, buttons, and any additional elements you want to include.
- Cut Out the Parts: Use scissors or a craft knife to carefully cut along the lines of your printed designs. Take your time here; neat cuts will make a big difference in the final product!
- Fold and Score: If your design includes folds (like the edges of the phone), use a ruler to score lightly along those lines. This will make the folding process smooth and precise.
- Glue It Together: Start by gluing the front panel to the back panel. Use a glue stick or liquid glue, being careful to apply it evenly. Ensure the edges align perfectly for a clean finish.
- Add the Buttons: Once the main body is assembled, it’s time to attach any buttons or decorative features. Use small dabs of glue to affix them in place.
After you’ve assembled everything, give it a few minutes to dry completely before moving on to the next step. You want to make sure everything is securely attached!
Also Read This: Using Behance for portfolio creation
Step 4: Adding Details and Decorations
This is the fun part! Adding details and decorations can really personalize your paper phone and make it stand out. Here’s how to get creative:
- Use Markers and Pens: Grab some colorful markers to add designs, labels, or even doodles. You can personalize the home screen, create app icons, or write fun messages.
- Add Stickers: Stickers can enhance the look of your paper phone. Whether you choose cute characters, emojis, or motivational quotes, they can bring your design to life.
- Include Textures: Think about adding textured elements. For instance, you could use fabric for the phone's case or metallic paper for buttons to give a more dynamic look.
- Decorative Borders: Consider framing your phone with a decorative border. This could be a simple line or a more intricate design cut from colored paper.
- Personal Touches: Don’t hesitate to include your name or a fun nickname on the phone. It makes it uniquely yours!
Once you’re happy with the decorations, step back and admire your creation. Your personalized paper phone is now ready to shine!
Also Read This: How to Use Getty Images Without a Watermark
Step 5: Final Touches
Congratulations on making it this far in your journey to create a paper phone! Now it’s time for the fun part—the final touches that will bring your creation to life. These small details can really enhance the aesthetic and functionality of your paper phone, making it a delightful project to showcase.
Here are some essential steps to consider for those final touches:
- Add Color and Design: Use colored markers or pencils to personalize your phone. Think about adding a unique case design, patterns, or even stickers! This is your chance to unleash your creativity.
- Enhance the Interface: If your paper phone has apps, draw them out clearly. Consider using different colors for each app type—social media in blue, games in green, etc. This not only looks good but also makes it easier to identify each app.
- Strengthen the Structure: If you feel your phone needs reinforcement, consider using tape or glue to secure loose parts. This ensures that your phone remains intact while you handle it.
- Functional Features: If you want to go the extra mile, create a paper charger or a paper headphone jack. These little features can round out your design and make it feel more realistic.
- Get Feedback: Show your completed paper phone to friends or family. Their reactions and suggestions can inspire further enhancements!
With these final touches, your paper phone will be not only a fun project but also an impressive display of your creativity and effort!
Conclusion
Creating a paper phone is a rewarding and educational experience that combines creativity with hands-on skill. In this ultimate guide, we've walked through each step, from gathering materials to adding those all-important final touches. The beauty of making a paper phone lies in the freedom to express yourself.
Here are some key takeaways to remember:
| Key Points | Description |
|---|---|
| Materials Matter | Choosing high-quality paper and tools can make a significant difference in the final product. |
| Personalization is Key | Don’t be afraid to let your personality shine through in your design! |
| Practice Patience | Take your time with each step to ensure a polished result. |
| Have Fun! | Remember, this is a creative outlet. Enjoy the process of making your paper phone! |
Your paper phone isn’t just a craft; it’s a canvas for your creativity. So, gather your materials, unleash your inner designer, and enjoy every moment of this fun project. Happy crafting!