Have you ever wanted to bring a little magic to your craft projects? Creating a moving paper robot is a fantastic way to combine creativity and fun, and with Dailymotion’s Creative Craft Guide, you’re just a few steps away from making your very own charming robot! This guide will walk you through the process, making it easy and enjoyable, whether you're a seasoned crafter or a curious beginner. So, roll up your sleeves, and let’s get started on this delightful project!
Materials Needed
Before diving into the crafting process, it’s essential to gather all the materials you'll need. Here's a handy list to ensure you have everything on hand:
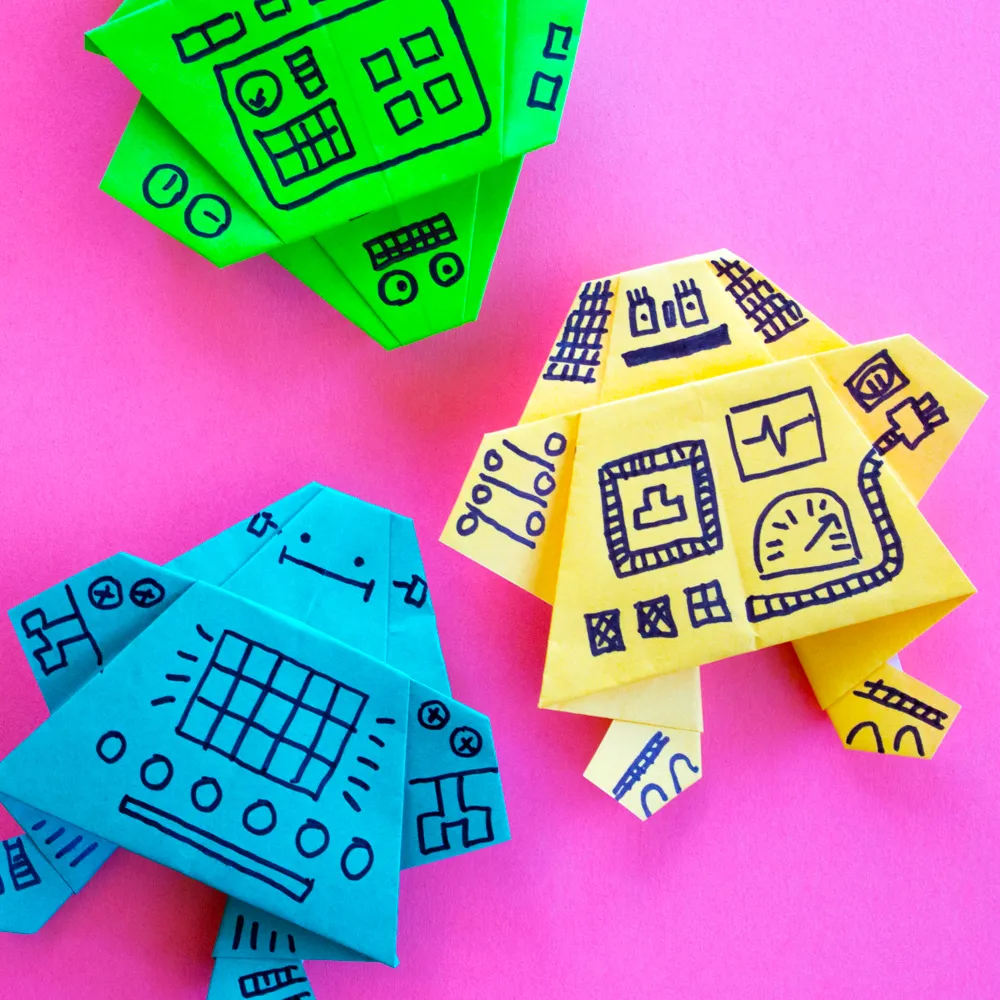
- Colored paper or cardstock: Choose bright colors to make your robot stand out!
- Scissors: A pair of scissors is crucial for cutting out your robot parts.
- Glue stick: To assemble your robot securely, a glue stick will work best.
- Brads or paper fasteners: These will help create the moving parts of your robot.
- Markers or crayons: Use these for decorating your robot with unique designs.
- Ruler: A ruler is handy for measuring and ensuring straight lines.
- Pencil: For sketching out your robot design before cutting.
- Googly eyes (optional): Add some personality to your robot with these fun additions!
Gathering these materials beforehand will make the crafting process smoother and more enjoyable. Don’t worry if you can’t find something; you can always improvise with similar items. The goal is to have fun and let your creativity shine!
Also Read This: How to Record Gameplay for YouTube
3. Step-by-Step Instructions
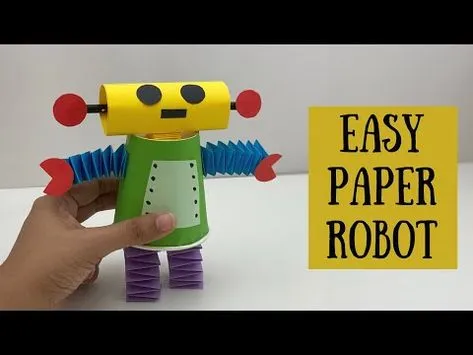
Creating a moving paper robot is a fun and rewarding project that you can easily complete with just a few materials. Follow these simple steps to bring your paper robot to life!
- Gather Your Materials: You’ll need:
- Colored paper or cardstock
- Scissors
- Glue stick or double-sided tape
- Brads (paper fasteners)
- Pencils or markers for decorating
- Straws (optional for movement)
Also Read This: Using Incognito Mode on YouTube and Its Benefits
4. Tips for Customization
Customizing your paper robot makes it truly one-of-a-kind! Here are some creative tips to help you personalize your creation:
- Choose Unique Colors: Don’t be afraid to mix and match colors. A bright yellow robot with purple arms will definitely stand out!
- Add Accessories: Get crafty by adding hats, glasses, or even a cape. Use different materials like fabric scraps or foil for a fun touch.
- Experiment with Movement: Instead of just using brads for joints, try using rubber bands or string for different types of movement. You could create a robot that waves or even dances!
- Incorporate Technology: For a high-tech twist, consider adding LED lights to your robot. Just make sure to plan where the battery pack will go!
- Personal Messages: Write a fun slogan or your name on the robot. It’ll be a great conversation starter!
Remember, the best part of crafting is having fun and experimenting. Let your imagination run wild as you customize your moving paper robot!
Also Read This: How to Add a Certificate to Your LinkedIn Profile
5. How to Make Your Robot Move
So, you've crafted your paper robot and it looks fantastic! Now, let’s bring it to life. Making your robot move is the most exciting part of the project, and it’s simpler than you might think. Here’s how to do it:
First, you’ll need some basic materials:
- Small motors (like hobby servo motors)
- A battery pack
- Wires
- Cardboard or a sturdy base for stability
- Optional: a remote control kit for added fun!
Now, let’s dive into the steps:
- Attach the Motors: Fix the motors to the base of your robot. Ensure they are securely fastened so that they don’t move when in operation.
- Connect the Battery Pack: Wire the motors to the battery pack. This is where your robot will get its energy! Make sure to connect the positive and negative terminals correctly.
- Test the Movement: Before you finalize everything, test the motors. Activate them and see if your robot can move. Adjust the wiring if needed.
- Control Your Robot: If you're using a remote control kit, set it up according to the instructions. This allows you to maneuver your robot from a distance!
And there you have it! Your paper robot is now ready to strut its stuff. It’s amazing how a few simple components can transform your creation from a static model into a moving marvel!
6. Conclusion
Creating a moving paper robot is not just an entertaining project; it's a delightful way to dive into the world of robotics and creativity. Whether you’re doing this as a fun afternoon craft or as a learning experience, there’s so much to gain.
To recap:
- Gather your materials, including motors and a battery pack.
- Follow the step-by-step guide to attach the motors and connect the battery.
- Test and fine-tune your robot's movement.
The joy of watching your creation move and respond is incredibly satisfying. Plus, it’s a great conversation starter! Remember, the beauty of crafting is in the experimentation. Don’t hesitate to tweak your design or add features – maybe even some lights or sounds!
So, grab your supplies, and let your imagination run wild. With Dailymotion's Creative Craft Guide, you’re not just making a robot; you’re building memories and learning valuable skills along the way. Happy crafting!