Welcome to our delightful journey into the world of Dora Cake! If you're looking for a fun, creative baking project that’s perfect for kids’ birthdays or just a whimsical treat, you’ve come to the right place. This tutorial will guide you through the process of making a charming Dora the Explorer-themed cake that will not only be a feast for the taste buds but also a treat for the eyes. So, grab your apron, and let’s dive into the fun of baking a Dora Cake!
Gathering Ingredients
Before we start baking, let’s make sure we have everything we need for our fabulous Dora Cake. Here’s a handy list of ingredients that you’ll need to gather:
- Cake Layers:
- 2 cups all-purpose flour
- 1 ½ cups granulated sugar
- 1 cup unsalted butter, softened
- 1 cup whole milk
- 3 large eggs
- 2 ½ teaspoons baking powder
- 1 teaspoon vanilla extract
- Buttercream Frosting:
- 1 cup unsalted butter, softened
- 4 cups powdered sugar
- 2 tablespoons milk
- 1 teaspoon vanilla extract
- Food coloring (pink, purple, yellow, etc. for Dora’s face and accessories)
- Decorations:
- Dora-themed cake topper (you can buy or make your own)
- Edible glitter
- Sprinkles in vibrant colors
Once you have all these ingredients ready, you're just a step away from creating a stunning Dora Cake. Remember, baking is all about having fun, so don’t stress too much about getting everything perfect. Let’s get creative!
Also Read This: Mastering LinkedIn Introductions for Building Strong Networks
Preparing the Cake Batter
Making the perfect cake batter is like creating a masterpiece—it requires the right ingredients and a dash of love. Here’s how to prepare a scrumptious cake batter for your Dora cake:
- Ingredients:
- 2 cups all-purpose flour
- 1 ½ cups granulated sugar
- ½ cup unsalted butter, softened
- 1 cup milk
- 3 large eggs
- 2 ½ teaspoons baking powder
- 1 teaspoon vanilla extract
- ¼ teaspoon salt
Start by preheating your oven to 350°F (175°C). While that’s heating up, grab a large mixing bowl and follow these steps:
- Cream the Butter and Sugar: Beat the softened butter and sugar together until light and fluffy. This usually takes around 3-5 minutes.
- Add Eggs and Vanilla: Mix in the eggs, one at a time, ensuring each is fully incorporated before adding the next. Stir in the vanilla extract.
- Combine Dry Ingredients: In a separate bowl, whisk together the flour, baking powder, and salt. Gradually add this to the wet mixture, alternating with the milk.
- Mix Until Smooth: Stir the batter until just combined—overmixing can lead to a tough cake!
Now, you’ve got a delightful cake batter ready to create some Dora magic!
Also Read This: How to Add a Description in Behance
Baking the Cake
Now that your batter is prepped, it's time to bake that beauty! Follow these simple steps to ensure your Dora cake bakes to perfection:
- Choose Your Pans: Depending on your design, you might use two 9-inch round pans or a larger rectangular one for a layered effect.
- Grease and Flour the Pans: Ensure easy removal by greasing the pans with butter or cooking spray, then dusting them with flour.
Here’s the baking process:
- Pour the Batter: Divide the batter evenly between your prepared pans, smoothing the tops with a spatula.
- Bake: Place the pans in your preheated oven and bake for 25-30 minutes. You’ll know they’re done when a toothpick inserted in the center comes out clean!
- Cool Down: Once baked, let the cakes cool in the pans for about 10 minutes. Then, transfer them to a wire rack to cool completely.
While they cool, resist the urge to sneak a piece! You’ll need a solid base for decorating your adorable Dora cake.
Also Read This: Review of the Hori Split Pad Pro and Its Features Regarding Rumble
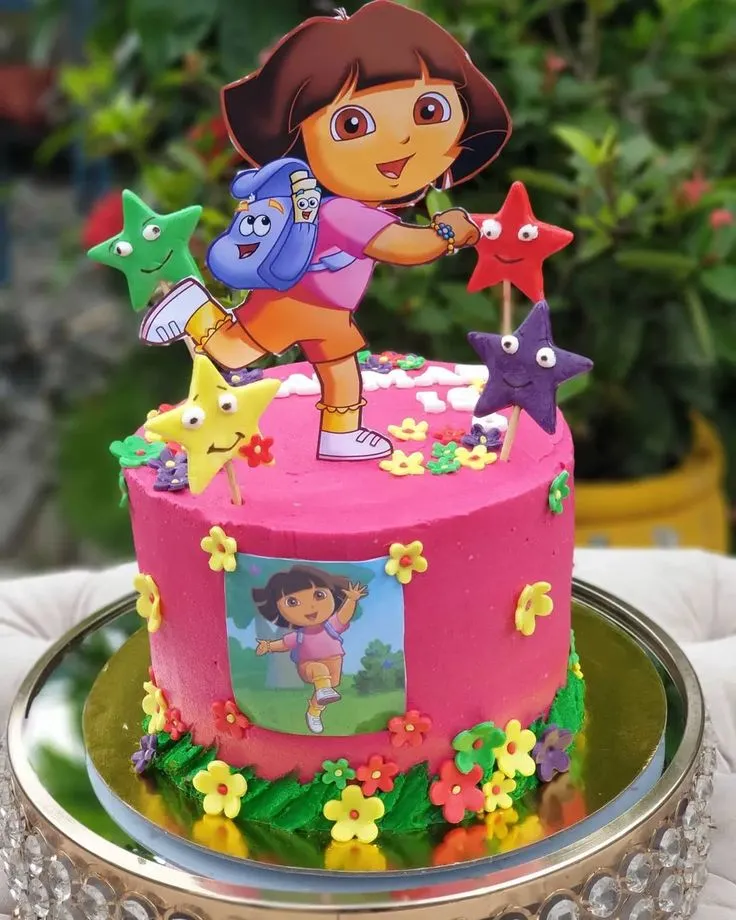
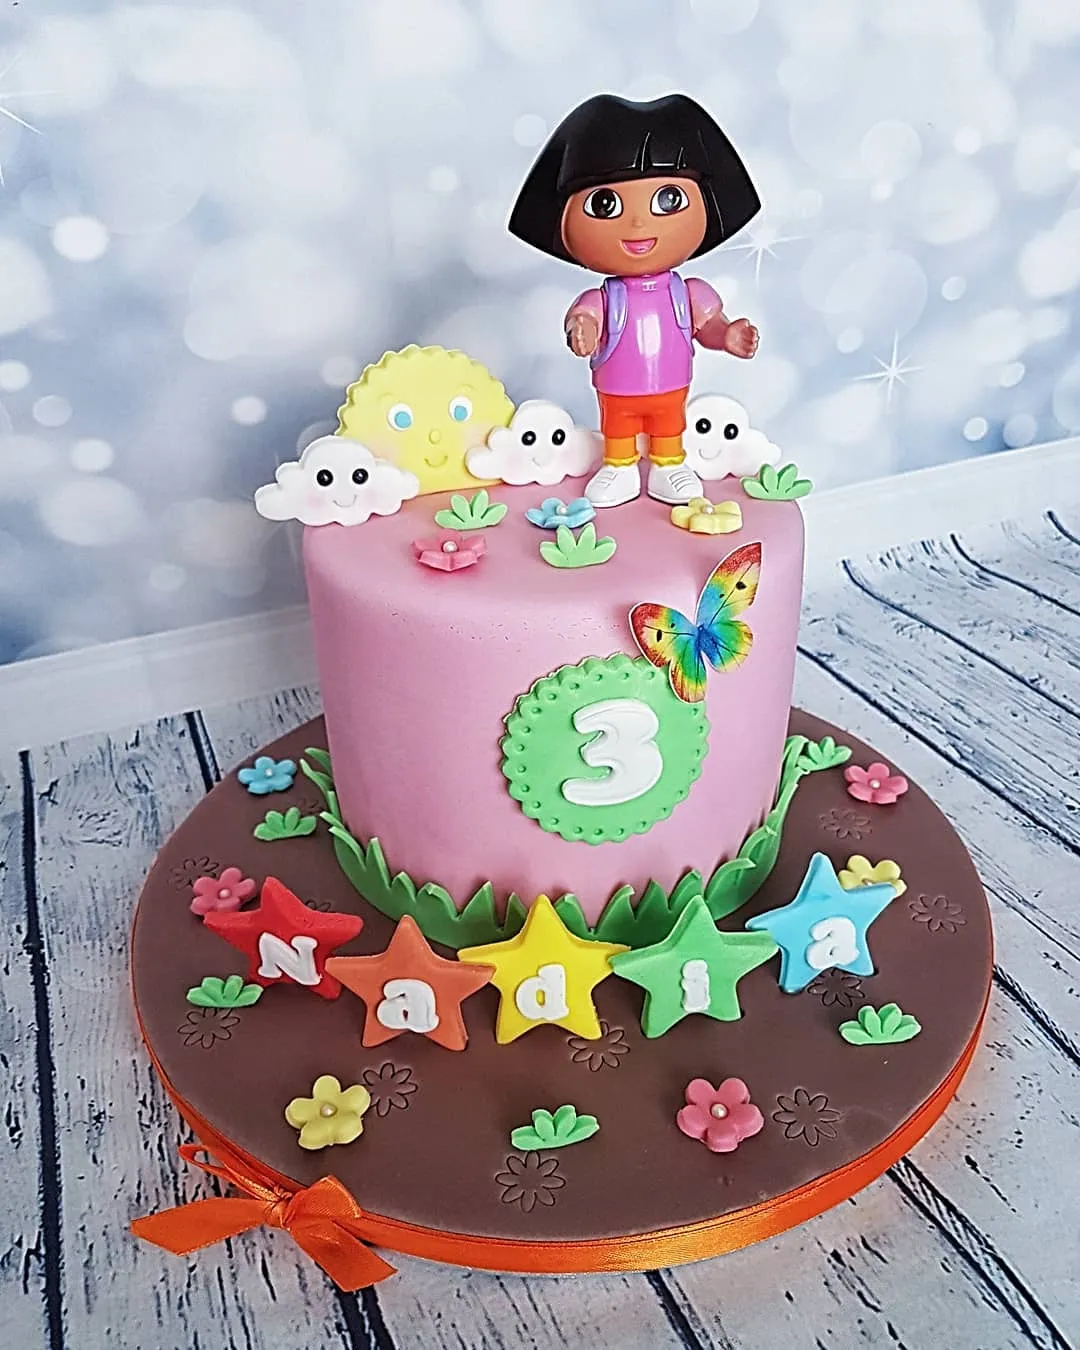
Creating the Dora Character
Creating the adorable Dora character for your cake is a fun and creative process! First, gather your materials: you'll need fondant in various colors—purple, pink, white, and black, along with edible food color markers. If you want to keep it simple, you can also use pre-made Dora cake toppers, but making her yourself adds a personal touch!
Start by shaping the base of Dora's head using a ball of yellow fondant. Roll it into a smooth sphere, then flatten it slightly to give it some character. For her hair, take a small amount of brown fondant, shape it into a thin snake, and place it on top of the head. You can even add some little bangs to make it more authentic.
Next, create her facial features. For the eyes, roll small white balls and flatten them. Add tiny black dots for the pupils and a thin strip of pink for her mouth. Once you're satisfied with her expression, attach all the pieces with a little water or edible glue.
Here's a quick summary of steps to create Dora:
- Shape the head with yellow fondant.
- Create hair with brown fondant.
- Add white eyes and black pupils.
- Make a pink mouth.
Let your Dora character dry a bit before placing it on the cake to ensure it holds up nicely!
Also Read This: Behance font usage guide
Decorating the Cake
Now that you've got your Dora character ready, it’s time to decorate the cake! This is where your creativity can really shine. Start with a base coat of icing—usually a smooth layer of buttercream or fondant works best. Choose a vibrant color like pale pink or yellow to match the theme of Dora’s world.
Once the base is set, consider adding some fun elements around the cake. You might want to incorporate things like:
- Flower decorations made from fondant.
- Green fondant for grass or hills.
- Edible glitter for a magical touch.
Don’t forget to include some of Dora’s friends! You can create small figures of Boots the monkey or Swiper the fox using the same fondant techniques as you did for Dora. Place them strategically around the cake for a lively scene.
To finish, you can write a birthday message with icing. Use a piping bag for a neat finish, and consider using a stencil if you want precise lettering. Here’s a quick overview of cake decorating steps:
- Apply a smooth base layer of icing.
- Add fondant decorations.
- Create characters and place them.
- Finish with a birthday message.
And there you have it! A beautifully decorated cake that not only looks fantastic but also tastes amazing. Enjoy the moment, and remember to take lots of pictures!
Also Read This: Understanding Usage Rights: Can You Use Shutterstock Images Without Worries?
7. Tips for Success
Making a Dora cake can be an exciting adventure, but to ensure it turns out perfectly, here are some tips for success:
- Plan Your Design: Before you start baking, sketch out your cake design. This will help you visualize the final product and make the decorating process smoother.
- Choose the Right Cake Recipe: A sturdy cake is essential for a themed cake. Consider using a butter cake or a pound cake, as they hold up well for carving and stacking.
- Use Quality Ingredients: Invest in good-quality cake mixes, butter, and fondant. The better the ingredients, the tastier the cake will be!
- Chill Your Cake: After baking, let your cake cool completely and then chill it in the fridge. This helps reduce crumbs and makes frosting easier.
- Practice Your Piping: If you’re using frosting for detail work, practice your piping skills on parchment paper first. This will help you gain confidence before you decorate your cake.
- Don’t Rush: Take your time while decorating. Rushing can lead to mistakes, so enjoy the process and have fun!
- Get Help: If you're feeling overwhelmed, ask a friend or family member to assist you. Cake decorating can be a fun group activity!
8. Conclusion
Creating a Dora cake is not just about baking; it's about bringing joy and creativity to the table. Whether it’s for a birthday party or a fun get-together, this cake is sure to be a hit with kids and adults alike.
Remember, the journey is just as important as the destination. Embrace the process, and don’t be afraid to experiment with colors and designs. Your cake doesn’t have to be perfect—what matters is the love and effort you put into it. And who knows? You might even inspire others to join you on this baking adventure!
So, roll up those sleeves, grab your baking tools, and get ready to create a fun masterpiece that will delight everyone who sees (and tastes) it. Happy baking!