Changing the LCD on your iPhone 4S might sound daunting, but it’s a manageable task with the right guidance. Whether your screen is cracked, unresponsive, or just plain dim, a DIY repair can save you time and money. In this guide, we’ll walk you through the steps you need to take, starting with the essential tools and materials. So, let’s roll up our sleeves and get started!
Tools and Materials Needed
Before diving into the repair process, it's crucial to gather all the necessary tools and materials. Having everything at your fingertips will make the task smoother and more efficient. Here's a comprehensive list of what you'll need:
- Replacement LCD Screen: Make sure to purchase a compatible LCD screen for the iPhone 4S. Look for reputable brands for quality.
- Small Phillips Head Screwdriver: This is essential for removing the screws holding the device together.
- Pentalobe Screwdriver: You’ll need this specific screwdriver to access the screws on the iPhone’s exterior.
- Plastic Opening Tools: These tools help pry open the device without damaging the casing.
- Tweezers: Useful for handling small screws and components with precision.
- Suction Cup Tool: This will aid in lifting the screen away from the phone body without causing harm.
- Heat Gun or Hair Dryer: A gentle application of heat helps to loosen adhesive, making it easier to remove the screen.
- Anti-Static Wrist Strap: This is optional but recommended to prevent static damage to sensitive components.
Once you have gathered all these tools, you’ll be well-equipped to tackle the LCD replacement process effectively. Remember, patience is key, so take your time and follow the steps carefully!
Also Read This: How to Cancel Your Rumble Account and Deactivate Your Profile
Preparation Steps
Before diving into the process of changing your iPhone 4S LCD, it’s crucial to prepare adequately. This not only ensures a smooth repair but also minimizes the risk of damaging your device further. Let’s break it down into manageable steps:
- Gather Your Tools: You’ll need a few essential tools to get started. Here’s a quick list:
- Phillips screwdriver
- Pentalobe screwdriver
- Plastic opening tools
- Tweezers
- Suction cup tool
- Replacement LCD screen
- Adhesive strips (if necessary)
- Find a Clean Workspace: Choose a flat, well-lit area free from distractions. A clutter-free environment makes it easier to keep track of small screws and components.
- Turn Off Your iPhone: Safety first! Make sure your iPhone 4S is completely powered off to avoid any electrical issues during the process.
- Remove the SIM Card: Take out the SIM card tray using a SIM eject tool. This prevents any accidental damage while you’re working on the device.
- Watch a Tutorial: If you’re a visual learner, consider watching a video tutorial specific to the iPhone 4S LCD replacement. This can give you a clear idea of what to expect.
By following these preparation steps, you’ll be set up for a successful LCD replacement. Remember, taking your time now can save you a lot of hassle later!
Also Read This: How Parents Can Restrict YouTube Access on iPads
Removing the Old LCD

Now that you’re prepared, it’s time to remove the old LCD from your iPhone 4S. This step requires patience and precision, so let’s go through it step-by-step:
- Remove the Pentalobe Screws: Start by removing the two pentalobe screws located next to the charging port at the bottom of the device. Be sure to keep these screws in a safe place!
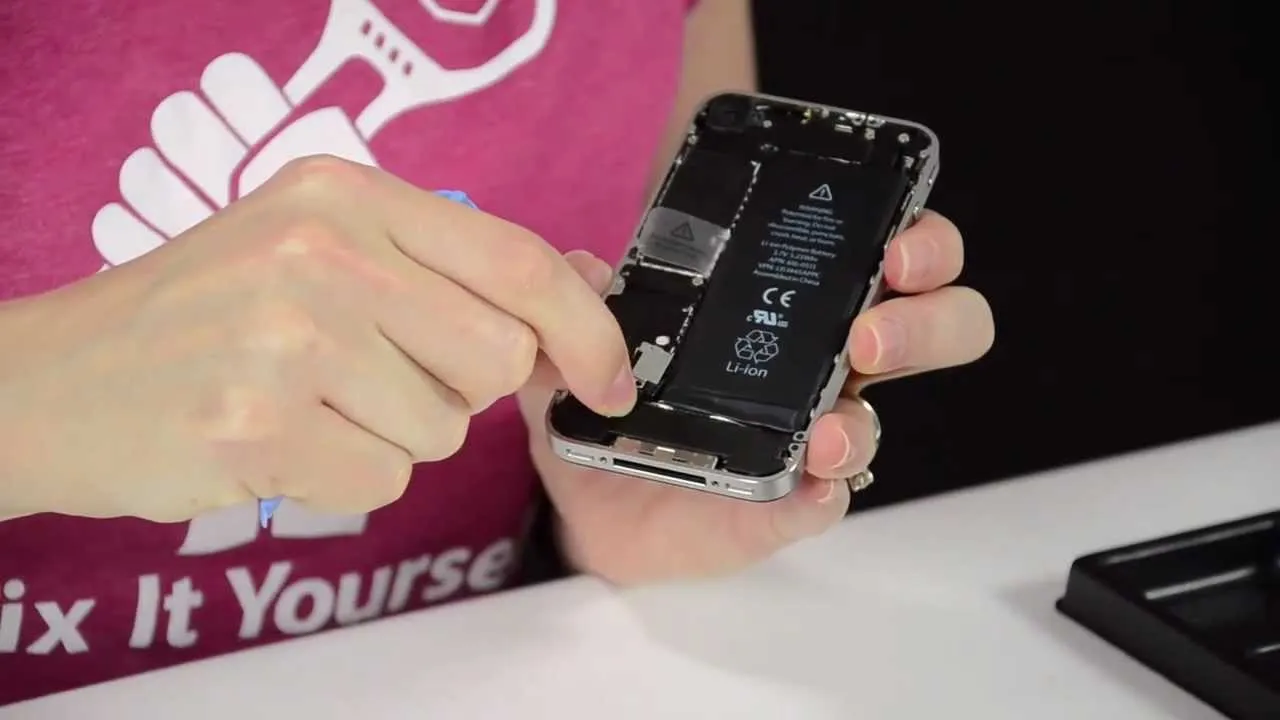
- Use the Suction Cup: Attach the suction cup near the home button, pulling gently to create a gap between the front glass and the rear casing. This will make it easier to fit your opening tool in.
- Insert the Opening Tool: Carefully slide a plastic opening tool into the gap. Gently pry the front display away from the rear casing. Take your time—this part can be tricky!
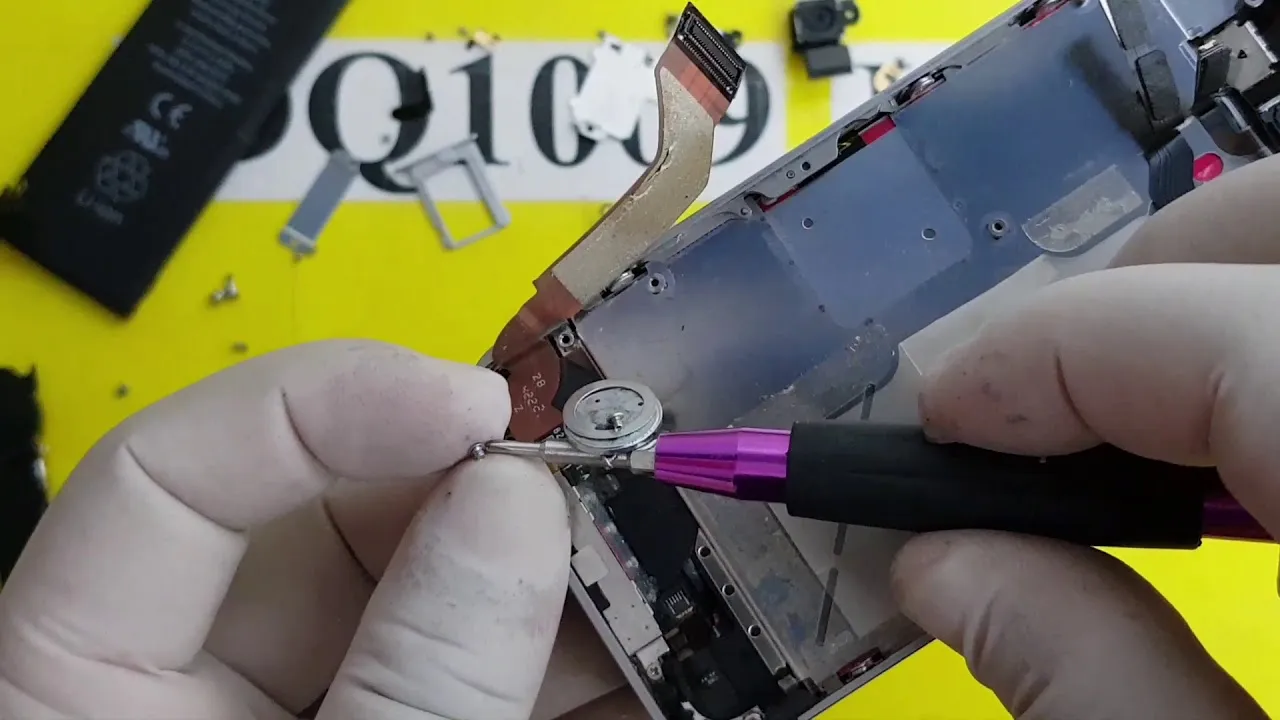
- Disconnect the Cables: Once the LCD is lifted, you’ll see several connectors. Use your tweezers to gently lift the metal brackets and disconnect the cables from the motherboard. Note the order in which you disconnect them; this will help during reassembly.
- Remove the Old LCD: Finally, carefully lift the old LCD away from the frame. If it’s stuck, gently wiggle it free, but avoid using excessive force to prevent damage.
With the old LCD removed, you’re one step closer to revitalizing your iPhone 4S! Just remember to keep everything organized as you transition to installing the new screen.
Also Read This: What Happened to Piper Rockelle on YouTube and Did She Quit
7. Testing the New LCD
Now that you've successfully installed the new LCD on your iPhone 4S, it's time to ensure everything is functioning properly. Testing the new screen is a crucial step that can help you catch any issues before you seal everything back up.
Here’s a simple checklist to follow when testing your new LCD:
- Power On the Device: Press and hold the power button until the Apple logo appears. If the screen lights up, that’s a great first sign!
- Check Touch Sensitivity: Use your finger to swipe across the screen. Make sure that every area responds well to your touch. If some areas are unresponsive, you may need to reseat the LCD.
- Visual Inspection: Look for any dead pixels or discoloration. You can test this by displaying different colors or images. There are also apps available that can help test for dead pixels.
- Test the Display Brightness: Adjust the brightness settings and ensure the screen can go from dim to bright without any flickering.
- Check for Proper Alignment: Make sure there aren’t any gaps between the LCD and the frame of the phone. The screen should sit flush against the body.
After running through this checklist, if everything looks good, you're ready to reassemble your phone! But if you find any issues, it might be worth troubleshooting further before sealing it up.
8. Conclusion
Changing the LCD on an iPhone 4S may sound daunting, but with the right tools and a bit of patience, it can be a rewarding DIY project! Not only do you save on repair costs, but you also gain a sense of accomplishment. Remember to follow the steps carefully, and don’t rush through the process.
If you encountered any hiccups along the way, don’t hesitate to seek help from online tutorials or forums. There’s a supportive community of DIY enthusiasts out there. With your new LCD in place and tested, your iPhone 4S should be as good as new, ready to serve you for years to come!
So, whether you're fixing it for yourself or helping someone out, enjoy the process and take pride in your handiwork!