Behance is a vibrant online platform tailored for creative professionals to showcase their work, connect with like-minded individuals, and discover new opportunities. Whether you’re a graphic designer, photographer, illustrator, or in any creative field, Behance offers a unique space to display your portfolio and gain exposure. With millions of users and projects, it’s a fantastic way to network, get feedback, and even land freelance gigs. In this blog post, we’ll guide you through creating a standout project in
Setting Up Your Behance Account
Creating a Behance account is a straightforward process that sets the foundation for showcasing your creative projects. Here’s how to get started:
- Visit Behance.net: Head over to the Behance website. You’ll find a user-friendly interface that welcomes you to join.
- Click on “Sign Up”: Locate the “Sign Up” button, typically found at the top right corner of the homepage. You can sign up using your email, or even link your Adobe ID, which is a great option for those already in Adobe's ecosystem.
- Fill in Your Details: Complete the sign-up form with your name, email, and a password. Make sure to create a strong password for security.
- Choose Your Creative Field: Behance will ask you to select your primary creative discipline, helping to tailor your experience. This could be anything from photography to web design.
- Complete Your Profile: Once your account is created, it’s time to fill out your profile. Upload a professional profile picture and write a brief bio that highlights your skills and interests. This is your chance to make a great first impression!
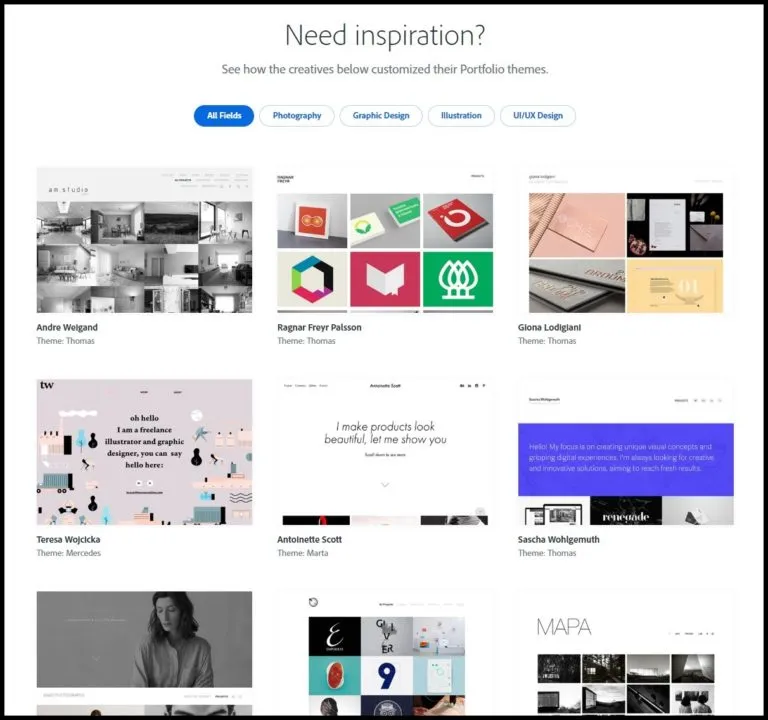
- Explore Behance: Before diving into your projects, take some time to explore other creative works. This can inspire you and help you understand the kind of presentations that resonate with audiences.
By following these simple steps, you’ll be well on your way to joining the Behance community and showcasing your creative work effectively!
Also Read This: 2006 Royal Rumble Winner and Key Moments from the Match
Understanding the Project Creation Process
Creating a project on Behance is a straightforward yet enriching experience. Let's break it down into easy-to-follow steps:
- Log In to Your Behance Account: If you haven’t already, create an account or log in to your existing one. This is your gateway to showcasing your creativity.
- Click on the “Create a Project” Button: Once you’re logged in, look for the “Create a Project” button on your profile dashboard. It’s usually prominently displayed.
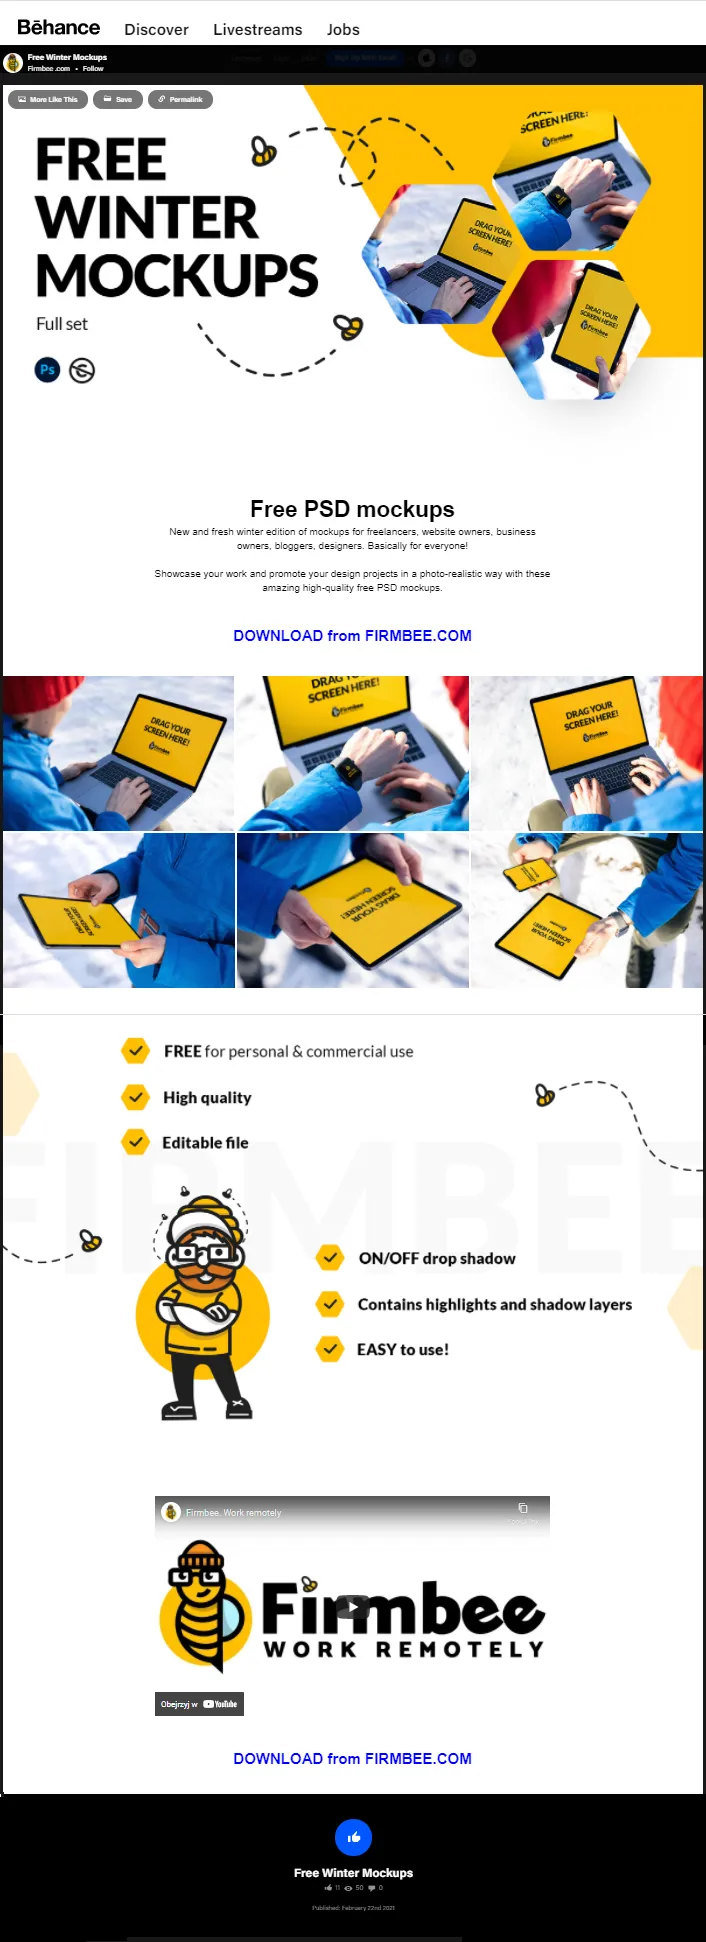
- Add a Cover Image: Choose an eye-catching cover image. This is the first thing viewers will see, so make it count! Aim for high resolution and vibrant colors.
- Upload Your Work: You can upload images, videos, or even PDFs. Behance supports various formats, so choose what best represents your project. Drag and drop your files or upload them directly.
- Write a Compelling Description: Tell a story about your project. Explain your concept, inspirations, and process. This personal touch can engage viewers and give context to your work.
- Add Tags: Use relevant keywords that describe your work. This helps others find your project through searches.
- Publish Your Project: Once you’re satisfied with everything, hit the “Publish” button. Your project will now be live for the world to see!
Remember, each project is an opportunity to express yourself. Take your time to create something that truly reflects your artistic vision.
Also Read This: Can You Download from iStock for Free
Choosing the Right Format for Your Project
Selecting the right format for your project is crucial for effectively showcasing your work. Here are some formats you might consider, along with their unique advantages:
| Format | Best For | Advantages |
|---|---|---|
| Image Gallery | Photographers, illustrators, designers | Visually engaging and can showcase multiple pieces at once. |
| Video | Motion designers, filmmakers | Dynamic storytelling; can convey movement and sound. |
| PDF Document | Presentations, detailed portfolios | Great for in-depth information, layouts, and print-ready files. |
| Web Project | Web designers, developers | Interactive experience that showcases functional design. |
When choosing a format, think about your audience and the message you want to convey. For instance, if you’re a photographer, an image gallery might be ideal. If you’re a motion graphic artist, a video could better showcase your skills. Ultimately, select a format that aligns with your creative vision and engages your viewers effectively.
Also Read This: Imago Stock Photos: One-Stop for Visuals
5. Uploading Your Creative Work
Uploading your creative work to Behance is the exciting part where your projects come to life! Here’s how to make this process seamless:
- Prepare Your Files: Before uploading, ensure your images or videos are high-quality and optimized for web use. Consider using formats like JPEG for images or MP4 for videos.
- Organize Your Assets: Group your files in a way that tells a story. You can create a folder for each project theme, making it easy to find what you need when uploading.
- Drag and Drop: When you’re ready, simply drag and drop your files into the upload area on Behance. You can upload multiple files at once, saving you time!
- Utilize the Upload Options: You’ll see options for image order and layout. Choose a grid or a more creative arrangement that best showcases your work. You can also add captions to each file, giving viewers more context.
Don’t forget to preview your project before publishing to ensure everything looks just how you want it. Once satisfied, hit that publish button and share your creativity with the world!
Also Read This: Finding Joyful and Nostalgic Family Videos on Dailymotion
6. Adding Project Details and Description
Now that your work is uploaded, it’s time to add some details that will really make your project shine. A well-crafted description can captivate your audience and provide crucial context.
- Project Title: Start with a catchy title that reflects your project’s essence. Be concise yet descriptive to grab attention.
- Description: Write a compelling narrative about your project. Highlight your inspiration, the creative process, and any challenges you overcame. Aim for clarity and engagement.
- Tools and Techniques: Include a list of tools or techniques used in your project. This not only showcases your skill set but also helps other creatives learn from your process. For example:
Tool Purpose Adobe Photoshop Image editing and manipulation Illustrator Vector graphic design - Keywords: Use relevant keywords to enhance discoverability. Think about what potential viewers might search for.
Finally, don’t hesitate to add a personal touch or a call to action, inviting viewers to leave feedback or connect with you. A strong project description not only informs but inspires!
Also Read This: Reasons Professional Designers Prefer Imago Images for Their Visual Needs
7. Using Tags and Categories Effectively
When it comes to showcasing your creative work on Behance, using tags and categories effectively is like adding spices to a dish—it enhances the flavor and makes your project more discoverable. Tags are keywords that help people find your work, so choose them wisely!
Here’s how to make the most out of tags and categories:
- Be specific: Instead of generic tags like "art" or "design," use more specific ones such as "graphic design," "illustration," or "branding." This will help your project reach the right audience.
- Use popular tags: Research trending tags in your niche. For instance, if you’re a photographer, tags like "portrait photography" or "landscape shots" can attract more viewers.
- Limit your tags: While it might be tempting to throw in a bunch of tags, focus on 5-10 relevant ones. Too many tags can dilute your project’s focus.
- Categories matter: Select the appropriate category when you start your project. This helps Behance understand what your work is about and shows it to relevant users.
By using tags and categories effectively, you increase your chances of being discovered and appreciated by a wider audience. So, take your time to choose them thoughtfully!
Also Read This: Master Umbrella Dress Cutting Techniques with Dailymotion Video Guidance
8. Previewing and Publishing Your Project
Once you've poured your heart and soul into your project, it's time to preview and publish it. This step is crucial because it’s your chance to see how your work will appear to others before it goes live.
Here’s a simple guide to previewing and publishing:
- Preview your project: Before hitting that publish button, click on the "Preview" option. This allows you to see how your layout, images, and text come together. Look for any formatting issues or typos.
- Adjust as needed: If something doesn’t look quite right, go back and make the necessary adjustments. Remember, presentation matters!
- Set your project visibility: Choose whether you want your project to be public (visible to everyone) or private (visible only to you). This is especially handy if you're still fine-tuning your work.
- Add a project cover: First impressions count! Make sure your project cover is eye-catching and representative of your work. This is the thumbnail that will draw viewers in.
- Publish with confidence: Once you’re satisfied with everything, hit the "Publish" button. Celebrate this moment—you’ve shared your creativity with the world!
Don’t forget to share your project on social media or within creative communities to gain more visibility. Happy showcasing!
Also Read This: Mastering YouTube Video Capture with Essential Tools and Techniques for Beginners
9. Promoting Your Behance Project
Once you’ve poured your heart and soul into creating your Behance project, it’s time to let the world see it! Promoting your project effectively can significantly increase its visibility and engagement. Here are some strategies to consider:
- Leverage Social Media: Share your project on platforms like Instagram, Twitter, and Facebook. Use relevant hashtags, and tag Behance to reach a wider audience.
- Engage with Your Network: Don’t hesitate to reach out to your friends, family, and professional contacts. Ask them to share your project with their networks.
- Join Creative Communities: Participate in forums and groups related to your field. Platforms like Reddit, LinkedIn, or Facebook Groups can be great for sharing your work.
- Utilize Email Newsletters: If you have a mailing list, send out a dedicated newsletter featuring your new project. Include a catchy subject line to grab attention!
- Collaborate with Others: Partner with fellow creatives for cross-promotion. This could be as simple as sharing each other’s work on your respective profiles!
Don’t forget to interact with viewers who comment on your project. Responding to feedback not only builds connections but also encourages others to engage with your work.
10. Conclusion and Next Steps
Congratulations! You've successfully created and promoted your Behance project. But remember, this is just the beginning. Here are some next steps to keep the momentum going:
- Analyze Performance: Check the analytics on your Behance project. See which aspects attracted the most views and interactions. This can guide your future projects.
- Continue Networking: Keep engaging with other creatives on Behance. Comment on their projects, follow them, and build those relationships.
- Seek Feedback: Don’t shy away from asking for constructive criticism. This can help you refine your skills and elevate your work.
- Update Regularly: Keep your portfolio fresh by adding new projects regularly. This shows that you’re active and evolving as a creative.
- Explore Opportunities: Use your Behance project as a springboard for freelance opportunities, collaborations, or even job offers.
By taking these steps, you’re not just showcasing your work; you’re building a platform for your creative journey. So, stay active, keep creating, and enjoy the ride!