Welcome to our fun and easy crafting guide! Today, we're diving into the exciting world of paper crafts where you’ll learn how to make a classic paper ninja star. This cool and simple project is perfect for all ages, whether you're a crafting newbie or a seasoned pro. With just a few folds and cuts, you'll create a star that’s not only fun to throw but also a great decorative piece. So, grab your materials, and let’s get started on this creative journey!
Materials Needed
Before we begin crafting, let's gather everything you need. The best part? You probably have most of these materials lying around your home! Here’s what you'll need:
- Origami Paper or Any Paper: Ideally, use square sheets of origami paper. If you don't have that, cut regular paper into squares, preferably 6x6 inches.
- Scissors: For cutting your paper into the right shape if you’re starting with larger paper.
- Ruler: To measure and ensure your squares are even and precise.
- Pencil: For marking measurements if you’re cutting your own squares.
- Flat Surface: A table or desk where you can lay out your materials comfortably.
- Bone Folder (Optional): This tool helps create crisp folds, but you can also use your fingernail.
Having these materials ready will make the crafting process smoother and more enjoyable. Plus, it’ll save you from scouring for supplies midway through your fun project!
Also Read This: Monetize Your Art: How to Sell Images on Getty Images
Step-by-Step Instructions
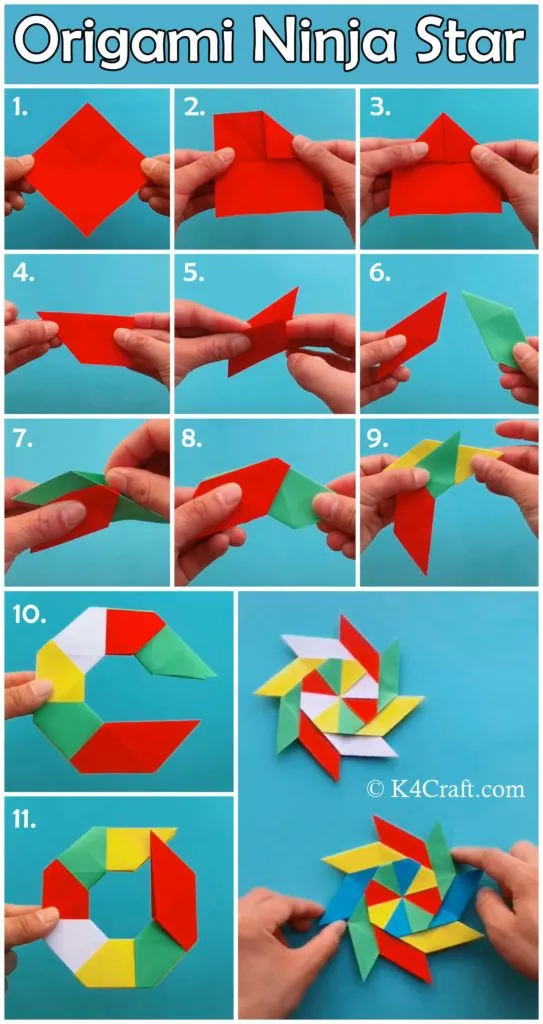
Creating a paper ninja star is not only fun but incredibly simple! Grab some square paper and let’s get folding. Follow these easy steps:
- Get Your Paper: Start with two square pieces of paper. You can use origami paper or any paper you have on hand. The standard size is 6x6 inches, but feel free to use larger or smaller paper for a different effect.
- Fold the First Square: Take one square and fold it diagonally in half to form a triangle. Make sure to press down the crease well. Then, unfold it and fold in half diagonally in the opposite direction, creating another triangle. Unfold again.
- Create the Folded Triangles: Now, fold the two edges toward the center crease to overlap slightly, forming a smaller triangle. Flip the paper over and fold the bottom tip up to the top, making a smaller triangle shape.
- Fold the Corners: Fold the left and right corners of the triangle towards the top point, making a shape that resembles a kite.
- Repeat with the Second Square: Follow the same steps with the second square of paper.
- Assemble the Ninja Star: Take the two folded pieces and slot them together. The tips should fit snugly. Adjust them until they hold together. You can use a little tape or glue if needed.
And there you have it! Your very own paper ninja star, ready to be thrown or displayed!
Also Read This: How Many Shutterstock Users There Are and What It Means for Your Work
Tips for Folding Your Ninja Star
Folding a paper ninja star can be tricky at times, but with a few handy tips, you’ll become a ninja star pro! Here are some suggestions to enhance your crafting experience:
- Choose the Right Paper: Thinner paper is easier to fold and manipulate. Try using origami paper for best results.
- Press Firmly: Make sure to press down on each fold firmly to create crisp creases. This will help your star maintain its shape.
- Be Patient: If you make a mistake, don’t rush. Carefully unfold and redo the folding steps as needed.
- Experiment with Sizes: Don’t hesitate to try different sizes of paper! Larger stars can look impressive, while smaller ones are fun for tossing around.
- Use Colors: Get creative with colors! Using two contrasting colors can make your star visually striking.
Remember, practice makes perfect. The more you fold, the better you’ll get. Happy crafting!
Also Read This: Understanding Why You Can't See Comments on YouTube and How to Fix Missing Comments on Videos
5. Variations and Designs
Creating a paper ninja star is a fun and straightforward process, but once you master the basic design, the possibilities for variations and unique designs are endless! Here are some exciting ideas to spark your creativity:
- Size Variations: You can experiment with different paper sizes. Try making smaller versions for quick throws or larger ones for visual impact.
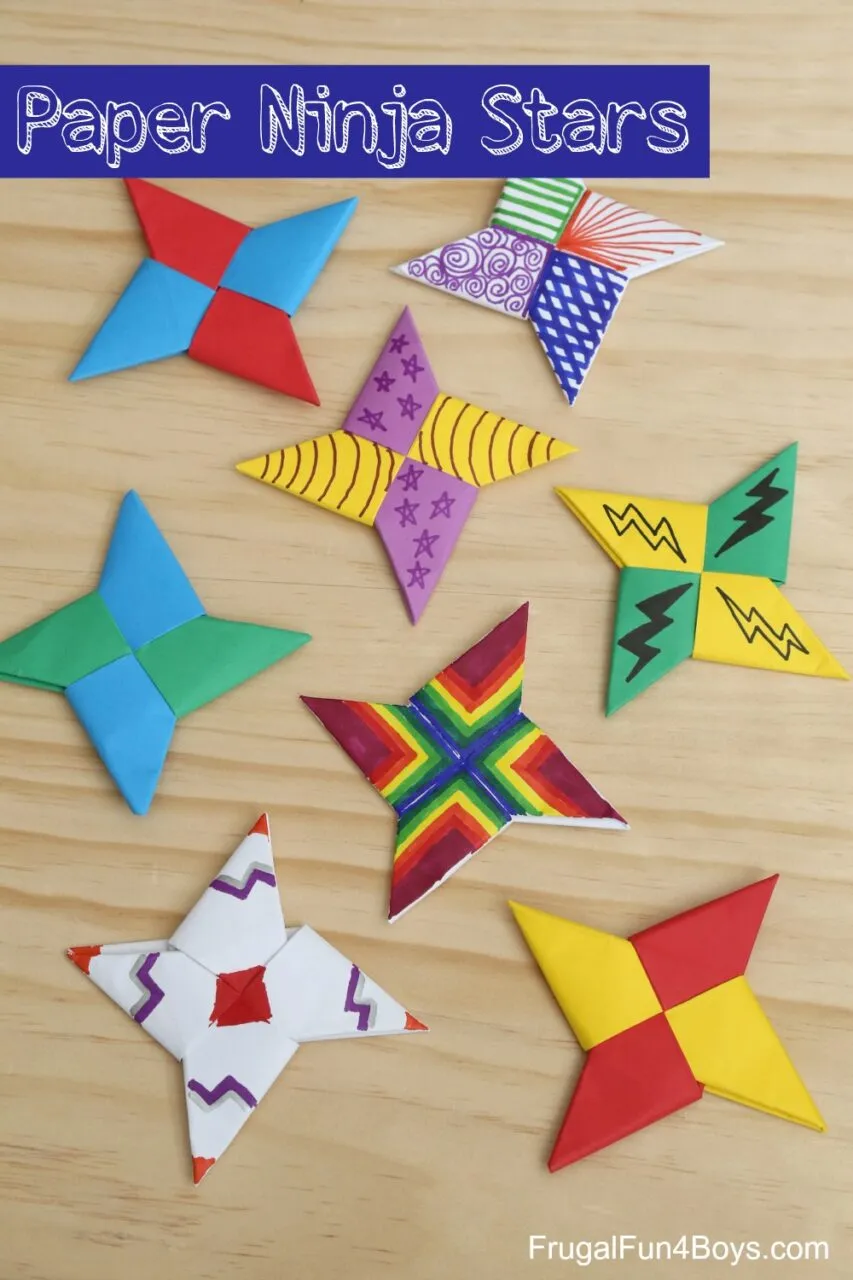
- Color Combinations: Use colored or patterned paper to create visually striking ninja stars. You can use contrasting colors for each side or even mix patterns for a more dynamic look.
- Texture Additions: Incorporate textured paper, like origami paper or card stock, to give your ninja star a unique feel. This can enhance both the aesthetic and the durability of your creation.
- Decorative Elements: Add stickers, drawings, or even glitter to your ninja stars. This personal touch can make each piece truly one-of-a-kind.
- Multi-Pointed Stars: Challenge yourself by creating stars with more than eight points! With some practice, you can fold intricate designs that look impressive and are still functional.
By exploring these variations, you can turn a simple craft into a splendid collection of unique paper ninja stars. Get creative and let your imagination take flight!
6. Conclusion
Making a paper ninja star is not just a fun craft; it’s a fantastic way to develop fine motor skills, enhance focus, and even spark an interest in origami. Whether you're crafting alone or with friends, the joy of folding and throwing your creations is unparalleled.
Remember, the beauty of this craft lies in its simplicity. You don’t need expensive materials or tools—just a piece of paper and your hands! As you practice, don’t hesitate to explore different designs and variations. Each star you create can tell a story or express your personality.
So, gather your materials and start folding. Who knows? You might just discover a hidden talent for origami along the way. Happy crafting!