Welcome to the colorful world of nail art stamping kits! If you're looking to elevate your manicure game, these kits are your go-to solution. They simplify the process of creating intricate designs, making it accessible for everyone, from beginners to seasoned nail artists. With just a few tools and a bit of practice, you can achieve salon-quality results right at home. Get ready to impress your friends and unleash your creativity with stunning nail art designs that truly reflect your personality!
Essential Tools and Materials Needed
Getting started with nail art stamping requires a few essential tools and materials. Here’s a handy list to ensure you have everything you need:
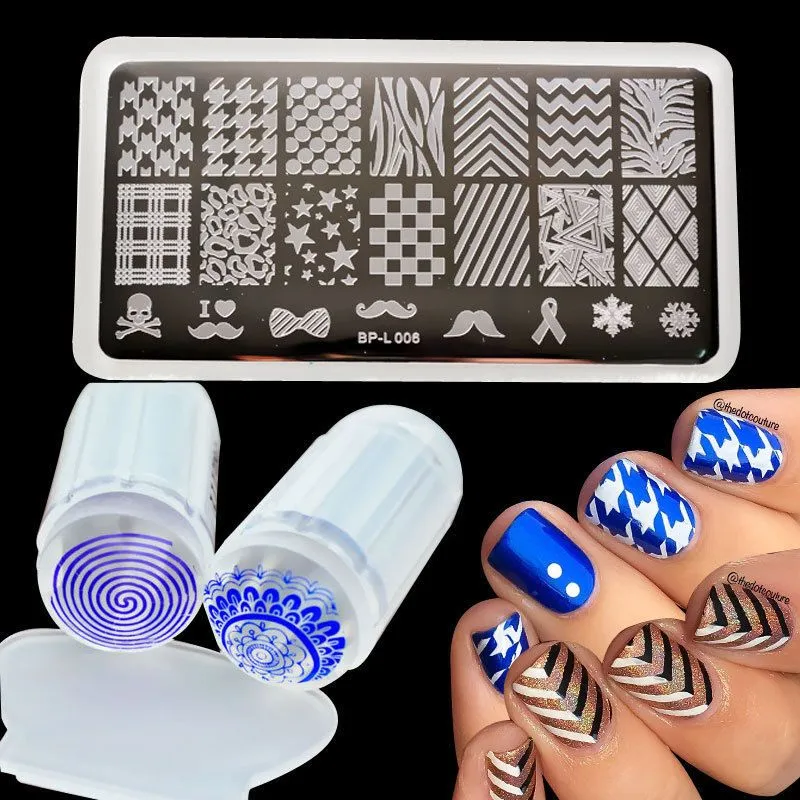
- Nail Art Stamping Kit: This usually includes a stamping plate, a scraper, and a stamper. Look for kits with a variety of plate designs for more options.
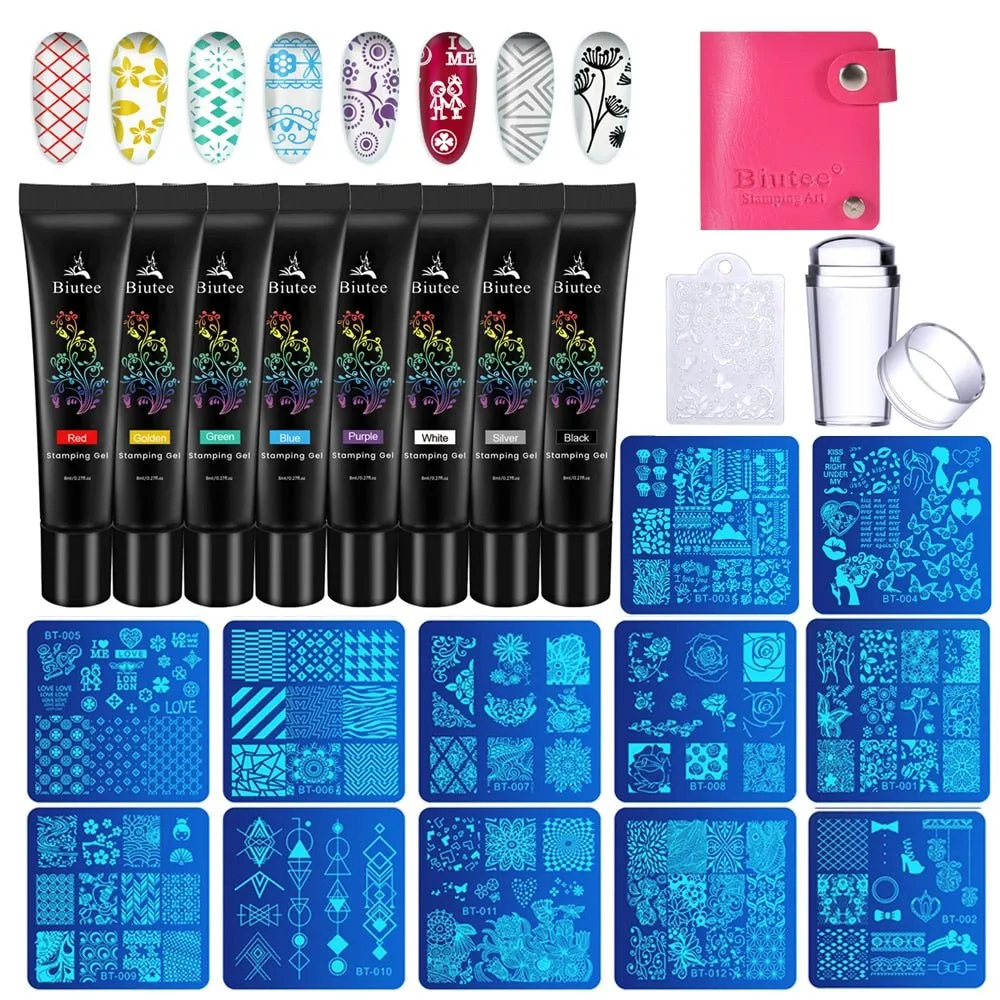
- Stamping Polish: Unlike regular nail polish, stamping polish is thicker and more pigmented, allowing it to transfer designs cleanly onto your nails. Choose bold colors for maximum impact.
- Base Coat: A good base coat protects your natural nails and helps your manicure last longer. It also creates a smooth surface for stamping.
- Top Coat: Seal your design with a quality top coat to enhance shine and longevity. Choose a quick-dry top coat for convenience.
- Nail Clean-Up Brush: This is essential for cleaning up around your nails after stamping. It’s great to have on hand to maintain a tidy look.
- Tweezers: Useful for handling small stamping plates and ensuring you don’t smudge your designs.
With these tools in your arsenal, you’ll be well-equipped to dive into the world of nail art stamping. Remember, practice makes perfect, so don’t hesitate to experiment with different designs and techniques!
Also Read This: Understanding YouTube Bans and Violations: The Case of Steve
Step-by-Step Guide to Using a Nail Art Stamping Kit
Ready to dive into the fabulous world of nail art stamping? It’s easier than you might think! Here’s a step-by-step guide to get you started:
- Gather Your Supplies: Before you begin, make sure you have everything you need. A basic stamping kit typically includes:
- Stamping plate
- Stamping tool
- Scraper
- Nail polish (preferably a special stamping polish)
- Top coat
- Base coat
Also Read This: Download Getty Images for Free and Legally Without Copyright Issues
Tips for Achieving Perfect Stamps
Getting the perfect stamp can take practice, but with these handy tips, you’ll be on your way to nail art mastery!
- Choose the Right Polish: Not all nail polishes are created equal for stamping. Look for thicker, highly pigmented stamping polishes as they transfer better.
- Work Quickly: Stamp designs while the polish is still wet. The longer you wait, the more likely the polish will dry and not transfer properly.
- Practice Makes Perfect: Don’t be discouraged if your first few attempts don’t turn out perfectly. Keep practicing different designs and techniques.
- Use a Little Pressure: When stamping, apply firm but gentle pressure. Too much can smudge the design, while too little may not transfer it fully.
- Clean Your Tools: After each use, clean the stamping plate and scraper with nail polish remover to ensure a clear transfer next time.
- Experiment with Colors: Try layering different colors or using a combination of finishes like matte and glossy for an eye-catching effect!
Also Read This: Are YouTube Shorts Valuable for Creators and Viewers
Creative Design Ideas for Your Nails
Nail art stamping kits open up a world of creativity, allowing you to express your style through stunning designs. Here are some imaginative ideas to spark your inspiration:
- Geometric Patterns: Use bold colors and shapes to create modern, chic nail art. Think triangles, circles, and lines that overlap for a striking effect.
- Floral Designs: Stamp delicate flowers for a romantic look. Combine different flower sizes and colors for a garden-inspired theme.
- Seasonal Themes: Match your nail art with the seasons! Use leaves and earthy tones for fall, snowflakes for winter, pastel colors for spring, and vibrant hues for summer.
- Animal Prints: Channel your wild side with leopard, zebra, or snake skin patterns. These designs can add a fun touch to any outfit.
- Ombré Effects: Combine stamping with gradient techniques. Start with a lighter base color and use a darker shade for the stamped design to create depth.
Experimenting with color combinations and layering techniques can also elevate your designs. Don't forget to finish your masterpieces with a glossy top coat for a professional look!
Also Read This: Removing Obstacles: A Guide on How to Remove the Getty Images Watermark
Common Mistakes to Avoid
While nail art stamping can be enjoyable, there are some common pitfalls you’ll want to steer clear of to achieve the best results. Here are a few:
- Skipping Base Coat: Always apply a base coat before stamping. This not only protects your nails but also helps the color adhere better.
- Using the Wrong Kind of Polish: Not all polishes work well with stamping. Make sure to use stamping polish, as it’s thicker and provides better coverage.
- Poor Stamping Technique: Pressing too hard or too softly can ruin your design. Practice applying even pressure to ensure that the image transfers properly.
- Neglecting Clean-Up: Clean your stamping plates and tools frequently to avoid smudges and buildup, which can affect the quality of your designs.
- Not Allowing Dry Time: Be patient! Allow each layer, especially the stamped design, to dry completely before applying a top coat to avoid smearing.
Avoiding these mistakes can make a huge difference in your nail art experience and results. Happy stamping!
Also Read This: Using Imago Stock Photos for Online Presence
Mastering Nail Art Stamping Kits for Stunning Designs
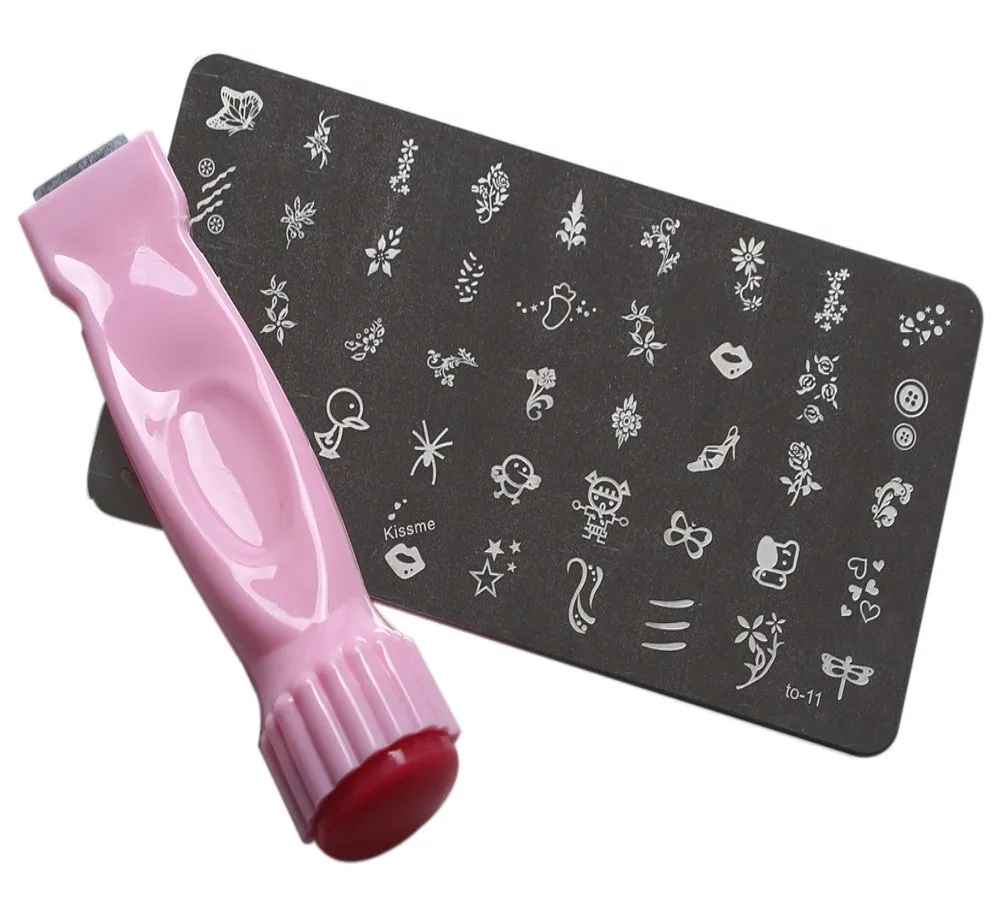
Nail art stamping kits have revolutionized the way enthusiasts create intricate designs on their nails. These kits typically consist of a metal plate with etched designs, a scraper, and a stamper. With a little practice, you can achieve salon-quality nail art from the comfort of your home.
Here's a breakdown of the essential components of a nail art stamping kit:
- Stamping Plate: This is the heart of the stamping kit. Plates come in various designs, ranging from floral patterns to geometric shapes.
- Stamper: A soft, rubbery tool that picks up the design from the plate and transfers it onto your nail.
- Scraper: A rigid tool used to remove excess polish from the plate, ensuring that only the design remains.
- Nail Polish: Special stamping polish is recommended as it has a thicker consistency and dries slower, allowing for better transfer.
To get started with nail art stamping, follow these simple steps:
- Choose your stamping plate and apply a base coat on your nails.
- Apply a thin layer of stamping polish onto the design you want to use.
- Use the scraper to remove excess polish, ensuring the design remains in the etched lines.
- Quickly press the stamper onto the plate to pick up the design.
- Gently press the stamper onto your nail, applying even pressure.
- Seal the design with a topcoat to enhance durability.
With practice, you can create stunning nail art that showcases your personal style. Don't hesitate to experiment with different colors and designs to unleash your creativity!
Conclusion and Final Thoughts
Mastering nail art stamping kits opens up a world of possibilities for nail enthusiasts. With the right tools and techniques, you can easily create beautiful designs that reflect your individuality.