Creating a DIY Spiderman costume can be an incredibly fun and rewarding project, especially for fans of the web-slinger! Whether it’s for a costume party, Halloween, or just a creative afternoon at home, this tutorial will guide you through the process step-by-step. You’ll not only save money compared to store-bought costumes, but you’ll also have the satisfaction of knowing you made it yourself. Let’s swing into action and get started on your very own Spidey suit!
Materials Needed
Gathering the right materials is crucial for bringing your Spiderman costume to life. Below is a comprehensive list of everything you’ll need:
- Red T-shirt: A long-sleeved or short-sleeved red T-shirt as the base of your costume.
- Blue Pants: A pair of blue leggings or pants to complete the Spiderman look.
- Black Fabric Paint: For drawing the iconic Spiderman web patterns.
- Red Fabric Paint: To touch up any areas or enhance the color.
- White Fabric: For making the eye patches; felt works great!
- Fabric Glue or Hot Glue Gun: To attach the fabric and other elements securely.
- Optional Accessories: A toy web shooter or mask for added flair.
Here’s a simple table summarizing the materials:
| Material | Purpose |
|---|---|
| Red T-shirt | Base of the costume |
| Blue Pants | Completes the look |
| Black Fabric Paint | Web patterns |
| White Fabric | Eye patches |
With these materials in hand, you’ll be ready to create a Spidey costume that’s as unique as you are! Let’s get crafting!
Also Read This: Is Telegram App Used for Scams – Understanding Telegramâs Role in Fraudulent Activities
Step-by-Step Guide
Creating your very own Spiderman costume can be a fun and rewarding project! Let’s break it down into easy steps so you can swing into action in no time.
-
Gather Your Materials:
- Red and blue fabric (stretchy material works best)
- Black fabric or fabric paint for the web design
- Scissors
- Sewing machine or needle and thread
- Mask or face paint for the iconic Spidey mask
- Optional: Spiderman accessories (like web shooters)
-
Cut Your Fabric:
Using a Spiderman template, cut out the pieces for your costume. You’ll need a top, pants, and the mask. Make sure to cut the red fabric for the upper body and the blue for the lower half.
-
Sew It Together:
Start by sewing the red top and blue pants together. Make sure it fits snugly, as Spiderman’s suit is form-fitting. Don’t forget to leave holes for your arms and legs!
-
Create the Web Design:
Using black fabric or fabric paint, add the web pattern on the red sections of your costume. This step really gives your suit that authentic Spidey look!
-
Finish with the Mask:
If you’re using fabric for the mask, cut it out and sew it together. Alternatively, you can paint your face to get that classic Spiderman look.
Also Read This: How to Use Oil Paints on Canvas With Step-by-Step Painting Tips for Stunning Art
Tips for Personalization
Your Spiderman costume is a reflection of your personal style! Here are some fun tips to make it uniquely yours:
-
Add Your Own Logo:
Consider adding a personal logo or symbol to your costume. It could be a creative twist on the classic spider emblem.
-
Choose Your Colors:
Feel free to switch up the traditional red and blue colors. Maybe you want a black suit or even a green one? The choice is yours!
-
Incorporate Accessories:
Enhance your costume with accessories like gloves, boots, or web shooters made from recycled materials. A simple pair of red gloves can elevate the look!
-
Customize the Mask:
Instead of a regular mask, try a half-mask look or use special face paint to create an expressive Spidey face.
Remember, the most important part of this DIY project is to have fun and let your creativity shine! Your Spiderman costume is all about expressing who you are while channeling your inner superhero.
Also Read This: How to Upload a YouTube Video to Canvas
5. Final Touches
Once you’ve assembled the main elements of your Spiderman costume, it’s time to add those finishing touches that truly bring the character to life. These details can make your DIY outfit stand out and feel more authentic. Here are some ideas to consider:
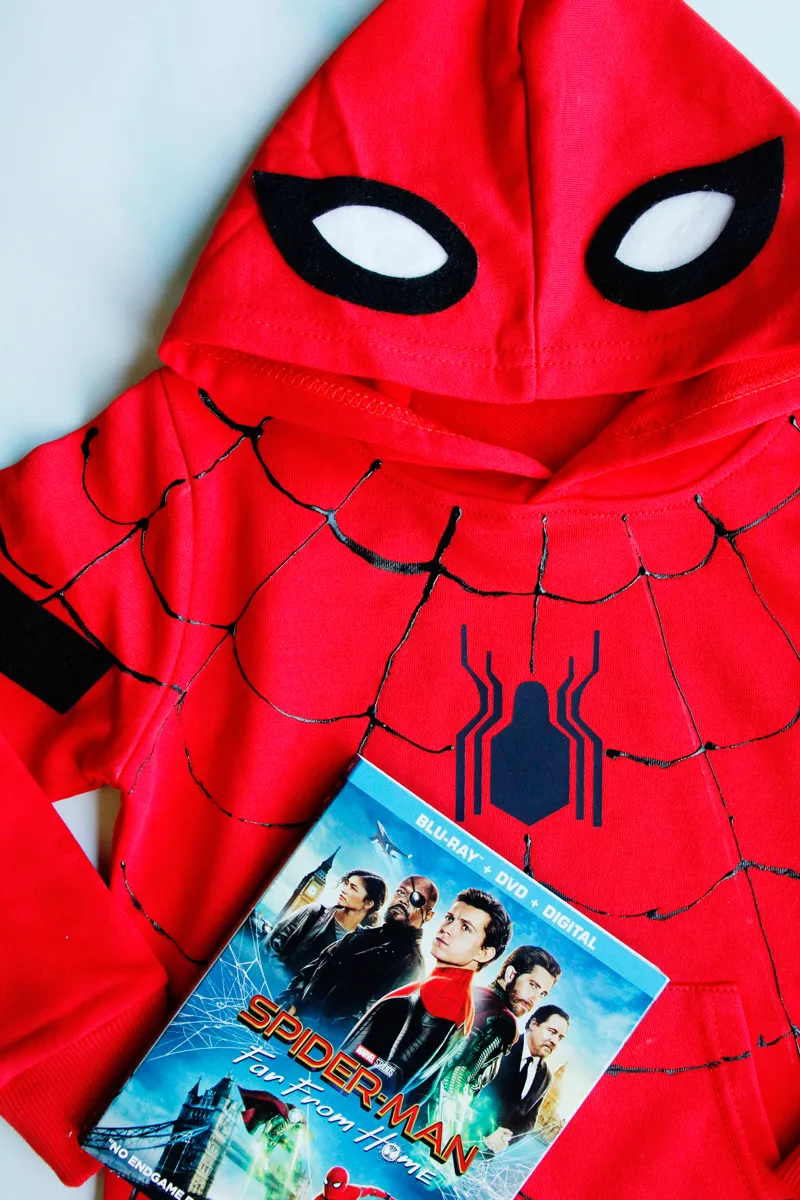
- Web Patterns: Use a black fabric marker or paint to create the iconic webbing pattern across the costume. Start from the center of the chest and work your way outward. This detail is essential for that classic Spidey look!
- Spider Emblem: To replicate Spiderman’s emblem, you can either print a spider image and attach it or sew a black cutout onto the chest area. It’s a small touch that adds a lot of character.
- Face Mask: If you’ve opted for a full-face mask, make sure it fits snugly. Consider adding mesh fabric for eye holes to improve visibility, while still maintaining that mysterious superhero vibe.
- Accessories: Think about adding some Spidey-style gloves. You can use the same fabric as your costume or buy some cheap red gloves. Just a little extra detail goes a long way!
- Footwear: Red sneakers or boots can serve as perfect footwear. If you’re feeling crafty, wrap them in red fabric to match the costume more closely.
These final touches not only enhance the overall look but also make the costume feel complete. Take a moment to admire your hard work; you’ve transformed into a superhero!
6. Conclusion
Creating your own Spiderman costume can be a rewarding and fun DIY project. It allows for personal expression and creativity while saving money compared to store-bought options. Plus, who wouldn’t want to feel like a superhero for a day?
By following this tutorial, you’ve learned how to gather materials, construct the main components, and add those important finishing touches. Remember, the journey of making the costume is just as enjoyable as wearing it!
As you prepare to flaunt your Spidey skills, don’t forget to strike a pose or two. Whether it’s for Halloween, a themed party, or just for fun, your DIY costume is sure to impress. Enjoy your time swinging through your neighborhood, and most importantly, have fun!