Jewelry dough is a versatile crafting material that allows you to create stunning pieces of jewelry right at home. Whether you’re a seasoned jewelry maker or a curious beginner, this dough can open up a world of creative possibilities. Made from simple ingredients, it can be molded, shaped, and colored to suit your unique style. Plus, with platforms like Dailymotion offering creative tutorials, learning how to make jewelry dough has never been easier or more fun!
Benefits of Making Jewelry Dough at Home
Creating jewelry dough at home comes with a heap of advantages that make it an appealing choice for crafty individuals. Here are some key benefits:
- Cost-Effective: Buying pre-made jewelry can get pricey, but making your own dough can save you money. Most ingredients are inexpensive and can be found in your kitchen or local store.
- Creative Freedom: When you make your own dough, you can experiment with colors, textures, and designs without any limitations. Want a sparkly blue pendant or a smooth green bracelet? Go for it!
- Customization: You can create pieces that are personalized to your taste or even to give as gifts. Customized jewelry always holds a special meaning.
- Therapeutic Activity: Crafting can be a great way to relieve stress. The process of making jewelry dough and shaping it can be quite meditative.
- Family Fun: Making jewelry dough can be a delightful activity for families. Get the kids involved and have fun creating together!
Not only does making jewelry dough allow you to express your artistic side, but it also promotes bonding, creativity, and relaxation—what's not to love?
Also Read This: Tips for Organizing Your OK.ru Profile to Boost Engagement and Visibility
3. Essential Ingredients and Tools Needed

Before diving into the fun of making your own jewelry dough at home, let’s gather all the essential ingredients and tools you’ll need. Having everything ready will help streamline the process and make it more enjoyable!
- Flour: All-purpose flour is a staple for creating the base of your dough. Aim for about 2 cups for a decent batch.
- Salt: Use regular table salt (1 cup) as it helps preserve the dough and adds texture.
- Water: A crucial component, approximately 1 cup of warm water will help bind your dough.
- Vegetable Oil: Adding 2 tablespoons of oil will create a smoother, more pliable dough.
- Food Coloring: Get creative with colors! A few drops will give your dough a vibrant look.
- Essential Tools:
- Mixing Bowl: For combining your ingredients.
- Measuring Cups: Precision is key to the perfect dough consistency!
- Rolling Pin: To flatten your dough for shaping.
- Cookie Cutters: Use various shapes for unique jewelry pieces.
- Baking Sheet: For drying your creations in the oven.
- Sandpaper: Handy for smoothing rough edges once pieces are dried.
With these ingredients and tools at hand, you're all set to start your jewelry dough journey!
Also Read This: How to Watch C-SPAN on YouTube TV Without Cable
4. Step-by-Step Tutorial for Creating Jewelry Dough
Creating jewelry dough at home is a simple and rewarding process. Follow these easy steps to craft your own unique pieces!
- Mix the Dry Ingredients: In a mixing bowl, combine 2 cups of flour and 1 cup of salt. Stir them together until well blended.
- Add Water and Oil: Slowly pour in 1 cup of warm water and 2 tablespoons of vegetable oil. Mix until a dough begins to form.
- Knead the Dough: Once combined, knead the dough on a floured surface for about 5-10 minutes until smooth and elastic. If it's too sticky, add a little more flour.
- Add Color: Divide the dough into portions and add food coloring to each, kneading until the color is evenly distributed.
- Shape Your Pieces: Roll out the dough to your desired thickness and use cookie cutters to create shapes. You can also mold them by hand for a more personalized touch!
- Drying: Place your shaped pieces on a baking sheet and let them air dry for 24 hours, or bake them at a low temperature (around 200°F or 93°C) for about 2 hours for faster results.
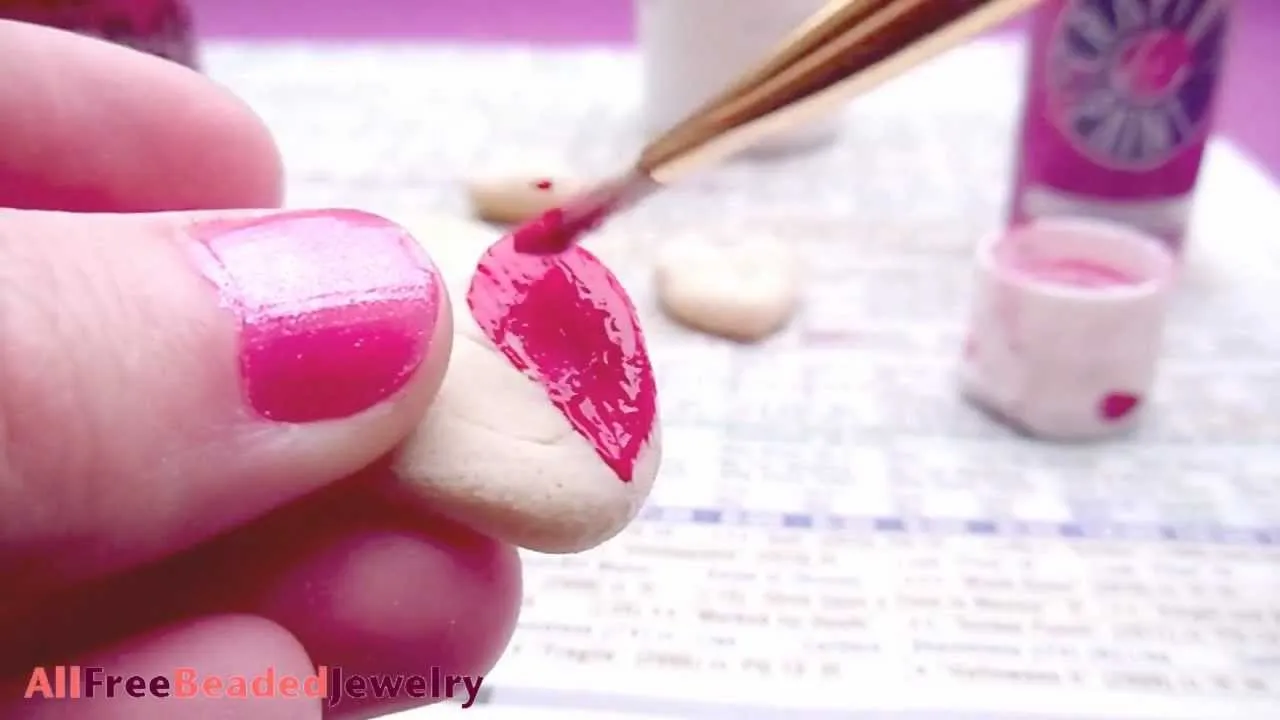
- Finishing Touches: After drying, use sandpaper to smooth any rough edges. You can also paint or add embellishments to your pieces for extra flair!
And there you have it! Your very own homemade jewelry dough, ready for crafting beautiful pieces. Enjoy the creative process!
Also Read This: Revisiting A Very Brady Christmas Full Movie on YouTube
Creative Jewelry Projects Using Dough

If you're ready to dive into the world of DIY jewelry, there are countless creative projects you can embark on using your homemade dough. Here are five fun ideas to spark your imagination:
- Beaded Necklaces: Create colorful beads by rolling the dough into small balls, then poke a hole through the center before baking. Once they’re hardened, string them together for a unique necklace.
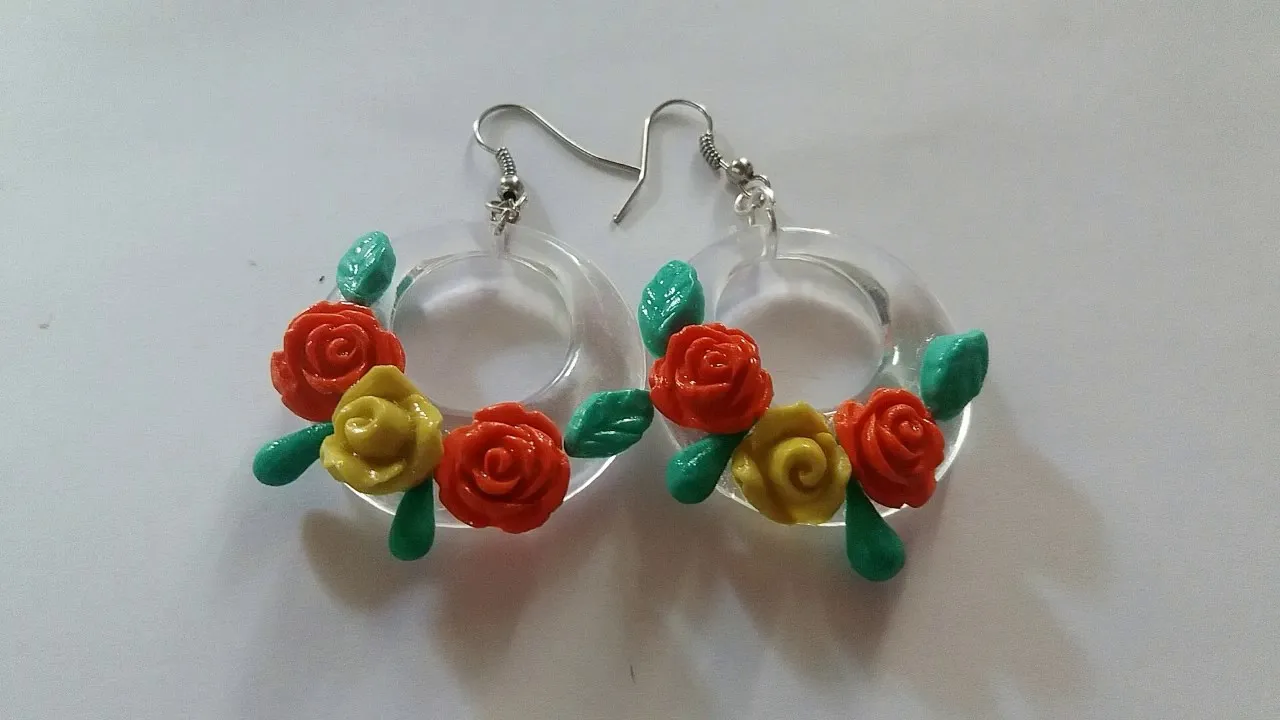
- Custom Earrings: Shape the dough into various forms—think leaves, stars, or abstract shapes. After they have cooled, attach earring hooks for a stunning pair of statement earrings.
- Charm Bracelets: Make small charms from your dough, each with a different design. Attach these charms to a bracelet chain for a personalized touch that reflects your personality.
- Keychains: Flatten the dough and use cookie cutters to create fun shapes. Add a keyring, and you’ve got an adorable and functional accessory!
- Rings: Mold the dough into small rings. You can enhance them by adding paint or glitter after they’ve dried, resulting in beautiful, one-of-a-kind pieces.
These projects can be tailored to any skill level. Don’t forget to let your creativity shine—experiment with colors and shapes!
Also Read This: Understanding Fragments in Telegram
Tips for Storing and Maintaining Your Jewelry Dough
To ensure your jewelry dough remains fresh and ready for crafting, proper storage is key. Here are some handy tips:
- Keep It Airtight: Store your dough in an airtight container or a resealable plastic bag to prevent it from drying out.
- Cool and Dry Location: Place the container in a cool, dry area, away from direct sunlight, which can cause the dough to harden prematurely.
- Refrigeration: If you plan to store it for an extended period, consider refrigerating your dough. Just make sure to let it come to room temperature before using it again.
- Regular Checks: Check your dough regularly for any signs of dryness or hardening. If it starts to dry out, you can knead in a few drops of water to revive it.
By following these tips, your jewelry dough will be a reliable companion in your crafting journey!
Also Read This: Is Dailymotion a Profitable Platform for Content Creators?
7. Exploring Dailymotion for More Creative Ideas
When it comes to making jewelry dough at home, Dailymotion is a treasure trove of inspiration and creative tutorials. If you haven't explored this platform yet, you're in for a delightful surprise. With countless videos uploaded by passionate creators, you're bound to find something that sparks your imagination!
Here are a few tips on how to navigate Dailymotion effectively for jewelry-making inspiration:
- Search Smart: Use keywords like "jewelry dough tutorials," "DIY jewelry," or "polymer clay techniques" to filter your results. This will lead you to content that aligns with your interests.
- Follow Creators: Once you find a creator whose style resonates with you, hit that follow button! This way, you’ll stay updated with their latest content and never miss a new tutorial.
- Engage with the Community: Dailymotion allows comments, so don’t hesitate to ask questions or share your thoughts. Engaging with other viewers and creators can provide additional insights and ideas.
- Save Your Favorites: Create a playlist of your favorite videos. This makes it easy to revisit tutorials whenever you're in the mood to craft.
By exploring Dailymotion, you can discover various styles, techniques, and even tips on mixing colors and textures in your jewelry dough creations. The only limit is your imagination!
8. Conclusion and Final Thoughts
In conclusion, making jewelry dough at home opens up a world of creativity, and with the right resources, including platforms like Dailymotion, your crafting journey can be both enjoyable and fulfilling. Embracing homemade jewelry dough not only allows you to express your unique style but also gives you the flexibility to experiment with different shapes and designs.
As you dive into this fun crafting venture, here are a few final thoughts to keep in mind:
- Practice Makes Perfect: Don’t be discouraged if your first attempts aren’t flawless. Keep practicing, and you’ll see improvement over time!
- Experiment Freely: Feel free to mix colors, textures, and styles. Some of the best creations come from stepping outside your comfort zone.
- Join Online Communities: Don’t hesitate to share your creations or seek advice from fellow crafters online. You’ll find support and encouragement that can motivate you to keep going.
So grab your tools, whip up some dough, and let your creativity shine! The world of DIY jewelry is waiting for you, and every piece you create tells a story.