Making hard wax at home can be a fun and rewarding experience. Not only does it save you money, but it also allows you to customize the ingredients to suit your skin's needs. Whether you're a DIY enthusiast or just looking to try something new, this guide will walk you through the simple steps to create your own hard wax. Let’s dive in and explore how easy it is to bring the salon experience right to your home!
What You Will Need
Before you start making your hard wax, it's essential to gather all the necessary materials. Here's a comprehensive list to ensure you have everything on hand:
- Ingredients:
- 2 cups of natural beeswax
- 1 cup of resin (like pine or rosin)
- 1 cup of coconut oil
- Optional: Essential oils for fragrance (like lavender or tea tree)
- Equipment:
- A double boiler or a microwave-safe bowl
- A spatula for mixing
- A thermometer to check the temperature
- Wax strips or wooden sticks for application
- A container for storing the finished wax
Gathering quality ingredients is crucial for the effectiveness of your wax. Beeswax provides a firm base, while resin adds the stickiness needed for hair removal. Coconut oil not only helps with consistency but also nourishes the skin. Don’t forget to choose essential oils that you love, as they can make your waxing experience even more enjoyable!
Also Read This: Send Personalized Postcards with Canva Postcard Template
Step-by-Step Instructions
Making hard wax at home is a fun and straightforward process. Follow these step-by-step instructions to create your very own hard wax. You’ll need a few ingredients and tools, but don’t worry; they’re easy to find!
- Gather Your Ingredients and Tools:
- 2 cups of wax beads or granules
- 1 cup of coconut oil or shea butter
- 1 tablespoon of essential oils (optional for fragrance)
- A double boiler or microwave-safe bowl
- A spatula for stirring
- A wax applicator stick
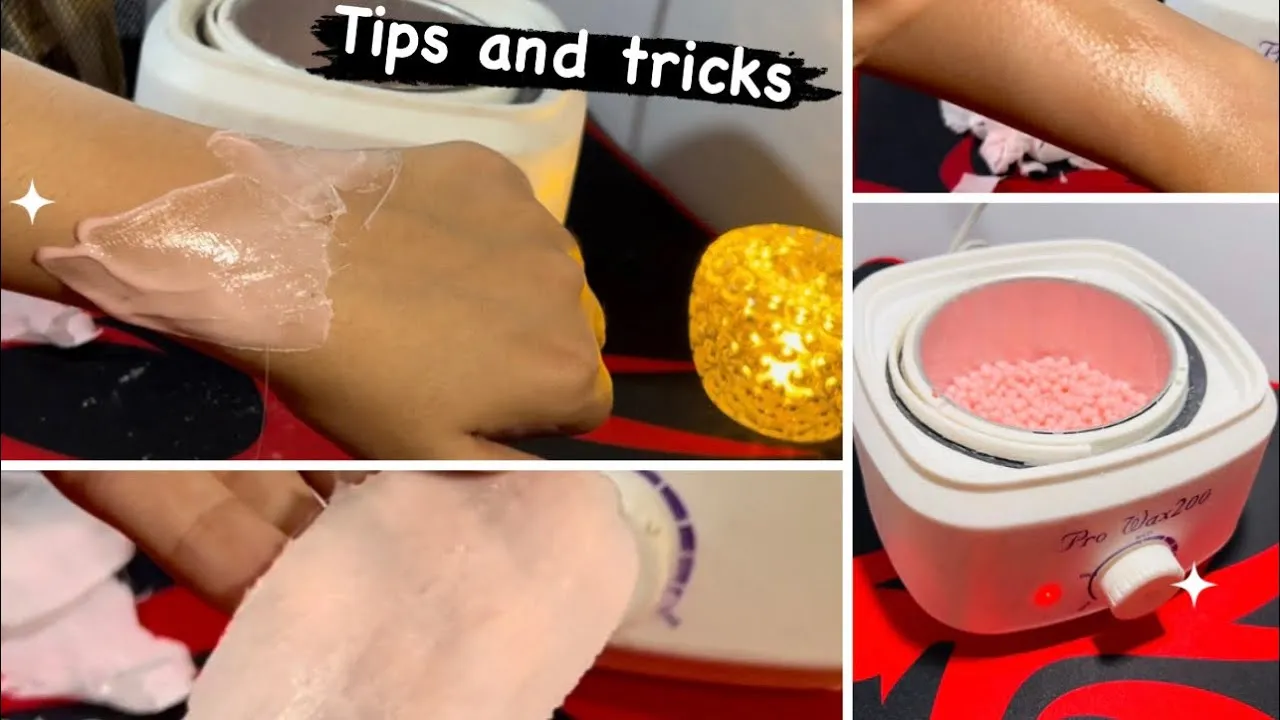
- Melting the Wax:
In your double boiler, combine the wax beads with the coconut oil. Heat them gently over medium heat, stirring occasionally until fully melted. If you're using a microwave, heat in 30-second intervals, stirring in between.
- Adding Fragrance:
Once the wax mixture is melted, remove it from heat and let it cool slightly. If you wish to add essential oils for a lovely scent, now is the time! Stir well.
- Cooling and Texture Check:
Allow the mixture to cool until it thickens slightly, but not too much. You want it to be pourable. Test the texture by spreading a small amount on your skin to ensure it won’t be too hot.
- Storing Your Wax:
Pour the wax into a heat-resistant container or mold. Let it cool completely before using. Store it in a cool, dry place.
Also Read This: Use AI Template Generator with Canva for Custom Templates
Tips for Successful Waxing
Successfully waxing at home can be a game-changer! Here are some handy tips to ensure a smooth and effective waxing experience:
- Pre-Wax Preparation: Always exfoliate your skin a day or two before waxing. This helps remove dead skin cells and allows the wax to grip better.
- Test the Temperature: Before applying the wax, always test a small amount on your wrist to ensure it’s not too hot, preventing burns.
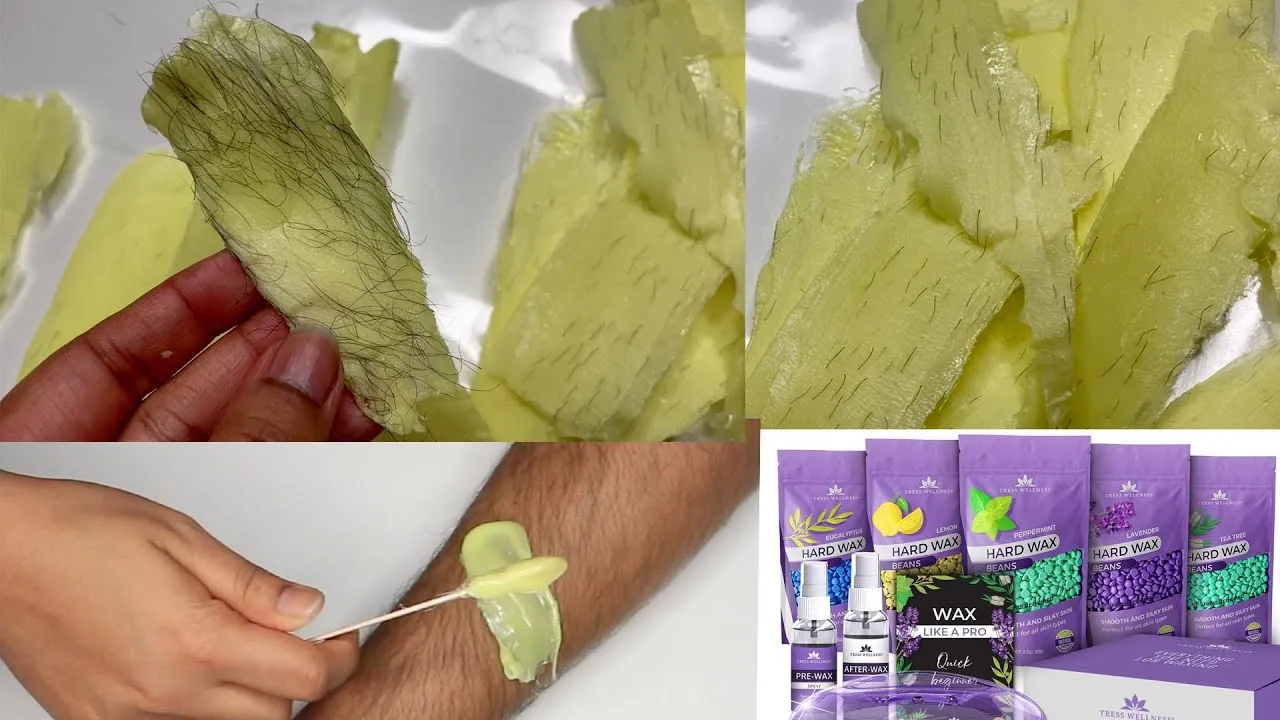
- Apply in the Right Direction: Always apply the wax in the direction of hair growth and remove it against the growth for the best results.
- Use Cornstarch: Dusting a small amount of cornstarch on the skin before applying wax can help absorb moisture and improve adhesion.
- Aftercare is Crucial: After waxing, apply a soothing lotion or aloe vera gel to calm the skin and prevent irritation.
With these steps and tips, you’ll be on your way to successfully making and using hard wax at home!
Also Read This: Shutterstock vs Adobe Stock: Decoding the Battle of Visual Giants
5. Safety Precautions
Before diving into the world of homemade hard wax, it’s crucial to prioritize your safety. Waxing at home can be a convenient and cost-effective alternative to salon treatments, but it comes with its own set of risks. Here are some essential safety precautions to keep in mind:
- Patch Test: Always perform a patch test before applying wax to a large area. Apply a small amount of wax to your inner wrist and wait for 24 hours to check for any allergic reactions.
- Temperature Check: Ensure the wax is at a safe temperature. Before applying, test a small amount on your wrist to avoid burns. The wax should be warm, not hot.
- Clean Workspace: Keep your waxing area clean and organized to prevent accidents. Make sure all your tools are sterilized to avoid infections.
- Stay Hydrated: Drink plenty of water before and after your waxing session. Staying hydrated can help minimize skin irritation.
- Avoid Certain Medications: If you’re using topical treatments like Retin-A or Accutane, consult with a dermatologist before waxing, as these can make your skin more sensitive.
- Know When to Stop: If you experience excessive pain or discomfort during waxing, stop immediately. Listen to your body!
By following these precautions, you can make your waxing experience safer and more enjoyable. Remember, safety first!
6. Conclusion
Making hard wax at home can be a rewarding experience, offering you the freedom to manage your hair removal routine at your own pace. With the right ingredients and a bit of patience, you can achieve salon-quality results without the hefty price tag. Here’s a quick recap:
- Gather your ingredients, such as natural resins, oils, and essential oils for a personalized touch.
- Follow the step-by-step process to ensure your wax is the perfect consistency.
- Implement safety precautions to protect your skin and health.
Whether you’re preparing for a special occasion or just want to maintain your look, homemade hard wax can be a fantastic addition to your beauty routine. Plus, it’s a fun DIY project that empowers you to take control of your self-care. So why not give it a try? Embrace the journey and enjoy the satisfaction that comes from creating something with your own hands!