Have you ever wanted to create something unique for your summer wardrobe? Making your own sandals at home is not only a fun and creative project, but it also allows you to express your style! In this DIY craft tutorial, we’ll guide you through each step, from gathering materials to crafting your perfect pair of sandals. Whether you’re a seasoned crafter or a complete novice, this project is accessible for everyone. So, roll up your sleeves, and let’s dive into the world of homemade footwear!
Materials Needed
Before you begin crafting your stylish sandals, let’s gather everything you’ll need. Here’s a comprehensive list of materials that will make your DIY project a breeze:
- Footbed: Choose a sturdy base material like cork, leather, or thick foam.
- Straps: You can use fabric strips, leather laces, or even old belts for a unique look.
- Adhesive: Strong glue or a hot glue gun works best for securing your footbed and straps.
- Scissors: A good pair of scissors is essential for cutting your materials accurately.
- Measuring Tape: To ensure the straps fit comfortably around your feet.
- Marking Tool: A pencil or fabric marker helps to mark where you’ll make cuts or holes.
- Decorative Elements (Optional): Think beads, charms, or paint to personalize your sandals!
Once you have all these materials, you’re ready to get creative! Each item plays a crucial role in bringing your custom sandals to life, so choose colors and textures that reflect your personal style. Let's get started!
Also Read This: Can Mass Reporting Lead to a YouTube Channel Ban
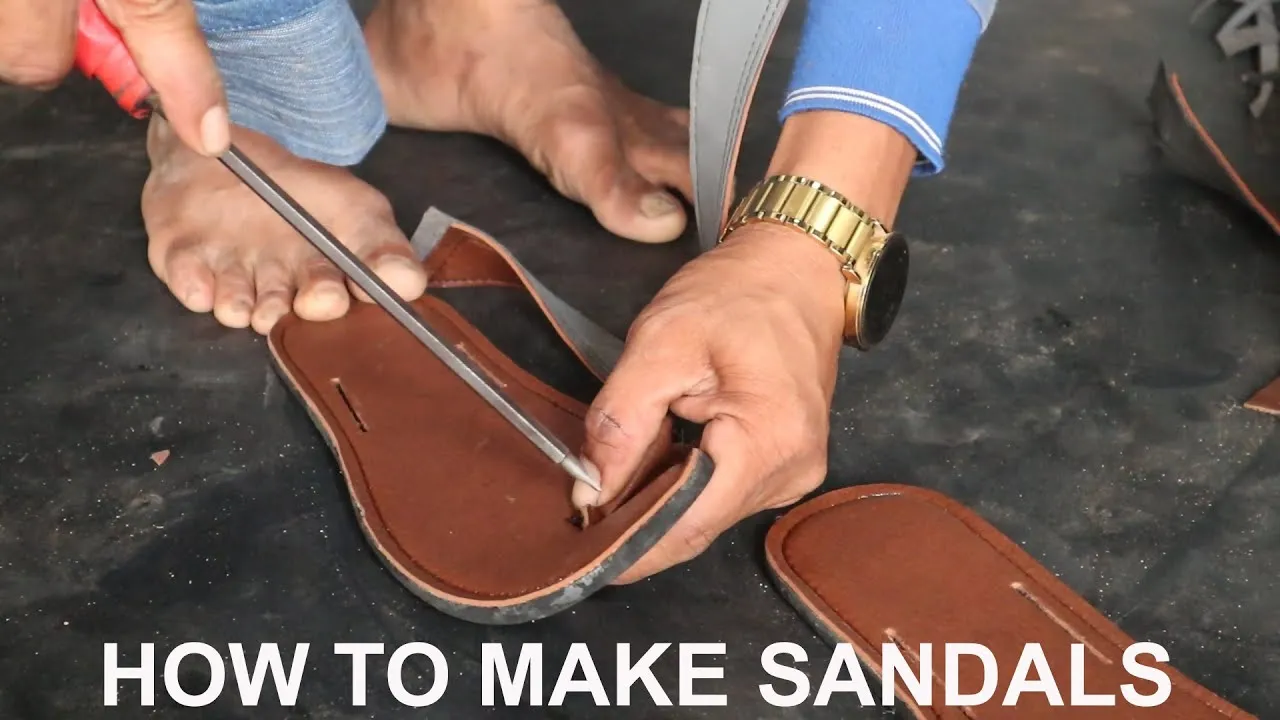
3. Step-by-Step Instructions
Creating your own sandals at home can be a fun and rewarding DIY project. Let’s walk through the process step-by-step:
- Gather Your Materials: You will need:
- Soft sole material (like rubber or foam)
- Fabric for straps (like leather, canvas, or even an old belt)
- Strong adhesive or a hot glue gun
- Scissors
- A ruler and a pencil
- Optional: embellishments such as beads or sequins
- Measure Your Feet: Use the ruler to measure the length and width of your feet. This will help you cut the sole material accurately.
- Cut the Sole: Using your measurements, cut out two sole pieces from your chosen material. A little extra width can add comfort!
- Create the Straps: Cut your fabric into strips for the straps. You can make them as thick or thin as you like, depending on your preference.
- Attach the Straps: Position the straps on the soles and use the adhesive or hot glue to secure them. Make sure they’re even and comfortable.
- Let it Dry: Allow your sandals to dry completely, following the adhesive instructions for optimal curing time.
- Add Embellishments: If you want, decorate your sandals with beads, sequins, or paint to give them a personal touch!
And voila! You now have a pair of fun, custom sandals made by your own hands.
Also Read This: Create App Designs with Canva App Design Template
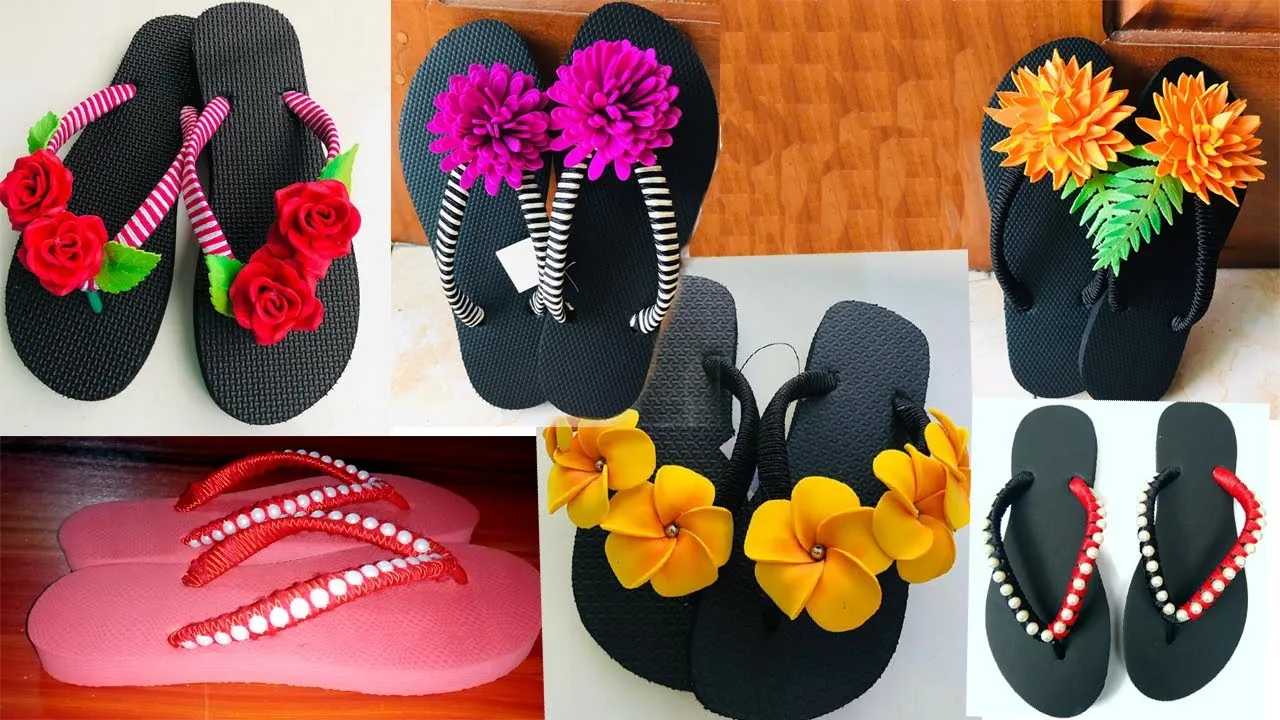
4. Tips for Customizing Your Sandals

Once you've got the basics down, it’s time to get creative! Here are some tips to customize your sandals and make them uniquely yours:
- Color Choices: Choose vibrant colors for your straps or soles to match your personal style. Fabric paints or dye can add a splash of color!
- Texture Variations: Mix materials! For instance, use leather for durability paired with a fun, patterned fabric for a playful look.
- Different Strap Styles: Experiment with different strap configurations—think crisscross, looped, or even braids for a chic design.
- Personalized Messages: Write or paint inspirational quotes on the soles or straps for a daily dose of positivity!
- Functional Additions: Consider adding arch support or cushioning for extra comfort, especially if you plan to wear them for long periods.
Customizing your sandals can turn a simple project into a statement piece that reflects your personality. So don’t be afraid to let your creativity shine!
Also Read This: Creating a Behance Project for Uploading and Organizing Your Work
5. Common Mistakes to Avoid
When embarking on your DIY sandal-making adventure, it’s crucial to steer clear of some common pitfalls that could hinder your progress or affect the quality of your sandals. Here are a few mistakes to watch out for:
- Choosing the Wrong Materials: Using low-quality or unsuitable materials can lead to uncomfortable or unwearable sandals. Always opt for durable, flexible materials like leather or thick rubber soles.
- Ignoring Measurements: Skipping the measuring step might lead to sandals that are too tight or too loose. Take the time to measure your feet accurately and refer to sizing guides to ensure a perfect fit.
- Overlooking Design and Comfort: Sometimes in the excitement of creating, we forget about comfort. Make sure your design doesn’t compromise on support. Test the fit of straps before securing them permanently.
- Skipping the Drying Time: If you’re using adhesives, don’t rush the process. Allow adequate drying time between steps to ensure everything adheres properly and maintains its shape.
- Neglecting Safety Precautions: Crafting tools can be dangerous. Always wear protective gear, like goggles and gloves, especially when cutting materials or using adhesives.
By avoiding these common mistakes, you'll save time, materials, and frustration. Happy crafting!
6. Conclusion
Making sandals at home can be a fun and rewarding project. Not only do you get to customize your footwear to reflect your personal style, but you also gain a sense of accomplishment from creating something with your own hands. Remember, the key to a successful DIY sandal is careful planning, choosing the right materials, and taking your time with each step.
As you wrap up your crafting journey, take a moment to reflect on what you've learned. Maybe you discovered a new technique or a favorite material. Whatever it is, embrace it and don’t hesitate to experiment further!
So, gather your supplies, follow the steps outlined in this tutorial, and before you know it, you’ll be strutting around in your very own handcrafted sandals. Whether they're for the beach, a casual outing, or a summer party, these sandals will be a testament to your creativity and hard work. Happy crafting!