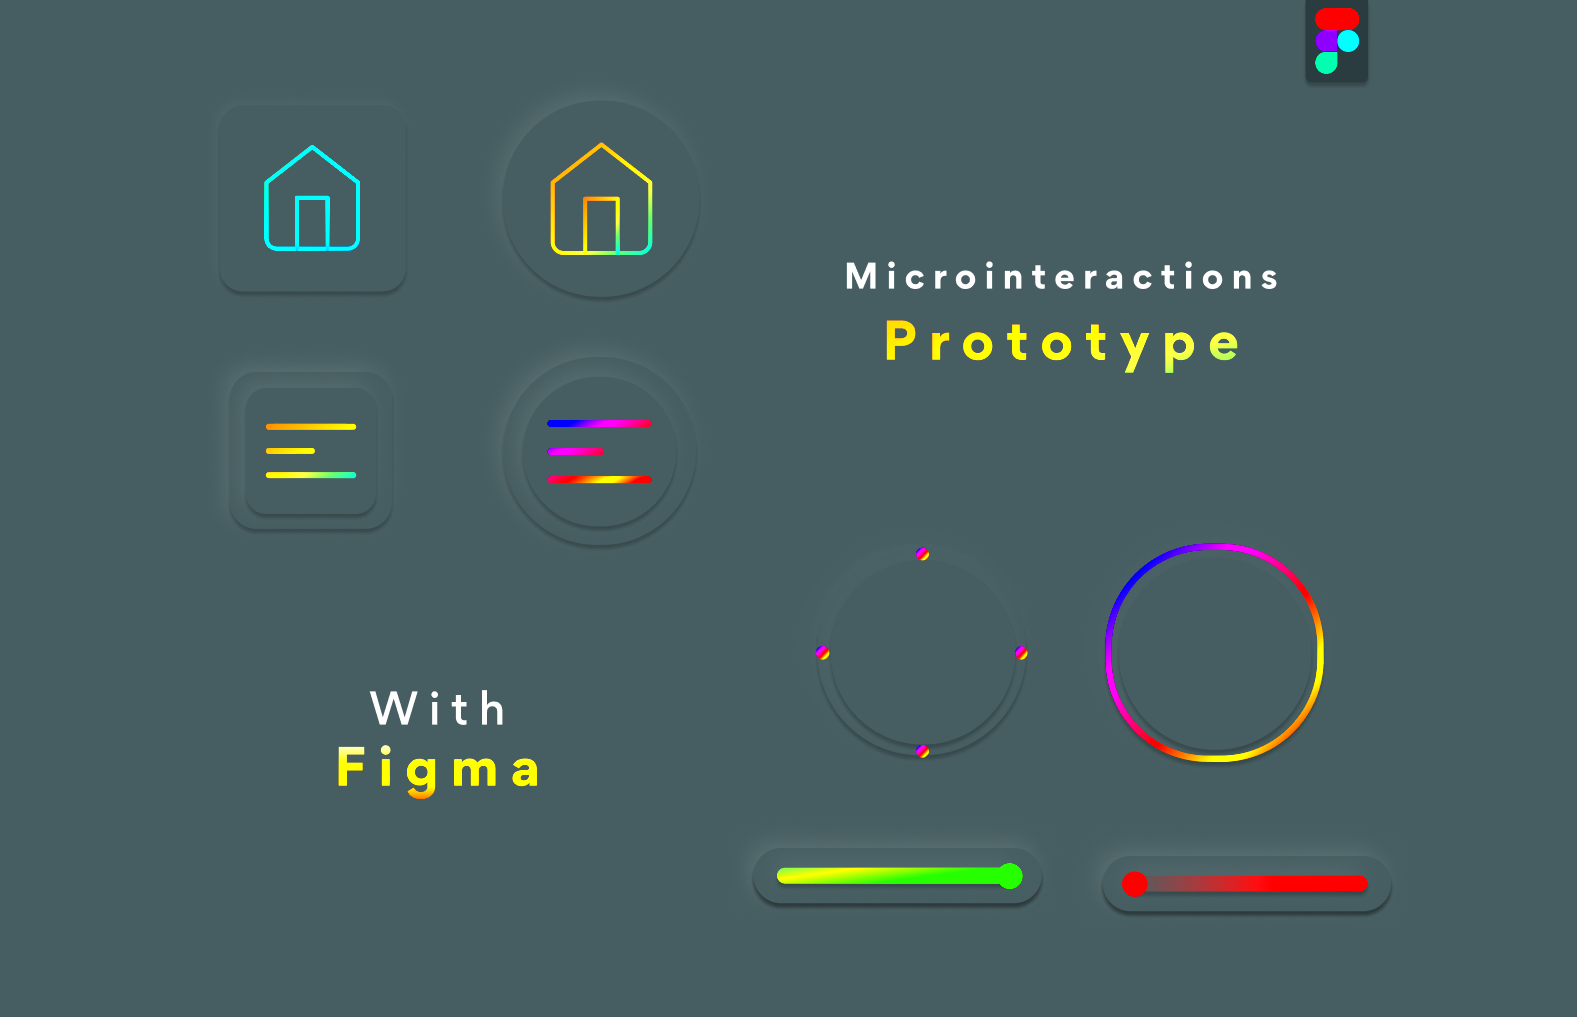
Figma is a popular design tool that allows teams to create, prototype, and collaborate in real time. It works in your web browser, making it accessible from anywhere. You can create user interfaces, mobile app designs, and even graphic elements without the need for heavy software installations. What sets Figma apart is its collaborative features. Multiple users can work on the same file simultaneously, making it easier for teams to share ideas and make adjustments on the fly.
Here are some common uses of Figma:
- UI/UX Design: Design user interfaces for websites and applications.
- Prototyping: Create interactive prototypes to test user flows.
- Design Systems: Develop reusable components for consistency.
- Collaboration: Allow team members to leave comments and suggestions directly on the design.
Why You Should Embed Figma Prototypes in Behance

Embedding Figma prototypes in your Behance portfolio can significantly enhance your project presentation. Here’s why:
- Interactive Experience: Viewers can interact with your design, experiencing it as intended.
- Showcase Skills: Demonstrates your ability to create functional prototypes.
- Engage Your Audience: Engaged viewers are more likely to appreciate your work and follow your portfolio.
- Better Feedback: Potential clients or employers can provide specific feedback based on the prototype experience.
Embedding your prototypes allows you to show not just the final design, but the thought process and usability behind it, making your portfolio stand out.
Also Read This: How Much Money Do You Get Per Like on YouTube
Steps to Prepare Your Figma Prototype for Embedding
Before embedding your Figma prototype into Behance, there are a few steps to prepare it. Here’s a quick guide:
- Finalize Your Design: Ensure your prototype is complete and all links work as intended.
- Adjust Settings: Go to your Figma file settings and make sure the prototype settings are correct. You may want to set it to allow viewers to navigate through the prototype freely.
- Get the Embed Code: This is crucial for embedding. You’ll need to copy the embed code from Figma, which will allow you to place the prototype in your Behance project.
- Test Your Prototype: Always test the prototype in Figma to ensure everything functions correctly before embedding it.
By following these steps, you'll have a smooth process for showcasing your work on Behance.
Also Read This: Develop Strategy Canvases with Canva Strategy Canvas Template
How to Get the Embed Code from Figma
Getting the embed code from Figma is a straightforward process. This code allows you to share your prototype in a way that others can interact with it directly on your Behance project. Here’s how you can easily find and copy the embed code:
- Open Your Prototype: First, navigate to the Figma file that contains the prototype you want to share.
- Click on the Share Button: In the top right corner of the screen, you’ll see a “Share” button. Click it to open the sharing options.
- Select Embed: In the sharing options, look for the “Embed” tab. Here, you’ll find settings related to how your prototype will be embedded.
- Copy the Embed Code: Figma will generate an embed code for you. Simply click the “Copy” button next to the code. You may want to adjust the width and height settings if needed.
With the embed code in hand, you’re ready to take the next step in showcasing your design. It’s as easy as that!
Also Read This: Complete Roster of the Royal Rumble 2024
Embedding the Figma Prototype in Your Behance Project
Now that you have your Figma embed code, it’s time to add your prototype to your Behance project. This process will make your portfolio more engaging and interactive. Here’s how to do it:
- Log Into Behance: Start by logging into your Behance account and navigating to the project where you want to embed your prototype.
- Edit Your Project: Click on the “Edit Project” button to make changes to your project details.
- Choose an Embed Block: In the project editor, you can add different types of content blocks. Look for the “Embed” block option and select it.
- Paste Your Embed Code: In the embed block, paste the Figma embed code you copied earlier. Make sure to check the preview to ensure it looks good.
- Save Your Changes: Once you’re satisfied with how it looks, save your changes and publish or update your project.
Now, anyone visiting your Behance project can interact with your Figma prototype, giving them a better understanding of your design skills!
Also Read This: Design with Avery Templates Using Canva
Tips for Optimizing Your Embedded Prototype
To ensure your embedded Figma prototype looks great and functions smoothly, consider these optimization tips:
- Choose the Right Size: Adjust the width and height in the embed code to fit well within your Behance layout. A typical width of 100% ensures it adjusts to different screen sizes.
- Test Interactivity: Before finalizing your project, thoroughly test the embedded prototype to make sure all links and interactions work seamlessly.
- Use Clear Navigation: Design your prototype with easy navigation. This helps viewers understand your design without confusion.
- Limit Embedded Sections: While it can be tempting to embed multiple prototypes, keep it focused. Too many can overwhelm viewers.
- Provide Context: Add descriptions or notes around your embedded prototype. This helps viewers understand what they’re looking at and why it matters.
By following these tips, you can make your embedded Figma prototypes shine and leave a lasting impression on your audience!
Also Read This: Storyblocks Subscription Cancellation: What You Need to Know
Common Issues When Embedding and How to Fix Them
While embedding Figma prototypes into Behance is generally straightforward, you might run into a few hiccups along the way. Understanding these common issues can help you troubleshoot effectively. Here are some problems you might face and how to solve them:
- Prototype Not Loading: If your prototype doesn’t appear, ensure that you’ve copied the correct embed code. Double-check the sharing settings in Figma to confirm it’s set to allow public access.
- Interactivity Issues: Sometimes, users find that links or buttons in the prototype don’t work. Make sure all interactive elements are correctly set up in Figma and test them before embedding.
- Size Problems: If your prototype looks too small or too large, you may need to adjust the width and height in the embed code. Use responsive sizing (like 100% width) to ensure it fits various screens.
- Browser Compatibility: Different browsers can sometimes display embedded content differently. Test your project in various browsers (like Chrome, Firefox, and Safari) to catch any issues early.
If you encounter a problem, take a moment to review these potential issues. Most can be fixed with a few simple adjustments!
Also Read This: Crafting a Stylish Clutch Purse from Cardboard
FAQ about Embedding Figma Prototypes in Behance
Have questions about embedding Figma prototypes in Behance? You’re not alone! Here are some frequently asked questions that can help clarify things:
- Can I embed multiple Figma prototypes in one Behance project?
Yes, you can embed multiple prototypes. Just remember to keep your layout organized to avoid overwhelming viewers. - Is it free to use Figma for embedding?
Yes, Figma offers a free tier that allows you to create and share prototypes. However, some features may be limited in the free version. - Do I need a Figma account to view the embedded prototype?
No, viewers do not need a Figma account to interact with the embedded prototype as long as it is set to public. - What if my embed code changes?
If you make changes to your Figma prototype, you may need to update the embed code in Behance. Always check after making significant edits.
These answers should help you navigate any concerns about embedding your prototypes. If you have more questions, feel free to explore Figma's and Behance's support resources!
Conclusion on Using Figma with Behance
Embedding Figma prototypes into your Behance portfolio is a fantastic way to showcase your design skills. It not only allows potential clients or employers to interact with your work but also demonstrates your ability to create functional and user-friendly designs. By following the steps outlined in this guide and being aware of common issues, you can create a compelling and engaging presentation of your projects.
Remember to keep your prototypes organized, provide context for your viewers, and regularly test for functionality. With these tips, you'll enhance your portfolio's visual appeal and effectiveness. Happy designing!
