Concept maps are visual tools that help us organize and represent knowledge. They show relationships between different concepts, making complex ideas easier to understand. By illustrating connections, concept maps can enhance learning and retention.
Here are a few reasons why concept maps are important:
- Enhances Learning: Visual representation helps learners grasp concepts more quickly.
- Encourages Critical Thinking: Creating a concept map requires you to analyze and synthesize information.
- Improves Memory: Visual aids can improve recall and retention of information.
- Facilitates Collaboration: Concept maps can be shared and worked on collaboratively, enhancing group learning.
Overall, concept maps are a great way to clarify thoughts and improve understanding, making them a valuable resource in both education and professional settings.
Exploring Canva and Its Features for Concept Maps
Canva is an online graphic design platform that simplifies creating visual content. It offers a variety of tools and templates, including options for making concept maps. With Canva, you can easily customize your maps to fit your needs.
Here are some key features of Canva that make it ideal for creating concept maps:
- User-Friendly Interface: Canva's drag-and-drop design makes it easy for anyone to use, regardless of design experience.
- Variety of Templates: You can choose from numerous templates specifically designed for concept mapping.
- Customization Options: Canva allows you to change colors, fonts, and layouts to match your style.
- Access to Graphics: You can easily add images, icons, and shapes to enhance your concept map.
- Collaboration Features: Work with others in real-time, making it easy to gather input and ideas.
These features make Canva a powerful tool for anyone looking to create effective concept maps quickly and easily.
Also Read This: Does LinkedIn Automatically Post Work Anniversaries and How to Manage Notifications
How to Access the Concept Map Template in Canva
Accessing the concept map template in Canva is straightforward. Here’s how you can do it:
- Visit Canva: Go to the Canva website and log in or create an account if you don’t have one.
- Search for Templates: Use the search bar to type “Concept Map” and press Enter.
- Select a Template: Browse through the available concept map templates and choose one that suits your needs.
- Open the Template: Click on the template to open it in the editor.
- Start Customizing: Begin adding your information, adjusting colors, and making any other changes you desire.
By following these steps, you can quickly access and start using a concept map template in Canva, making your workflow efficient and organized.
Also Read This: Sharing Your Adobe Stock Account with Collaborators or Clients
Step by Step Guide to Creating Concept Maps Using the Template
Creating a concept map in Canva is a simple and enjoyable process. Whether you are a student, teacher, or professional, following these steps will help you develop a clear and effective concept map using the template you selected.
Here’s a step-by-step guide to get you started:
- Open Your Template: Once you've selected your concept map template, click on it to open the design editor.
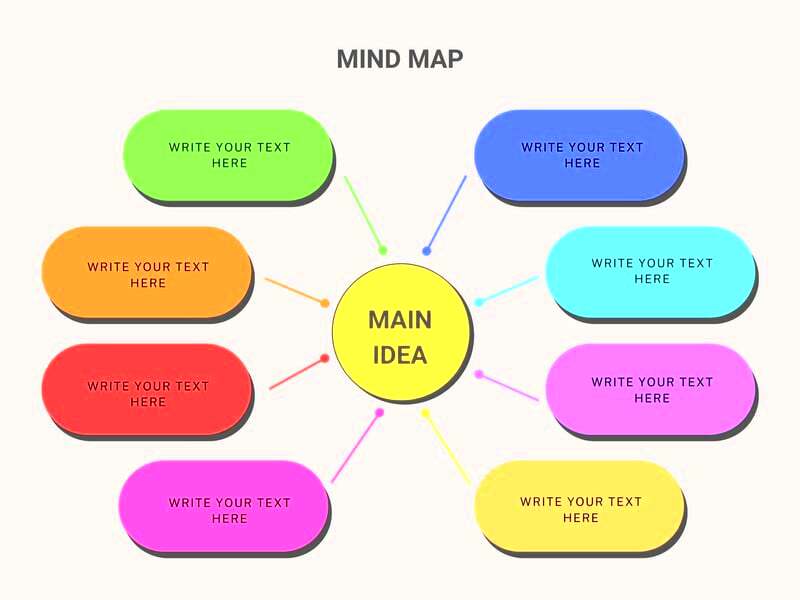
- Add Your Main Idea: In the center of the map, add your primary concept or main idea. This is the focal point of your map.
- Create Branches: From your main idea, draw lines or arrows to create branches for subtopics or related concepts.
- Label Your Branches: Write down the names of each subtopic or concept on the branches. Be concise but clear.
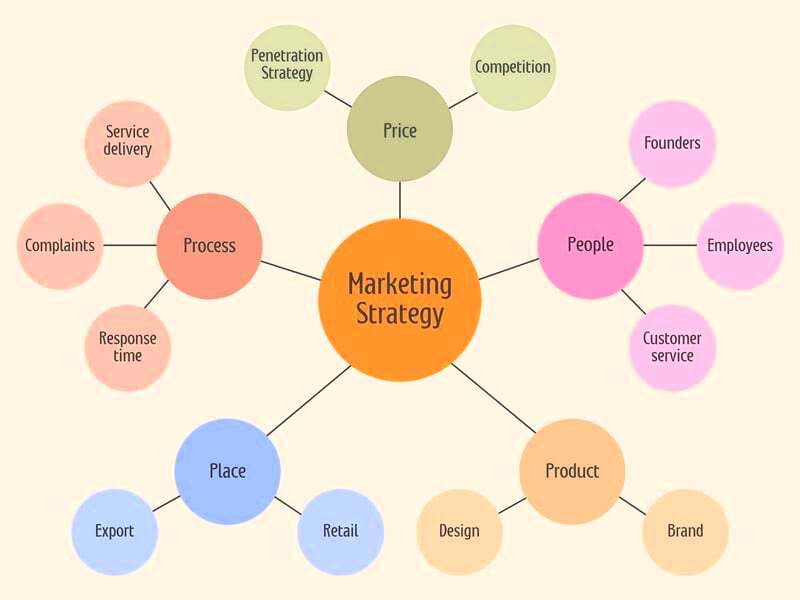
- Add Additional Details: Under each subtopic, you can add smaller branches for supporting details or examples.
- Review Your Map: Look over your concept map to ensure everything is clear and logically organized.
- Save Your Work: Make sure to save your map regularly to avoid losing any changes.
By following these steps, you’ll create a well-structured concept map that helps you visualize and organize your thoughts effectively.
Also Read This: How to Create a Collection on Behance
Customizing Your Concept Map for Better Clarity
Customization is key when it comes to making your concept map stand out and be easy to understand. Canva offers a variety of tools that let you personalize your map according to your preferences. Here’s how you can customize your concept map for better clarity:
- Choose a Color Scheme: Select colors that are visually appealing and ensure that related concepts have similar colors for easy recognition.
- Adjust Font Styles: Use different fonts to differentiate between main ideas and supporting details. Make sure the text is readable.
- Use Shapes and Sizes: Vary the shapes and sizes of your nodes to indicate the importance of certain concepts. Larger shapes can represent main ideas, while smaller shapes can denote details.
- Organize Layout: Ensure your layout flows logically. You can use horizontal or vertical layouts depending on your preference.
Customizing your concept map in these ways can significantly improve its clarity and make it easier for your audience to understand your ideas at a glance.
Also Read This: Resolving the Issue of Missing Comments on YouTube
Using Images and Graphics to Enhance Your Concept Map
Images and graphics can elevate your concept map from a simple outline to a visually engaging representation of your ideas. Incorporating visuals not only makes your map more attractive but also helps convey your message more effectively. Here’s how to use images and graphics to enhance your concept map:
- Add Relevant Icons: Use icons to represent different concepts visually. For example, a lightbulb icon can symbolize an idea, while a book icon can denote information or research.
- Incorporate Photos: Relevant images can make your concept map more relatable. For instance, if you're mapping out a project on sustainable energy, including photos of solar panels or wind turbines can reinforce your points.
- Use Backgrounds Wisely: Choose subtle backgrounds that enhance your concept map without overwhelming it. A light pattern or solid color can create depth.
- Link to External Resources: If appropriate, include links or QR codes that direct viewers to additional resources or related content.
By thoughtfully integrating images and graphics into your concept map, you can create a more dynamic and informative visual that captures your audience's attention.
Also Read This: Average Earnings with Shutterstock
Sharing and Downloading Your Finished Concept Map
Once you’ve created your concept map in Canva, you’ll want to share or download it for various purposes. Whether it’s for a presentation, a school project, or collaboration with others, Canva makes this process straightforward. Here’s how you can share and download your finished concept map:
- Downloading Your Map: Click on the “Download” button in the top right corner of the editor. You can choose from several formats, such as PNG, JPG, or PDF, depending on your needs.
- Adjusting Settings: Before downloading, you can adjust the quality settings. For online use, lower resolution works fine, while high resolution is better for print.
- Sharing Directly: Canva allows you to share your concept map directly via email or social media. Click the “Share” button, and you can send a link or invite collaborators to view or edit your design.
- Using Presentation Mode: If you want to present your concept map directly from Canva, use the presentation mode. This feature allows you to showcase your map in a clean and engaging format.
By following these steps, you can easily share your concept map with others or download it for offline use. This flexibility makes it convenient for various applications, whether educational or professional.
Also Read This: Fixing Login Issues and Why You Canât Access Your YouTube Account
Frequently Asked Questions About Canva Concept Maps
As you explore Canva for creating concept maps, you might have some questions. Here are some frequently asked questions that can help you navigate the platform better:
- Is Canva free to use? Yes, Canva offers a free version with many features. However, some templates and elements may require a subscription to Canva Pro.
- Can I collaborate with others on my concept map? Absolutely! Canva allows real-time collaboration, so you can invite others to view or edit your concept map simultaneously.
- What formats can I download my concept map in? You can download your concept map in several formats, including PNG, JPG, PDF, and even SVG.
- Can I use my own images in Canva? Yes, you can upload your own images to use in your concept map, making it easy to personalize your designs.
- How can I make my concept map more visually appealing? Use colors, shapes, and icons wisely to organize information visually. Incorporating images can also enhance your map's appeal.
These FAQs can help clarify common concerns and assist you in making the most out of your Canva experience when creating concept maps.
Conclusion on Creating Effective Concept Maps with Canva
Creating effective concept maps with Canva is not only easy but also a fun way to visualize your thoughts and ideas. With its user-friendly interface and various customization options, Canva stands out as a powerful tool for both beginners and experienced users.
Remember, the key to a successful concept map lies in clarity and organization. By following the steps outlined in this guide, you can ensure that your concept map effectively communicates your ideas. Here are some final tips to consider:
- Start Simple: Begin with the main idea and gradually add details. This helps keep your map organized.
- Be Consistent: Use similar colors and shapes for related concepts to enhance understanding.
- Review and Revise: Don't hesitate to make adjustments as you go. A fresh set of eyes can help improve clarity.
With these tips in mind, you are ready to create impactful concept maps that make learning and sharing information easier. So go ahead, start mapping out your ideas using Canva today!