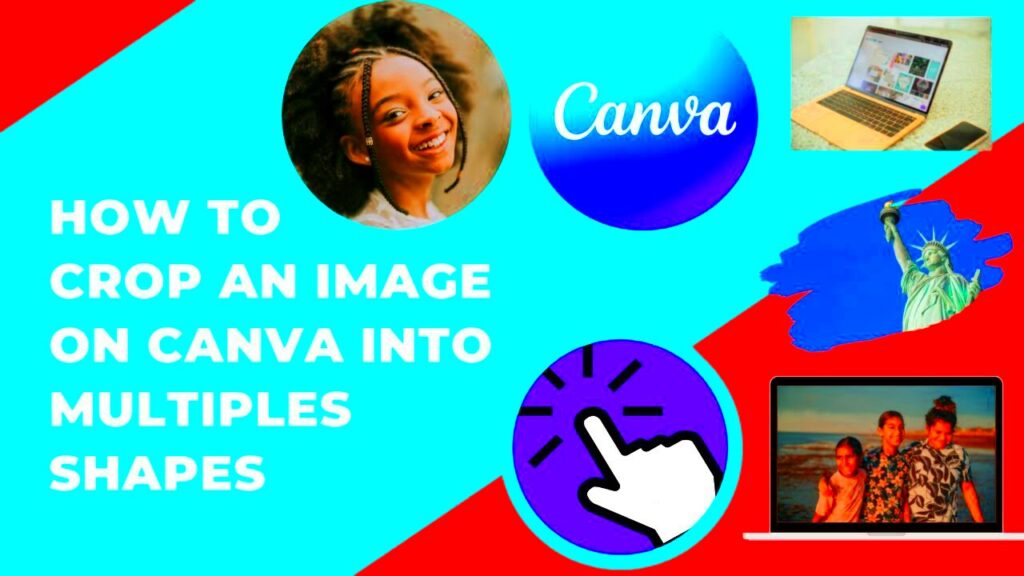
As a person who is passionate about designs, the numerous options that Canva avails always captivate me. It is the picture cropping function that has completely redefined my creative process. Cropping pictures into various shapes make a difference in a world whereby visuals are more expressive than words. The goal here is not to just cut but also enrich the message of your picture. I will discuss how this simple but very potent tool has helped me improve my work.
Benefits of Cropping Images into Shapes
Shaping images using cropping is not only a matter of appearance but comes with several benefits that can dramatically improve your designs. Here are some advantages:
- Improved Focus: Cropping can direct attention to the most important elements of your image, ensuring that the viewer's gaze lands exactly where you want it.
- Enhanced Creativity: Using shapes can give your design a unique flair, making it stand out in a sea of rectangular images.
- Better Composition: Shapes can help in achieving a balanced and harmonious look, contributing to overall design coherence.
- Visual Storytelling: Shapes can convey emotions or themes more effectively, adding depth to your visuals.
In my example flyer that I made for this local event, the design looked friendlier with some of the faces on it being circular. Even though it was just a minor detail, it really made a difference!
Also Read This: How to Watch Videos on Telegram as a Beginner
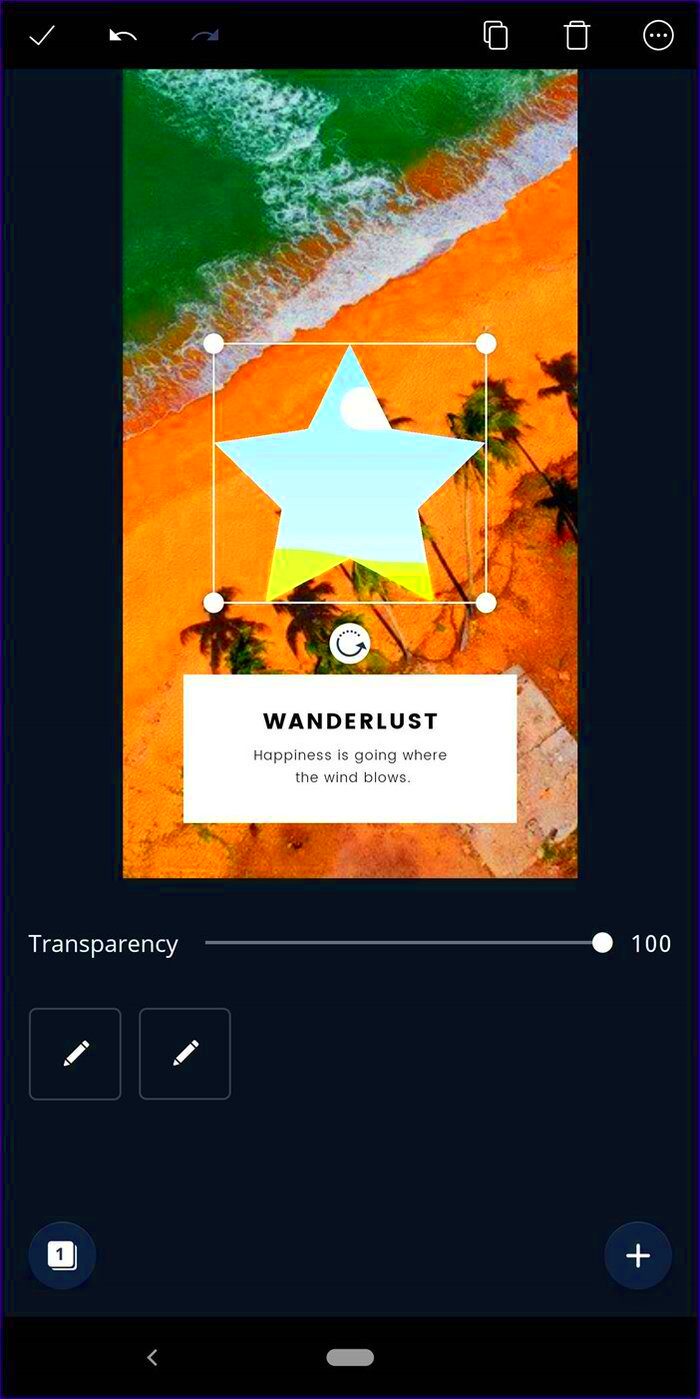
Steps for Cropping Images in Canva
The process of cropping images in Canva is begun in a simple manner. Novices and professionals can implement the following steps.
- Open Your Design: Start by selecting the design where you want to crop an image.
- Add an Image: Upload your image or choose one from Canva’s extensive library.
- Select the Image: Click on the image you want to crop to activate the editing options.
- Use the Crop Tool: Click on the 'Crop' button in the top toolbar. This will give you a bounding box around your image.
- Choose a Shape: Select the 'Shapes' option from the elements tab to pick a shape that suits your design.
- Adjust and Position: Drag your image inside the shape and adjust the size and position as needed.
- Finalize Your Design: Once satisfied, click ‘Done’ to apply the crop and continue enhancing your design.
Keep in mind that regular practice leads to mastery! With every shape and trimming method tried out, your abilities will only improve. Best of luck with your cropping diverse forms!
Also Read This: How to Cancel Your YouTube TV Membership in a Step-by-Step Guide
Using Shapes to Enhance Your Designs

The significance of shapes in designs are more than just beauty, but rather they are tools of storytelling, expressing sentiments and linking with target groups. My experience with using shapes in designing is still fresh in my memory; I remember when I used them in a wedding invitation for my family. For the couple’s picture, I selected a heart-shaped figure which completely changed the whole design. Consequently enough, it added warmth to the invitation plus it was very personal as well. Although speechless shapes abound much language.
There are numerous inventive methods wherein forms or shapes can be utilized in an efficient manner:
- Framing: Use shapes to frame important elements in your design, creating focus and drawing the viewer’s eye.
- Creating Visual Hierarchy: Shapes can help distinguish between different sections of your design, guiding the viewer through your content seamlessly.
- Expressing Themes: Choose shapes that resonate with the theme. For example, use circles for a friendly vibe and triangles for a more dynamic feel.
- Mixing Shapes: Don’t hesitate to combine different shapes. Mixing rounded and angular shapes can add an exciting contrast to your design.
The different designs created by adding shapes are not meant to only make them beautiful but also build a different emotional level of understanding with their customers. Sometimes what your work needs most is just that tiny bit more than it had before.
Also Read This: Understanding YouTube TV's Inclusion of the FYI Channel
Tips for Effective Image Cropping
Designs can be greatly enhanced by effective image cropping, which is an art. I have learned a few strategies that can make this easier and more effective over the years. Here are some of the realistic tips:
- Know Your Focus: Before cropping, identify the focal point of your image. This will guide you in deciding how much to crop and what to leave in.
- Use the Rule of Thirds: Imagine dividing your image into a 3x3 grid. Place important elements along these lines or at the intersections for a balanced composition.
- Keep It Simple: Avoid excessive cropping. Sometimes less is more. Focus on the essentials to maintain clarity in your design.
- Experiment with Shapes: Don’t be afraid to play with different shapes. You might find that a circular crop enhances the emotional impact of your image.
- Consider the Background: Pay attention to what’s in the background. A clean background can make your subject pop, while a busy one might distract from it.
My notes indicate that repetition determines mastery. You will gain an eye for the most appropriate types of adjustments relating to your design through constant cropping and tweaking.
Also Read This: Behance URL modification tutorial
Common Mistakes to Avoid When Cropping Images
It appears that people think cropping images is easy however, but that is not exactly true because there are various common problems that even designers like me have experienced. Understanding these issues will help you avoid making similar mistakes and wasting time and energy. Below are some pitfalls to help avoid:
- Over-Cropping: Cutting too much off can lead to losing essential elements of your image. Always ensure that the core message remains intact.
- Ignoring Image Quality: Cropping can sometimes compromise image quality. Make sure you’re working with high-resolution images to maintain clarity.
- Forgetting the Aspect Ratio: Different platforms have specific requirements for image dimensions. Failing to consider this can lead to awkwardly cropped images.
- Not Planning Ahead: It’s important to have a vision for how the cropped image will fit into your overall design. A hasty crop can ruin a well-thought-out layout.
- Disregarding White Space: Sometimes, less clutter and more white space can enhance the visual appeal. Don’t crowd your design with too many elements.
You can be sure that you will become a better designer if you learn from such errors that I myself have committed. Learn through your oversight, and always keep in mind that every cut is an opportunity to tell another story.
Also Read This: Fortiguard Downloader Licensing Options Overview
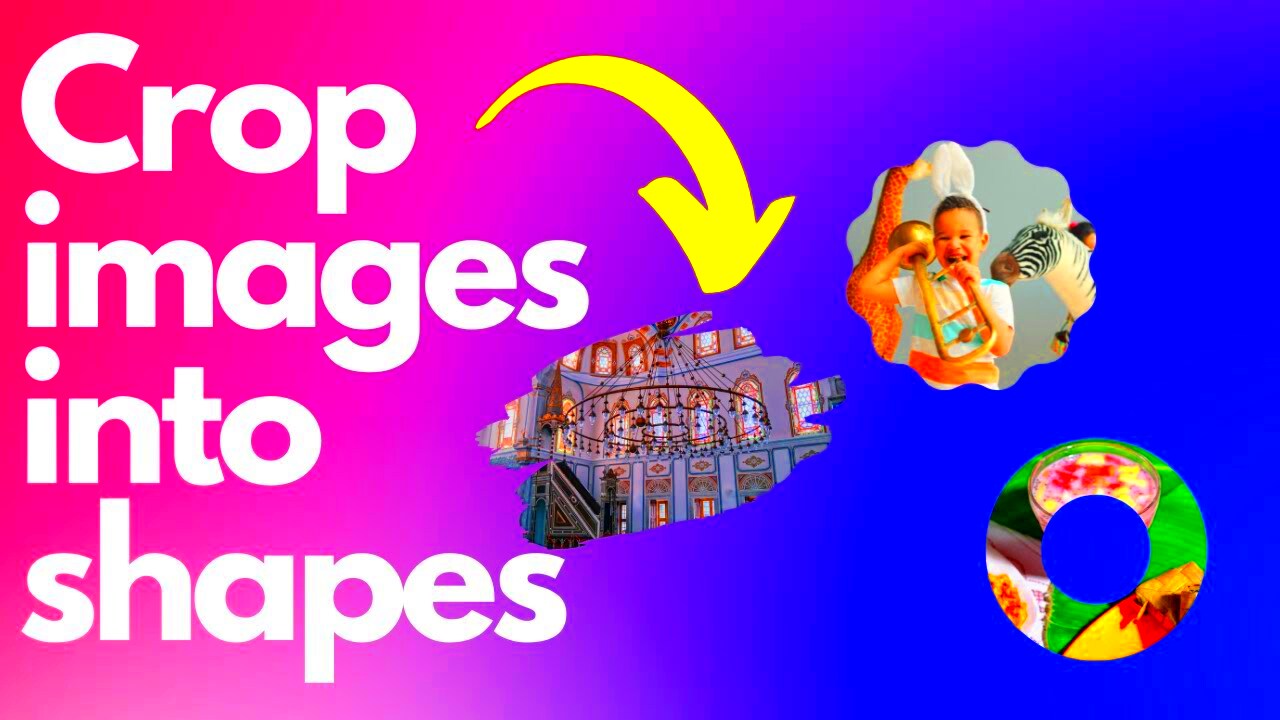
Examples of Creative Image Shapes
With respect to inventiveness, canvas provides a bottomless pit of opportunities. Geometrical figures may turn plain pictures into astonishing graphics enticing observer's glance. I remember designing a poster for a local art exhibition project. Rather than utilizing conventional rectangular images I tried out with different forms and the result was wonderful! Below are some instances of distinct photo structures:
- Circle: Perfect for highlighting portraits or special moments. A circular crop gives a friendly and approachable feel, making it great for family photos or community events.
- Heart: Use this shape for romantic themes, like wedding invitations or Valentine’s Day cards. It adds a personal touch that resonates with emotions.
- Star: Ideal for showcasing achievements or special recognition. A star shape can make a person or an event feel extraordinary.
- Diamond: This shape adds a touch of elegance and can be great for luxury brands or upscale events. It captures attention and adds visual interest.
- Custom Shapes: Don’t hesitate to create your own shapes that reflect the theme of your project. It could be anything from a leaf shape for an eco-friendly campaign to a cloud for a whimsical design.
Utilizing these unique forms can amplify your design capabilities. Be mindful that each form has its own tale to tell. Therefore, allow your creativity to run wild and don’t hesitate on coming up with something new!
Also Read This: Deleting Adobe Stock Backgrounds on iPhone and Managing Your Downloads
FAQ about Canva Image Cropping
You are indeed correct that there are times when people may wonder about image cropping, particularly if they have just started doing so. In light of my own experiences and inquiries made, these are a few of the most boringly asked queries on cropping pictures through canva:
- Can I crop images in Canva for free? Yes, Canva offers a free version where you can crop images without any additional costs.
- What image formats can I crop in Canva? You can upload and crop JPEG, PNG, and even GIF images in Canva.
- Can I undo a crop in Canva? Absolutely! If you change your mind after cropping, simply click ‘Undo’ or use the crop tool to adjust the image again.
- Are there limitations to cropping images in Canva? While cropping is quite flexible, remember that cropping too much may affect image quality, so always start with high-resolution images.
- How can I maintain aspect ratio while cropping? You can hold down the ‘Shift’ key while dragging the corners of the crop box to keep the original aspect ratio intact.
Unless you are stuck and have no course to run, please check out Canva's help centre or its community forums. There are plenty of useful facts and suggestions from people who use them!
Conclusion on Cropping Images in Canva
Like we were ending our tour on cropping pictures in Canva, we see that this aspect is beyond a tool; it’s a medium for revealing creativity and advancing visual narrative. The cropping method can determine either a mood or intent in your design be it a simple social media post or even an elaborate flyer. There is always something hidden until it is cropped out, I tell myself at times. Therefore use shape power to open possibilities; try different styles and don’t hold back from taking risks in your design.
As a designer, I have discovered that it is not merely about the end product but rather about how it came to be. Therefore, keep on practicing, keep on experimenting and most of all, keep on creating! Each project represents a milestone in improving your abilities as well as identifying your personal style. Best wishes in design!