DPI short for dots per inch is a term commonly used in the realm of design. But what does it actually signify? Picture yourself in a lively café enjoying your chai and browsing through your designs on Canva. When you zoom in the sharpness of your visuals can either make you beam with joy or leave you feeling let down. That’s how impactful DPI can be!
DPI, which stands for dots per inch, plays a role in determining the clarity and intricacy of your visuals when they are printed or shown on screen. A DPI setting means more dots, leading to greater precision. For example when creating a wedding invitation you would want to make sure it appears sharp and sophisticated. Conversely if it's simply a casual post on media a DPI might be enough.
In an age where images convey messages grasping the concept of DPI can give you an edge. It's like capturing a breathtaking sunset in its full splendor instead of a lackluster pixelated rendition that falls short. It's all about bringing your creations to life and making sure they strike a chord with your viewers.
How to Adjust DPI Settings in Canva
Changing the DPI settings in Canva may appear challenging initially but its really as simple as brewing a cup of masala chai! Allow me to guide you through the process.
1. Start with your design open in Canva.
2. Click on the download option located in the upper right corner.
3. Select the format you require (PNG, JPG, etc.).
Before hitting that download button, make sure to check out the "Advanced options" section. This is where you can pick your preferred DPI. Typically, you'll find options ranging from 72 DPI for images to 300 DPI for print.
5. Click on the download button and ta da! Your picture is all set to dazzle.
Back in the day when I was starting out as a designer I vividly recall getting an image for a poster promoting a local event. I was thrilled until I discovered that it was all pixelated because of its DPI. That experience taught me a valuable lesson! Always make it a point to verify your DPI settings beforehand to steer clear of the blunder I made as a newbie.
Also Read This: How to Share a YouTube Video to Your Instagram Story with Simple Tips
Choosing the Right DPI for Different Projects
Selecting the appropriate DPI can be likened to choosing an ensemble for a specific event. Similar to how you wouldn't don loungewear at a nuptial ceremony it's advisable to steer clear of a DPI for print endeavors. Here's a brief overview to assist you in making your choice.
| Project Type | Recommended DPI |
|---|---|
| Social Media Posts | 72 DPI |
| Online Presentations | 150 DPI |
| Flyers and Brochures | 300 DPI |
| Canvas Prints | 300 DPI |
While preparing a surprise gift for a friends birthday I made the mistake of setting the DPI too low. The image appeared flawless on my display but turned out to be a blurry disaster when printed. Now I make it a point to consider the medium before determining the DPI. For print purposes I stick to 300 DPI while for digital use I opt for 72 DPI to ensure efficiency and speed.
Also Read This: How to Upload YouTube Videos on Your iPhone
Common Mistakes to Avoid When Adjusting DPI
Adjusting the DPI in Canva can be tricky and it's easy to make mistakes that can have consequences. Imagine this scenario you’re racing to complete a task and quickly tweak the DPI settings. I can relate! These oversights, can cause major inconveniences down the line. Lets explore some common traps and ways to avoid them.
1. Neglecting the Intent Behind the Project: Make it a habit to question the reason behind your design creation. Are you doing it for a post or a printed flyer? If you don't match the DPI with how the project will be used you might end up with unsatisfactory outcomes.
2. Neglecting the Export Preferences: Before saving your design make sure to review the DPI settings under the “Advanced options.” It's not uncommon to get caught up in the thrill of completing a project and overlook this important detail.
3. Not All Formats Are Made Equal: Various file types such as JPG, PNG and PDF come with their own DPI specifications. It's important to select the format that aligns with your intended use of the image.
4. Skipping the Preview Before Downloading: Make sure to preview your design for downloading it. This quick check can save you from a lot of hassle down the road.
In the days of my design journey I overlooked the DPI for a crucial presentation. The printed slides came out fuzzy and I was left feeling mortified. A quick check could have spared me from that mishap. So, be sure to double check and steer clear of these blunders!
Also Read This: Effective Strategies for Promoting Your Behance Portfolio
How DPI Affects Image Quality
DPI is a factor in determining how good your images look. Its like the pulse of your design. With a high DPI your images appear sharp and vivid whereas a low DPI can make them look pixelated – definitely not something you want. When I began my journey I had no idea about this and often found myself questioning why my prints seemed lackluster and washed out. Lets dive into the impact of DPI on image quality.
1. Precision and Richness: A DPI indicates that more dots are employed to form an image. This results in crisper details making it ideal for printed materials. Picture the experience of flipping through a meticulously crafted photo album; that's the enchantment brought by high DPI!
2. Importance of Size: The dimensions of your image play a role in DPI as well. For example a compact image shown at a DPI will appear more appealing than a larger image with a lower DPI. Its similar to how a tailored kurta always looks more stylish than an ill fitting one!
3. Print vs. Digital Usage: When it comes to media a DPI of 300 is usually suggested while 72 DPI works well for purposes. Its important to make a decision depending on how you plan to use your visuals.
Grasping the concept of DPI has changed my perspective on design. I now take into account how my audience will interact with my creations making sure that every image meets the quality it deserves.
Also Read This: Understanding Common Issues and Fixes for Rumble Being Down
Best Practices for Exporting Images with the Correct DPI
Getting the DPI right when exporting images is essential to make sure your efforts are rewarded. It’s similar to setting a table for a meal; you wouldn’t want to present it on a plate, would you? Let’s delve into some tips that can assist you in exporting images without a hitch.
1. Understand Your Needs: Before you click on that export button make sure you know what your project requires. Are you creating something for print, social media or a website? Knowing the specifics will assist you in selecting the DPI.
2. Choose the Appropriate File Format: Various file formats cater to different needs. If you want prints go for PDFs or PNGs. For convenient sharing online JPGs work well. Here's a brief overview,
| File Format | Best Use |
|---|---|
| PNG | Web graphics with transparency |
| JPG | Photos and social media posts |
| Print materials |
3. Inspect Your Configuration: Prior to exporting take a moment to go through your DPI settings in the advanced options. This straightforward action can have an impact.
Before finalizing your design make sure to take a moment to preview it after adjusting the DPI. This gives you a chance to spot any last minute tweaks that may be necessary.
Based on my encounters adhering to these guidelines has spared me from a lot of trouble. There was an instance when I exported an image without verifying the DPI and got a print. Nowadays I make it a point to double check all settings, before hitting the export button. Its a habit that’s definitely worth cultivating!
Also Read This: How to Watch SEC Network on YouTube TV Without Issues
Tools for Checking and Adjusting DPI After Downloading
So, you’ve crafted a beautiful design in Canva saved it and now it’s time to show off your creation. But hold on how do you make sure the DPI is spot on? Just like making a cup of chai needs the ingredients getting the DPI of your image right calls for the tools. Luckily there are numerous resources available to assist you in checking and modifying the DPI after downloading.
1. Adobe Photoshop Many designers swear by this tool. To check the DPI settings open your image in Photoshop head to Image > Image Size and take a look at the DPI options. You can also tweak it by modifying the Resolution value.
2. GIMP: GIMP is a great option if you want a cost free substitute for Photoshop. Simply open your image go to Image > Print Size and you’ll find it easy to view and adjust the DPI settings.
3. DPI Checking Tools: You can find a number of tools on the internet. Platforms such as DPI Checker let you upload your picture and instantly view its DPI. Its a fast and user friendly option!
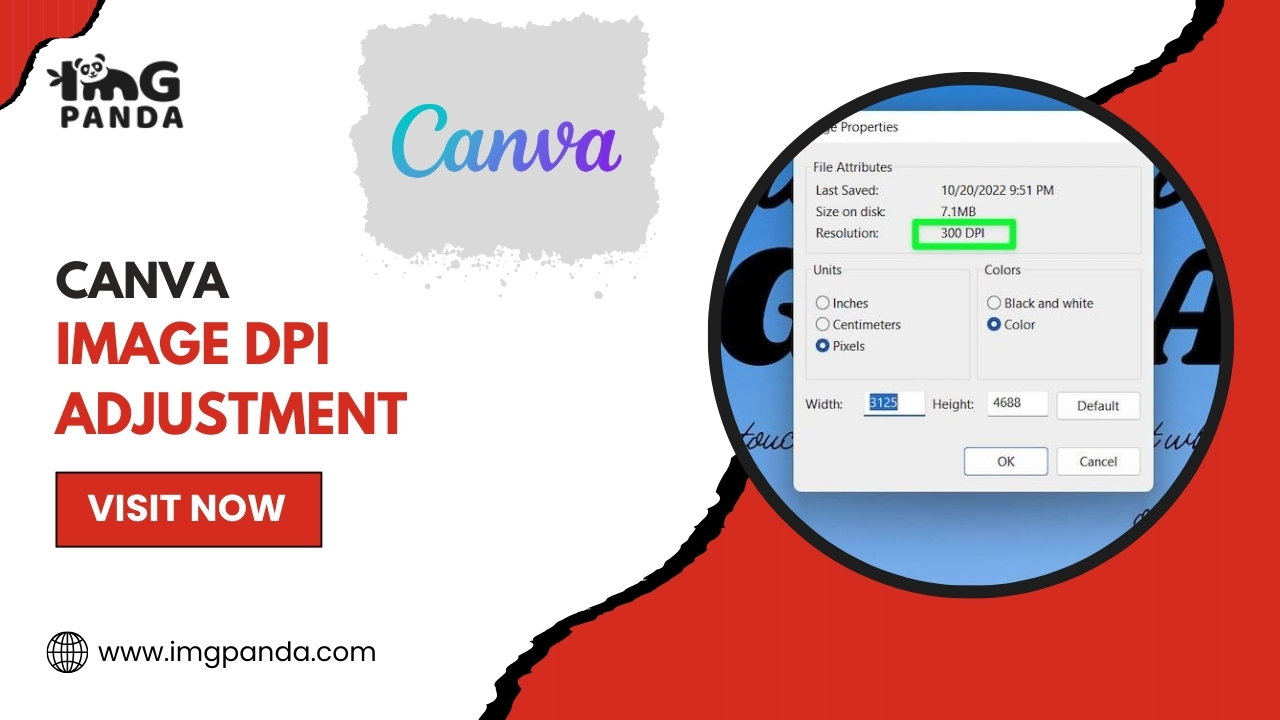
4. Image Preview: In some cases simply opening the standard image viewer on your device can be beneficial. Right click on the picture file select Properties (for Windows) or Get Info (for Mac) and take a look at the information provided in the "Details" or "More Info" section.
From what I remember I usually turn to Photoshop to verify DPI. There was an instance when after a night of designing I was uncertain about the DPI of an image. Luckily a quick look in Photoshop prevented me from getting a print. So make sure to choose the tool that works for you and maintain the quality of your designs!
Also Read This: Viewing project appreciation on Behance
FAQs About Canva Image DPI Adjustment
As we explore the realm of DPI, you may find yourself pondering some questions. Rest assured, you’re not the only one! I’ve experienced the same moment of confusion trying to grasp this seemingly intricate subject. Let’s tackle some queries that can shed light on DPI adjustments in Canva.
1. What is the ideal DPI for print images?
For images intended for printing a DPI of 300 is generally considered optimal. This guarantees that your prints appear crisp and well defined.
2. Can I change the DPI of an image after I download it?
Absolutely, you can adjust the DPI of an image using different software such as Photoshop or GIMP even if you've downloaded it from Canva.
3. Does DPI matter for digital images?
When it comes to images a resolution of 72 DPI is typically enough since screens show images differently compared to print.
4. Why does Canva only offer limited DPI options?
Canva offers DPI options to make things easier for users. But it’s important to understand when to tweak these settings according to the requirements of your project.
These frequently asked questions have been instrumental in guiding me through the complexities of DPI adjustments and I sincerely hope they prove helpful to you as well. If you ever find yourself uncertain don't hesitate to connect with the design community or explore online forums there's usually someone ready to offer their perspectives!
Conclusion
As we conclude our exploration of DPI tweaks in Canva I trust that you now have the confidence to craft beautiful designs. Grasping the concept of DPI is akin to discovering a level in a video game; it boosts your abilities and elevates your creations to new heights.
By understanding the significance of DPI and honing your skills in checking and fine tuning it you've built a strong base. Keep in mind the blunders I mentioned and the recommended approaches; theyll assist you in steering clear of bumps along the way, in your creative path.
Whether you're putting together a colorful flyer for a community gathering or putting together a classy wedding invite paying attention to your DPI will make sure your visuals are top notch. So feel free to unleash your creativity! Showcase your creations to the world and remember to relish in the journey. Each design has a tale to tell and yours is eager to be unveiled!