
Have you ever found yourself pouring hours into a design project on Canva only to feel that the images just don't hit the mark? I can relate to that too. Tweaking image movement can really make a difference in taking a design from ordinary to truly enchanting. To put it simply adjusting image movement in Canva involves changing the positioning, rotation or size of images in our designs. This functionality helps us establish a sense of movement and direction leading the viewers gaze through our creations. By honing this skill you can take your designs up a notch.
Importance of Adjusting Image Movement in Design
Picture walking into an art show where the artwork is all over the place. It would be quite a wild experience, wouldn't it? The same goes for design. Tweaking the way images move is key to creating a harmonious look. Here are a few reasons why it's important.
- Visual Harmony: Properly adjusted images create balance and unity in your design.
- Guided Flow: Movement adjustments help direct the viewer's attention to key elements.
- Enhanced Aesthetics: Well-placed images contribute to a more appealing visual experience.
- Storytelling: Images can convey emotions and narratives when positioned effectively.
Based on what I have seen adjusting the way images move has had an impact on my work turning regular designs into exceptional ones that truly connect with the audience.
Also Read This: Healthy Lifestyle Alternatives Featured on YouTube Channels
How to Adjust Image Movement in Canva
Once you grasp the technique adjusting image movement in Canva becomes effortless. Here’s a guide to assist you through the steps:
- Select the Image: Click on the image you want to adjust. This will bring up the adjustment options.
- Use the Rotation Handle: You’ll see a circular handle above your image. Click and drag it to rotate your image to your desired angle.
- Positioning: Click and drag the image to reposition it. You can also use the arrow keys for precise adjustments.
- Resize: Use the corner handles to scale your image. Holding the Shift key while resizing maintains the aspect ratio.
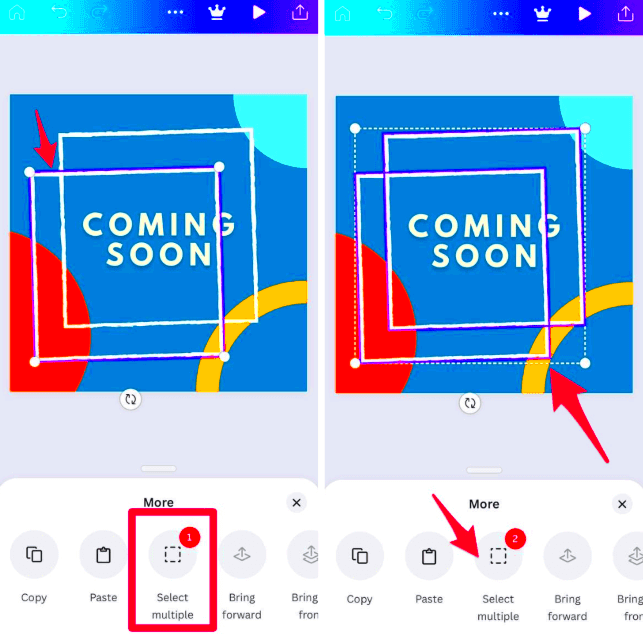
- Layering: Adjust the layering of images by right-clicking and selecting “Send to back” or “Bring to front” as needed.
By following these steps you can bring your images to life on the canvas, conveying your story in an engaging manner. I really appreciate the creative flexibility that Canva provides in this aspect; it feels like having a design studio right at my fingertips!
Also Read This: Using Fortiguard Downloader’s IP Lookup Tool
Exploring Different Movement Options Available
When I began exploring Canva I was struck by the wide range of movement options it offered. It was reminiscent of a child in a candy store surrounded by an abundance of choices. Familiarizing yourself with these features can streamline and enrich your design journey. Canva provides an assortment of movement tools that can elevate your visuals.
- Positioning: You can easily drag and drop images to any part of your design. Whether you want to center an image or place it off to the side, the choice is yours.
- Rotation: Rotate images to add dynamism. This simple adjustment can transform a static image into something more engaging.
- Scaling: Resize images using the corner handles. Make them larger to emphasize a focal point or smaller to create a balanced composition.
- Reflection and Flip: Reflect or flip images to create interesting perspectives. This can add a unique touch to your design.
- Layering: Control the stacking order of images. Bring images forward or send them back to create depth.
Throughout my exploration playing around with different movement choices has sparked a burst of imagination. Every element brings its touch to the overall concept enhancing the way you convey the narrative you wish to share.
Also Read This: Cloning the Telegram App on Your PC
Tips for Effective Image Movement Adjustment
Moving images around isn't just about throwing things together haphazardly; it's a skill that can significantly enhance how well your design communicates. Here are a few insights I've picked up along the way.
- Stay Aligned: Use Canva's alignment tools to ensure your images are well-aligned. Misalignment can create visual chaos.
- Use Grids and Frames: Consider utilizing grids and frames to guide your image placements. They provide structure and enhance the overall look.
- Balance is Key: Aim for a balanced composition. If one side of your design feels heavy with images, consider adjusting the placement to create harmony.
- Utilize White Space: Don’t shy away from empty spaces. White space can help images stand out and give breathing room to your design.
- Get Feedback: Sometimes, we’re too close to our designs to see their flaws. Sharing your work with friends or colleagues can provide fresh perspectives.
These suggestions have assisted me in honing my design abilities resulting in more refined and impactful works that genuinely connect with my audience.
Also Read This: How VectorStock Monitors Licenses for Images and Graphics
Common Mistakes to Avoid During Adjustment
Although playing around with the movement of images can be enjoyable it’s important to be cautious of some common pitfalls. I’ve personally encountered many of these errors and the lessons learned from them have improved my skills as a designer. Here are a few traps to be mindful of.
- Overcrowding the Design: Adding too many images can make your design feel cluttered. Less is often more.
- Ignoring Consistency: Using images with varying styles or colors can lead to a disjointed look. Aim for a cohesive style throughout.
- Neglecting Image Quality: Low-resolution images can ruin the overall impression of your design. Always use high-quality images.
- Forgetting About the Audience: Remember who you’re designing for. An image that looks great to you may not resonate with your audience.
- Not Experimenting: Sticking to the same movement adjustments can stifle creativity. Don’t hesitate to try new things!
Steering clear of these blunders has had an impact on my creative work. Every lesson I've picked up along the way has played a role in shaping me as a designer enriching each project with a sense of purpose and significance.
Also Read This: How to Upload a Case Study on Behance
How Image Movement Enhances Visual Appeal
When I initially tried tweaking the movement of images in Canva I was taken aback by the significant impact it had on my creations. It’s astonishing how merely repositioning an image can completely change the entire appearance and atmosphere. The way images move is crucial, in adding to the visual charm and here’s why:
- Creating Focal Points: Strategic image placement helps direct the viewer’s attention. By positioning a key image centrally or using movement to guide the eye, you can create powerful focal points that draw people in.
- Conveying Emotion: Movement can evoke feelings. For instance, a tilted image can suggest excitement, while a perfectly straight one might feel more stable and serious.
- Building Flow: The way images move within a design creates a flow that leads the viewer’s eye through the content. This flow can make a narrative more compelling and engaging.
- Encouraging Interaction: Well-placed images can invite viewers to interact with the design, whether it’s clicking a button or simply taking a closer look.
- Enhancing Storytelling: Images are powerful storytellers. By adjusting their movement, you can enhance the narrative, making your design more relatable and impactful.
I’ve observed that by focusing on the movement of images in my projects the overall design not only becomes visually appealing but also strikes a chord with my audience on a level. It’s akin to infusing life into your creations.
Also Read This: How to Autoplay a YouTube Video in HTML
Frequently Asked Questions about Image Movement Adjustment
As I explored the realm of Canva I often found myself puzzled by certain ideas. Here are a few questions that I think many of us struggle with regarding the adjustment of image movement;
- What is the best way to position images?
- A good rule of thumb is to keep balance in mind. Try aligning images with the text or other elements to create a harmonious layout.
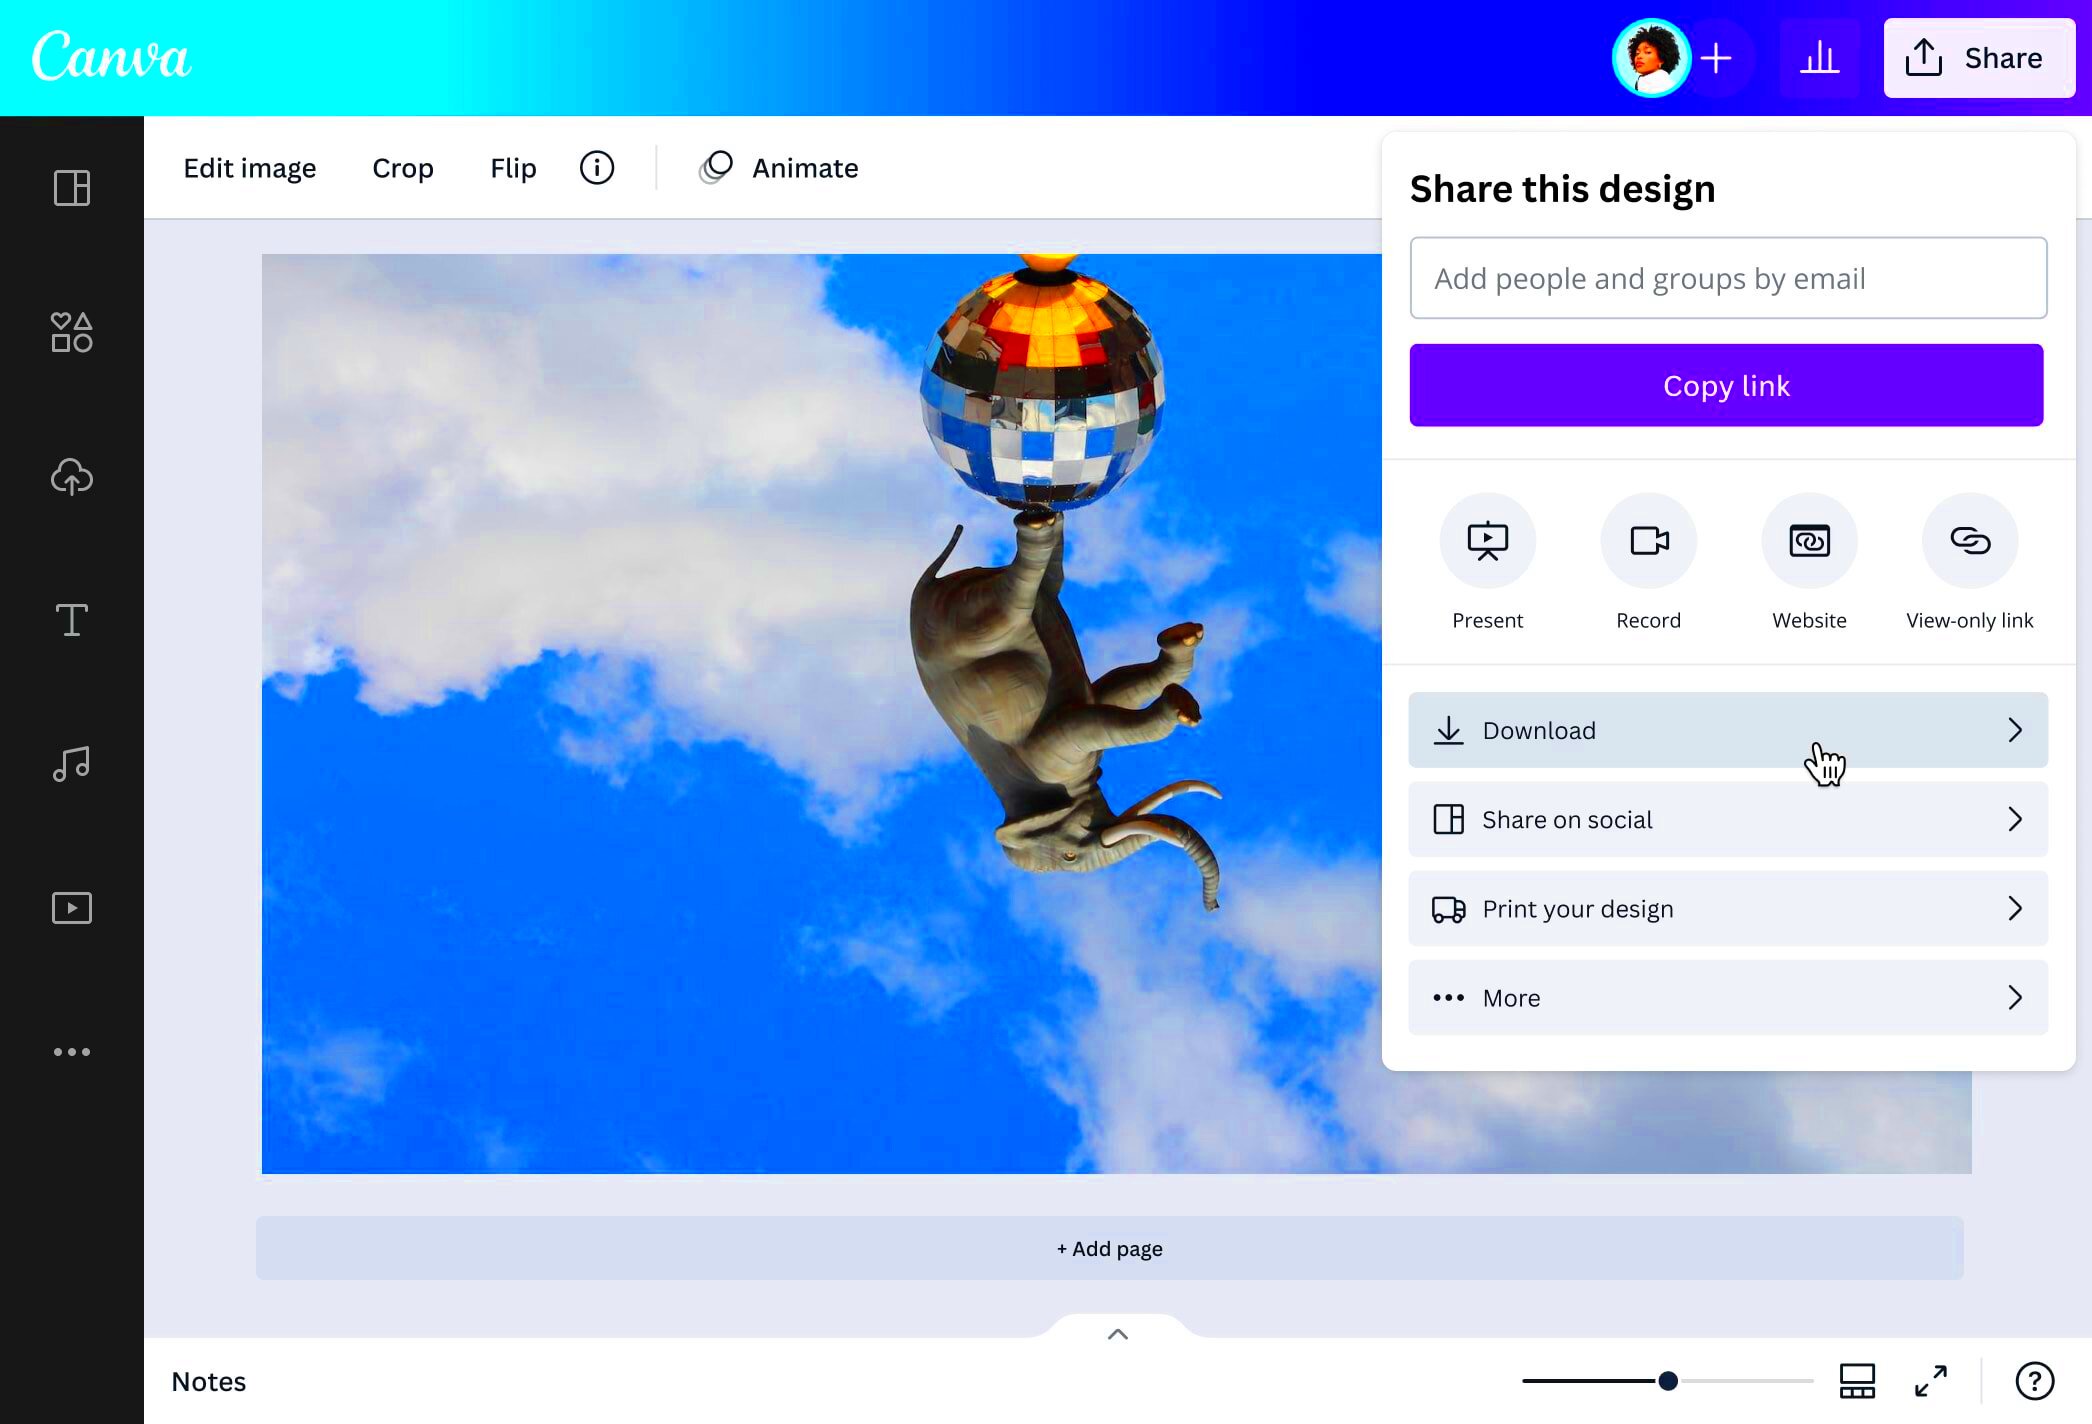
- Can I animate image movements?
- Yes! Canva offers animation features that allow you to add movement to images, making your designs more dynamic.
- How do I maintain consistency across different images?
- Use similar styles, colors, and effects for your images to create a cohesive design that feels unified.
- What should I do if my images look pixelated?
- Always use high-resolution images. If you see pixelation, it might be time to find a better quality version of your image.
- Is there a limit to how much I can adjust image movement?
- While there are no strict limits, be mindful of overdoing it. Too much movement can confuse your audience.
Reflecting on these queries has bolstered my confidence in navigating the design process and I sincerely wish the same for you!
Conclusion and Final Thoughts on Image Movement in Canva
In reflecting on my journey with image movement in Canva I cant help but recall my initial experiences with the platform. Back then every subtle tweak felt like a bold step forward. Mastering the art of adjusting image movement has proven to be incredibly fulfilling part of my design path. It not enhances the aesthetics of my work but also enriches storytelling by adding depth and emotion.
In the realm of design every single detail holds significance. Harnessing the potential of image movement can result in creations that not only grab attention but also stir emotions and communicate messages, with impact. Regardless of whether you're an experienced designer or a novice it's worth dedicating time to delve into and play around with these movement tweaks. Believe me you'll be pleasantly surprised, by the outcomes.
Explore Canva experiment with how images move and let your imagination run wild. Every design has a narrative waiting to be crafted and you have the ability to express your unique story in a stunning way!