Canva has become the tool of choice for anyone wanting to create eye catching visuals without requiring advanced design expertise. I still recall my initial encounter with Canva when I was looking for a way to enhance my social media posts. I was amazed by how user friendly it was and the wide range of templates available! It felt like I had discovered a hidden gem of creativity. Whether you're a business owner, an educator or simply someone looking to add some pizzazz to your pictures Canva provides the ideal solution for editing images.
Exploring Canva's Features for Image Editing
Canva is loaded with tools that simplify the process of editing images. Here are a few key features that I really enjoy.
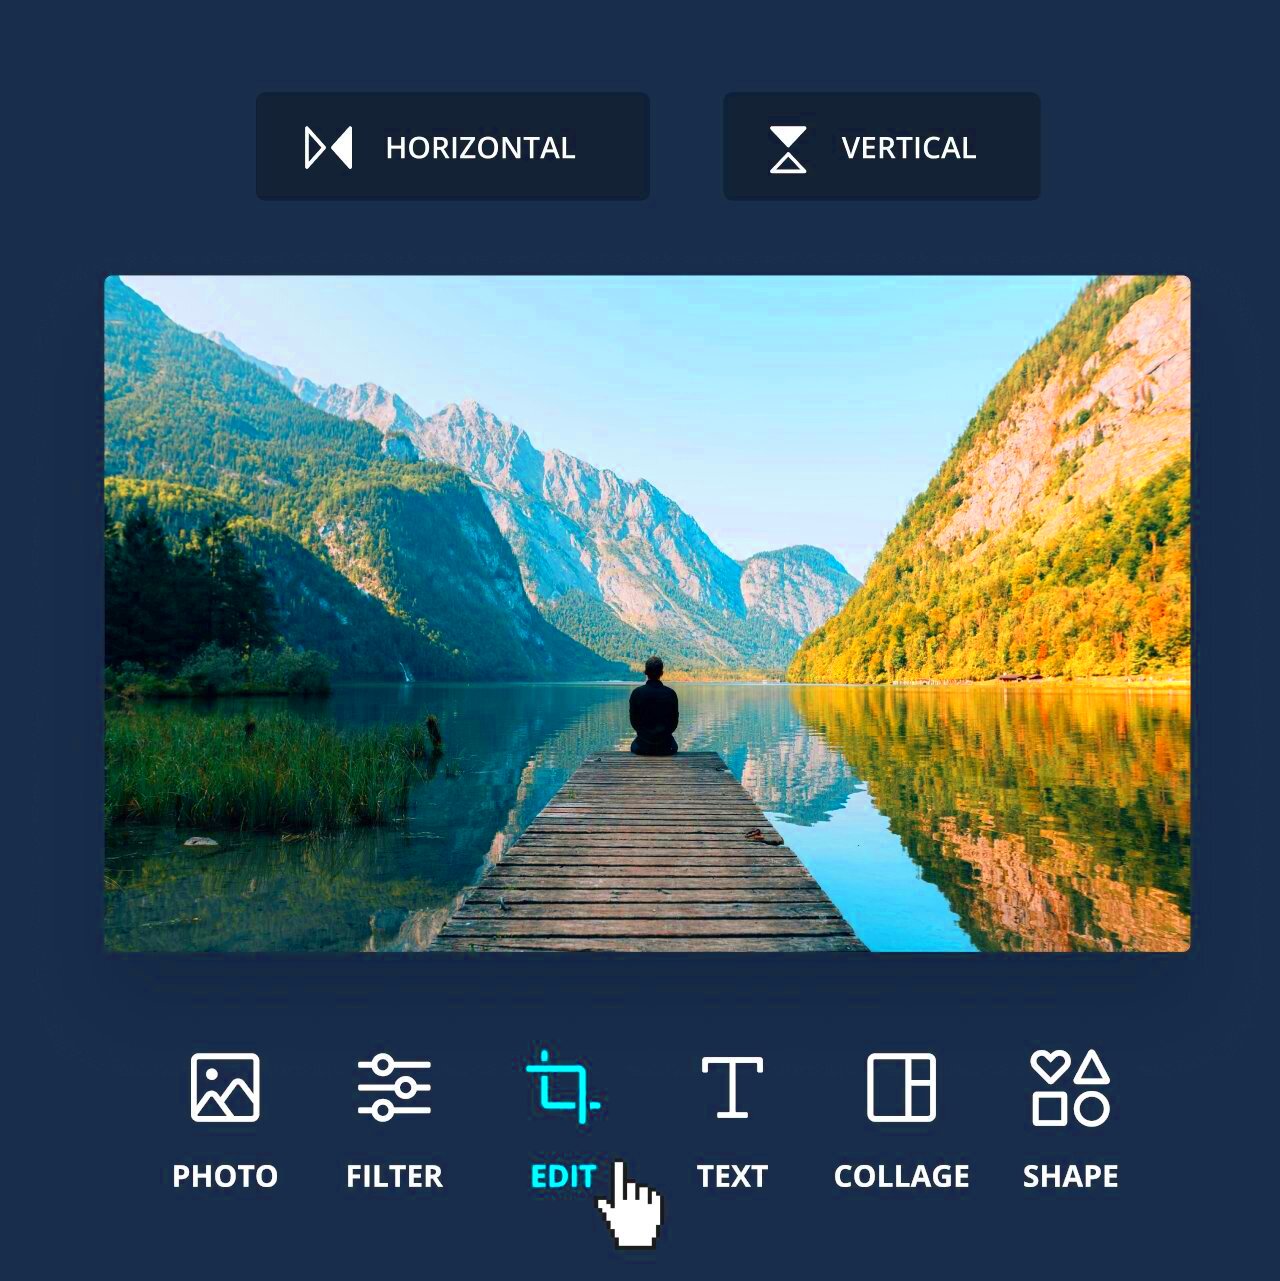
- Drag-and-Drop Interface: This user-friendly feature makes it easy for anyone to create designs. Just drag your images and elements into place.
- Extensive Template Library: Canva offers thousands of pre-designed templates for various occasions, from social media posts to presentations. I've found a perfect template for every project!
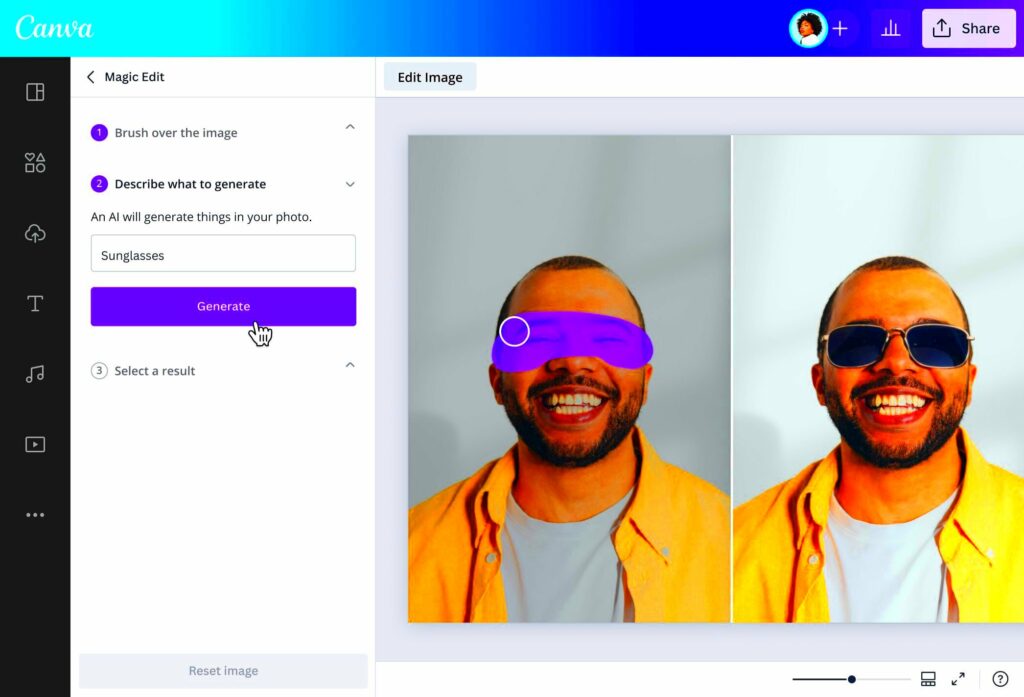
- Image Filters and Effects: You can easily enhance your images with filters and effects. I often use them to give my photos a professional touch without the hassle of complicated software.
- Collaboration Tools: If you’re working in a team, Canva’s collaboration features allow multiple users to edit and comment in real-time. It’s a game-changer for group projects!
- Free and Paid Options: While Canva is free, the paid version offers even more features and assets. I’ve found it worth every penny for my business needs.
Also Read This: How Many Photos on Shutterstock Before You Make Money and Tips to Reach Your Goal
How to Get Started with Canva Image Editing
Starting with Canva is a breeze and enjoyable too. Here’s a quick guide to help you dive right in.
- Create an Account: Visit the Canva website and sign up for a free account. You can use your email or even sign in with your Google or Facebook account.
- Choose Your Design Type: Select the type of design you want to create. You’ll find options like Instagram posts, flyers, and more.
- Select a Template: Browse through the templates and pick one that catches your eye. You can customize it as much as you want.
- Edit Your Design: Use the drag-and-drop tools to add your images, text, and elements. Don’t hesitate to play around with different fonts and colors to make it your own!
- Save and Share: Once you’re happy with your design, save it to your computer or share it directly on social media. I love how seamless this process is!
If you stick to these easy steps you’ll quickly start making stunning visuals. Believe me, witnessing your creation take shape is an experience that will stay with you for a long time!
Also Read This: Dailymotion Safety and Legality Explored
Tips for Creating Stunning Visuals in Canva
Designing visuals in Canva can be a fulfilling experience and I’ve picked up some tips that have really taken my creations to the next level. What I love about Canva is that it lets you unleash your imagination without bombarding you with complicated terms. Here are a few suggestions I've gathered from my journey:
- Stick to a Color Palette: Choosing a cohesive color palette can transform your design. I often pick three to five colors and use them throughout my visuals. This helps create a harmonious look. Websites like Coolors can help you find the perfect palette.
- Use High-Quality Images: Whether you're using Canva's stock images or your own, ensure they are of high quality. Blurry images can ruin an otherwise great design. I once posted a flyer with a low-res image, and let me tell you, the comments weren't kind!
- Incorporate White Space: Don’t be afraid of leaving empty spaces in your design. It can help your text and images stand out more. I’ve learned that less is often more when it comes to design.
- Experiment with Typography: Mix different fonts for emphasis but limit your choices to two or three complementary fonts to maintain readability. Playing with sizes and styles can give your design personality.
- Get Feedback: Don’t hesitate to share your designs with friends or colleagues for their opinions. Sometimes, an outside perspective can highlight areas for improvement you might have missed.
Keep in mind that crafting visuals is a process. Take your time and savor each moment soon enough youll discover your distinct flair coming to life!
Also Read This: How to Create a Facebook ID in Urdu
Common Mistakes to Avoid in Image Editing
Even when using a platform such as Canva it's easy to stumble upon pitfalls while editing images. I've definitely experienced this myself and it's all part of the journey. Here are some traps to steer clear of.
- Overloading with Text: One of my earlier mistakes was cramming too much text into a single image. It made the design look cluttered and overwhelmed the viewer. Aim for brevity and clarity instead.
- Ignoring Alignment: Disorganized elements can make your design feel chaotic. I learned that using Canva’s alignment tools can greatly improve the professional look of your visuals.
- Forgetting to Save Progress: I can’t count how many times I’ve lost hours of work because I forgot to save my design. Make it a habit to save frequently, or enable auto-save features.
- Neglecting Branding: If you're creating content for a business, consistent branding is crucial. I once made a stunning graphic but forgot to include our logo, and it just didn't feel right.
- Not Utilizing Grids and Frames: Canva has tools that can help you position elements better. Initially, I overlooked these features, which led to unbalanced designs. Once I started using them, my layouts improved significantly.
By reflecting on my past missteps I have improved as a designer. Its important to be patient try new things and not shy away from making mistakes. They often bring about valuable insights!
Also Read This: How to Remove YouTube from Your TV and Manage Content Across Devices
Using Canva for Social Media Images
Social media plays a crucial role in engaging with audiences and Canva is a great resource for designing visually appealing images that grab attention. Throughout the years I've put together numerous social media posts and here are my key takeaways.
- Know Your Platform: Each social media platform has its own image size requirements. For instance, Instagram thrives on square images, while Facebook prefers landscapes. Always check the recommended sizes to avoid pixelation.
- Utilize Canva’s Templates: Canva offers a plethora of templates tailored for various social media platforms. I’ve saved hours by starting with a template and customizing it to fit my brand's voice.
- Incorporate Engaging Visuals: Use images, graphics, or videos that resonate with your audience. I often include relatable visuals or memes that my followers can connect with, and it boosts engagement significantly.
- Include Calls to Action: Make your images actionable by adding clear calls to action. Whether it's "Shop Now" or "Learn More," these prompts can drive interaction. I’ve seen a noticeable uptick in responses by simply including them.
- Schedule Posts in Advance: Using scheduling tools can help you maintain a consistent posting schedule. After experimenting with various tools, I found that planning my posts ahead of time relieved a lot of stress.
Using Canva for social media has changed how I engage with my audience. Its really fulfilling to witness my designs strike a chord with others and I trust these suggestions will assist you in leaving a mark on your own social media path!
Also Read This: Can't Click on YouTube Videos? Fix Common Browser Issues
Enhancing Your Designs with Canva’s Tools
Canva isn’t merely a tool for crafting graphics; it’s a goldmine brimming with resources that can take your creations to the next level. I’ve dedicated hours to delving into these functionalities and I can honestly attest that every feature brings its own unique appeal and practicality. Allow me to share a few of my top picks with you.
- Text Effects: Adding a unique flair to your text can make a huge difference. Canva offers various text effects, such as shadows, outlines, and curved text. I remember the first time I added a shadow effect to my title; it instantly made my design pop!
- Photo Filters: Sometimes, a simple filter can transform an ordinary photo into something extraordinary. Whether you want a vintage vibe or a modern touch, Canva has filters to suit your needs. I often use the “Instagram-like” filters for my social media posts, and they always get compliments.
- Animations: Want to grab attention? Try using animations! They can bring your designs to life, making them more engaging. I’ve added subtle animations to presentations that made a significant impact during my pitches.
- Icons and Illustrations: Canva's library is brimming with icons and illustrations that can enhance your message. I often incorporate icons into infographics to make complex information easier to digest.
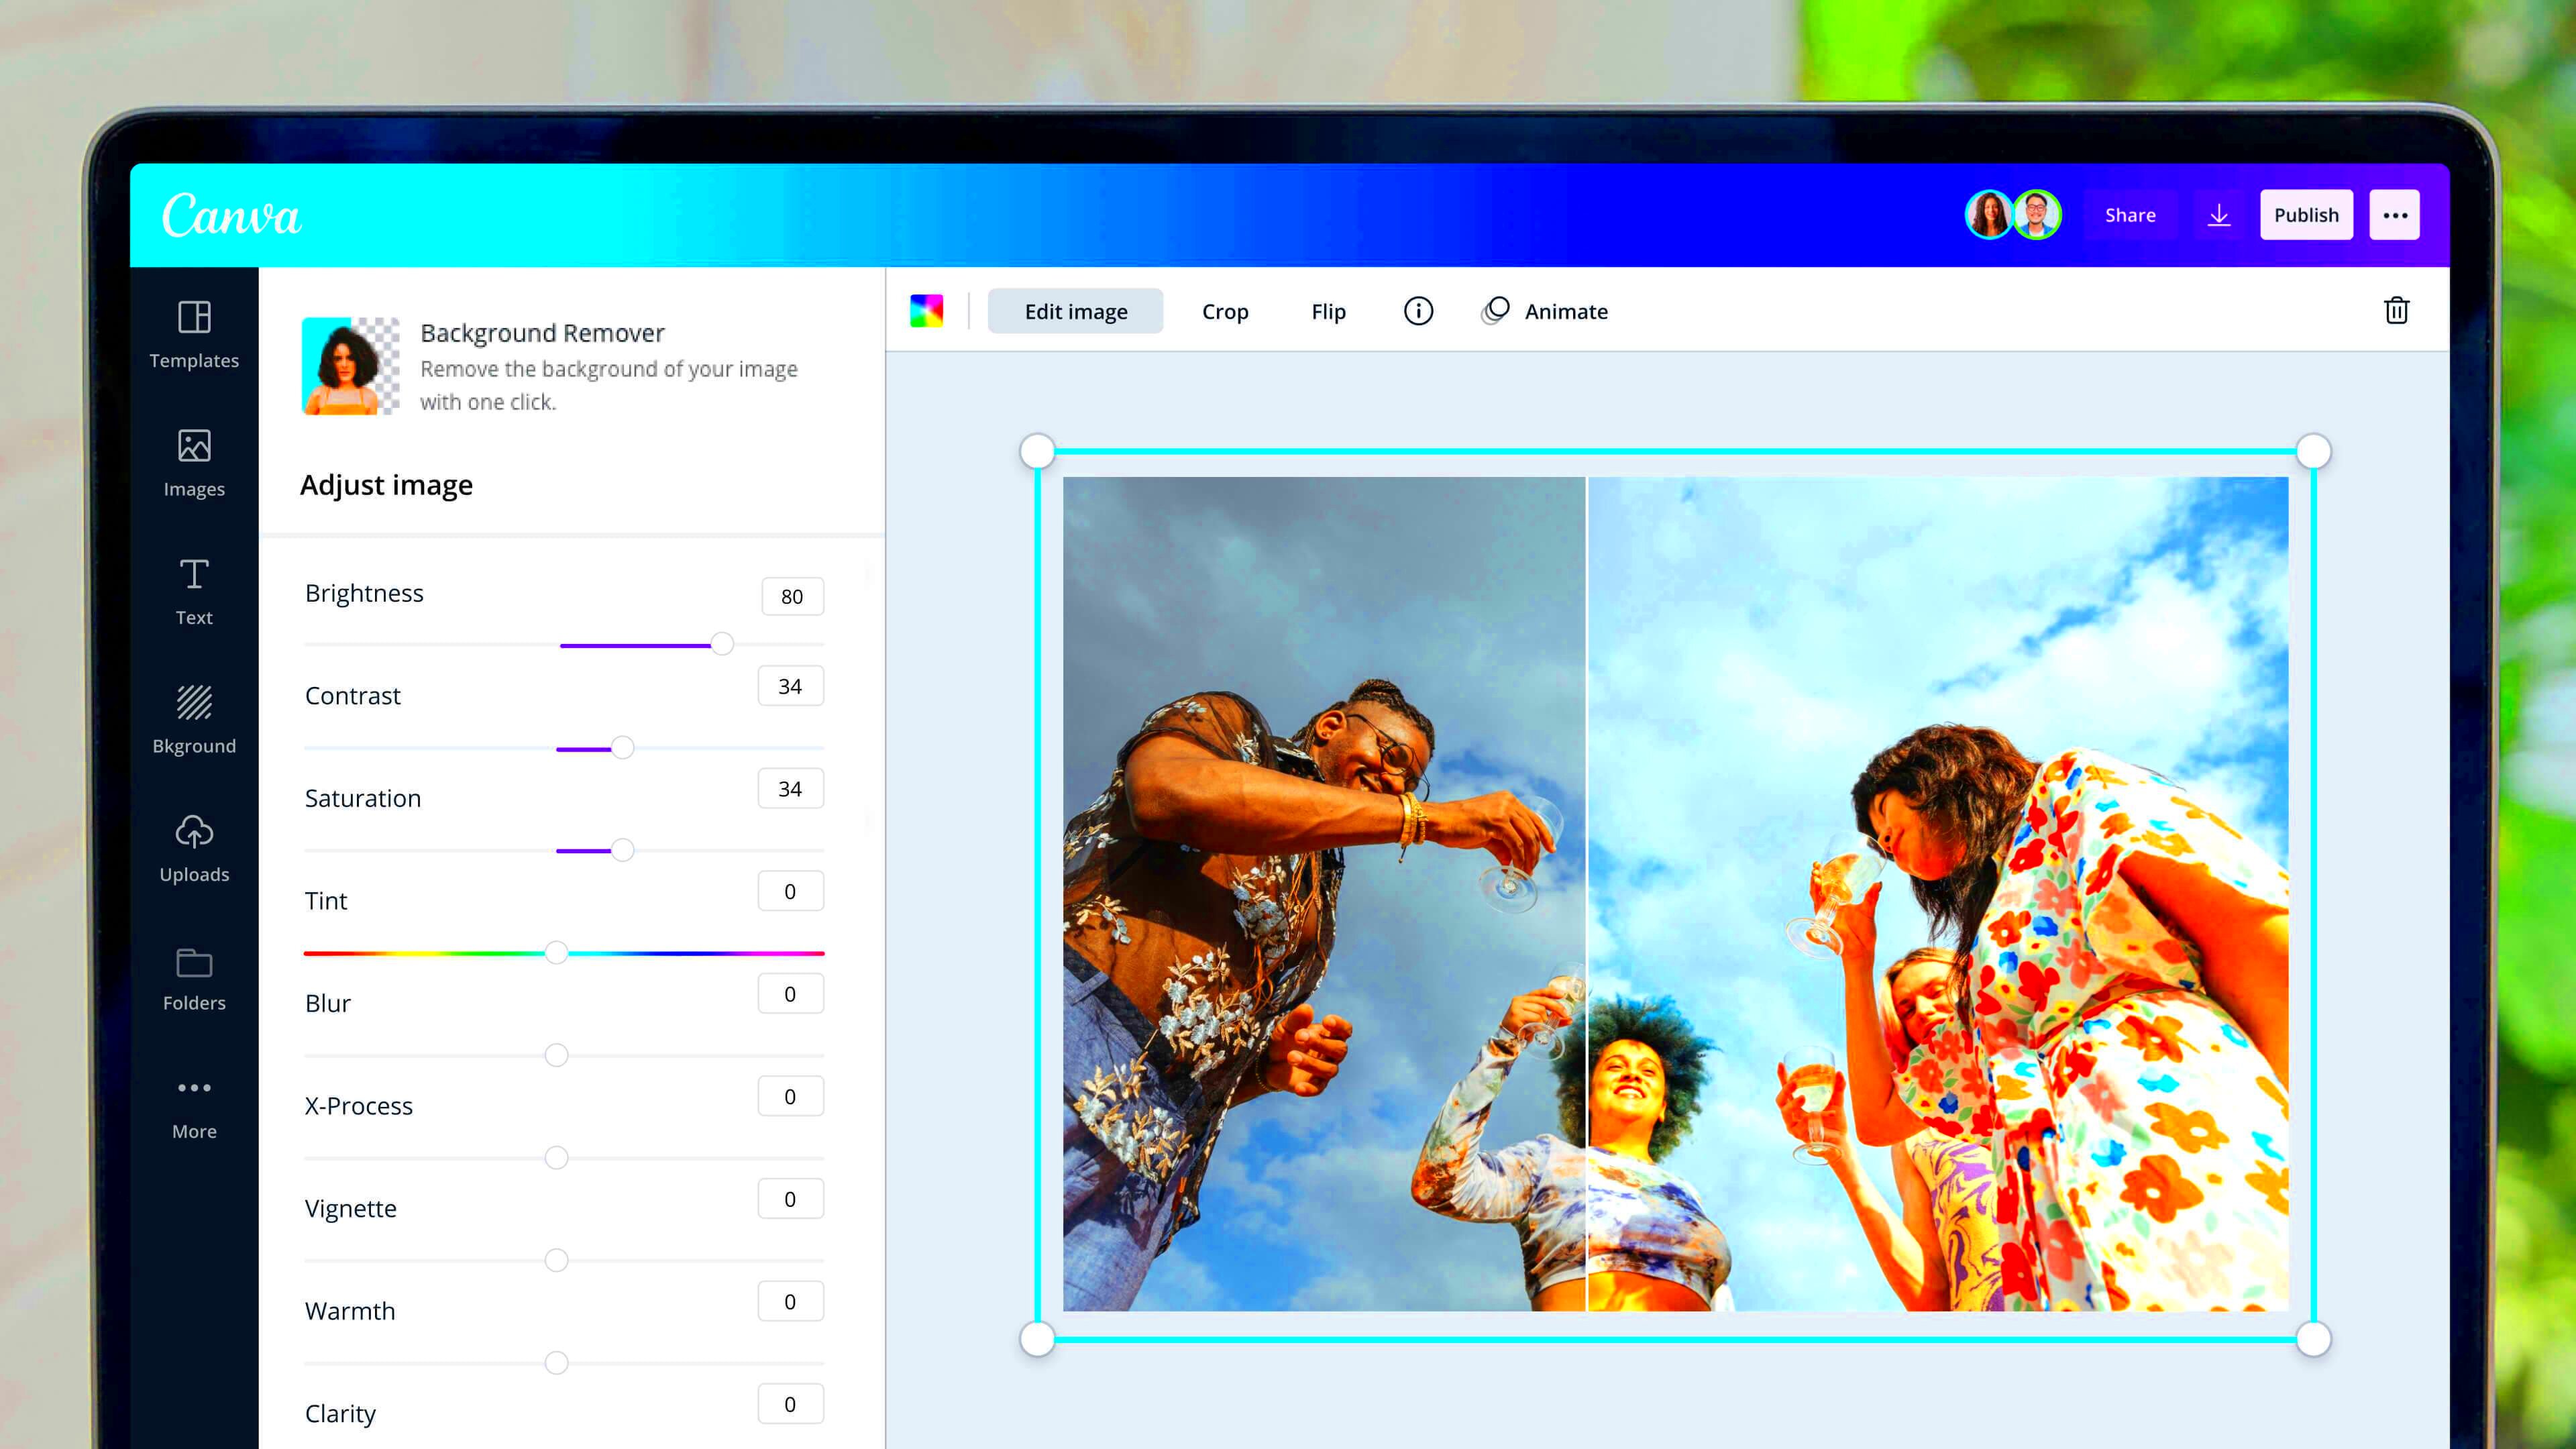
- Background Remover: This feature has saved me time and effort! It allows you to remove backgrounds from images with just a click. I’ve used it to create professional-looking visuals by isolating products from cluttered backgrounds.
Using these tools has turned designing into a fun and imaginative journey for me. When you dive into Canva feel free to experiment with these functionalities—you'll be pleasantly surprised by your creations!
Also Read This: How Working for Shutterstock is Reviewed and What to Know
FAQs about Canva Image Editing
When it comes to editing images in Canva people often have questions. I’ve encountered these queries too, so I decided to put together a list of common ones along with my thoughts.
- Is Canva really free?
- Yes! Canva offers a free version that is packed with features. However, there’s also a Pro version that unlocks additional tools and assets. I started with the free version and later upgraded as my needs grew.
- Can I use my own images?
- Absolutely! You can upload your own images to Canva, making it a versatile tool for personal branding. I often upload my own photos to maintain a consistent look across my designs.
- Are there any limits to what I can create?
- Not really! You can create anything from social media posts to presentations. The only limit is your imagination! I’ve created everything from invitations to brochures without any issues.
- Can I collaborate with others on Canva?
- Yes! Canva allows for real-time collaboration, which is fantastic for team projects. I’ve worked on designs with colleagues, and it’s incredibly efficient to see changes live.
- Can I print my designs directly from Canva?
- Yes, Canva offers printing services for various products. I once ordered business cards directly from Canva, and they arrived beautifully printed and well-packaged!
These frequently asked questions address some of the worries that individuals often encounter when exploring Canva. Keep in mind that this is a process and there is always room for growth!
Conclusion on Canva Image Editing
Looking back on my time with Canva I am truly thankful for the endless opportunities it has brought my way. Whether you’re just starting out or have some design experience Canva offers features that are easy to use making it accessible for everyone to unleash their creativity. I have witnessed how Canva can transform a concept into a captivating image that strikes a chord with people.
Keep in mind that the essence of design excellence isn't solely dependent on your tools but rather on your individual viewpoint and imaginative flair. Embrace the opportunity to explore new ideas! Each design you craft brings you closer to honing your abilities and discovering your distinct artistic voice.
No matter if you’re working on projects for yourself, a business or social media let your imagination flow. Embrace the journey of learning and savor every moment. With Canva endless opportunities await you. Enjoy the design process!