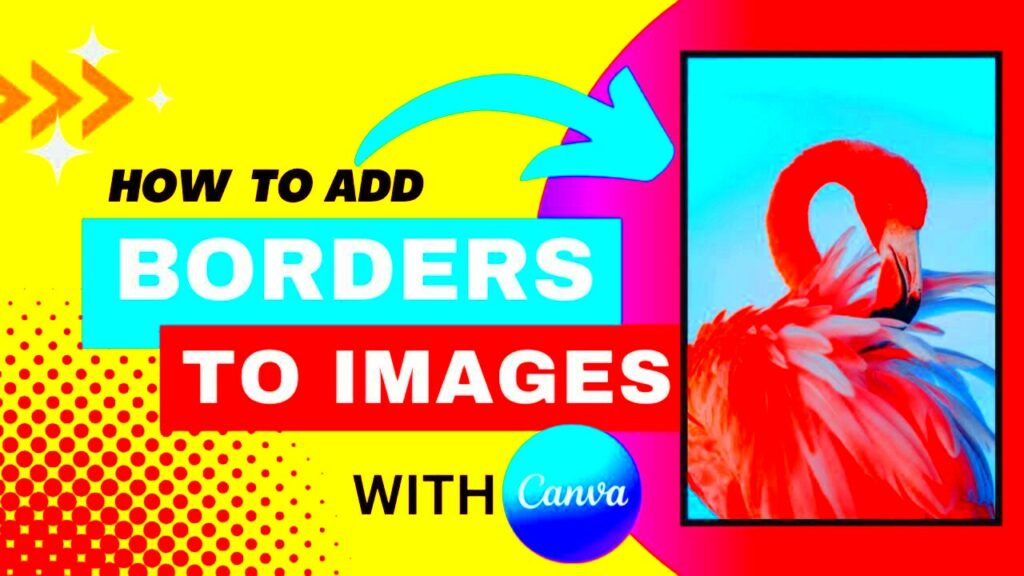
Adding borders to an image can completely change its impact. In simple terms, Canva Image Border Addition is a technique where you outline your image with a frame or boundary using Canva, giving it a unique finish. It’s like dressing up your photos for a special occasion. I remember once trying to design a poster for a friend's birthday, and the picture felt incomplete. The moment I added a border, everything came together. That’s the power of a well-placed border! On top of that, using imgpanda.com makes this process even more seamless.
Why Should You Add Borders to Your Images?
Have you ever had the impression that your picture gets lost in the scene or falls short of making an impact? Well, borders can come to the rescue. They not enhance the separation of your picture from the overall layout but also serve to emphasize the elements. Through my experience I've discovered that when applied borders can truly bring an image to life. Here are reasons to think about incorporating them.
- Focus: A border creates a clear division, making the image stand out.
- Professional Finish: It gives your image a polished and finished look, much like putting a photo in a frame.
- Custom Style: You can choose different colors, thicknesses, and styles to suit your brand or theme.
While working on one of my projects I added a sleek black border and it was amazing how even an ordinary image appeared to fit seamlessly into a polished website. Give it a shot and you’ll instantly recognize the impact it can make.
Also Read This: The Future of Dailymotion in the Video Streaming Industry
How to Add a Border to Your Canva Image Using imgpanda.com?
If you've been using Canva, you probably find it simple to make stunning designs. However when it comes to adding borders imganda.com makes the process even smoother. Here's a guide on how to add a border with imgpanda.
- Upload Your Image: First, go to imgpanda.com and upload the Canva image you want to add a border to.
- Select Border Options: You’ll see options to choose the border’s thickness, color, and style. From thick, bold borders to thin, elegant lines, you can customize it the way you like.
- Preview Your Image: Once you’ve adjusted your border settings, preview the image to see how it looks. Trust me, this feature saved me countless times from selecting the wrong style.
- Download Your Final Image: If you’re satisfied with how it looks, download the image. You’ll have a beautifully bordered Canva image ready to be used!
I recall creating this for a post on social media. I was pressed for time yet I aimed to make the picture appear crisp. Img panda.com came to my rescue streamlining the process and easing the stress!
Also Read This: How to Build a Successful Social Media Advertising Campaign
Customizing the Border: Colors, Thickness, and Styles
When you add borders to your pictures it's not just a matter of putting a line around the edges. Its more like giving them a makeover. You need to pick the color, width and design that fit the vibe and meaning behind the image. I recall working on an album for my family photos where each picture had a different theme and I selected unique borders for every single one. It added a touch of character to each photo.
Here’s a guide on how to personalize your borders using imgpanda.com:
- Color: The right color can either blend in or make your image stand out. For instance, if your image has soft, pastel tones, choosing a bold red or black border can overpower it. On the other hand, a light, complementary shade like grey or beige can give it a subtle yet refined touch.
- Thickness: Think of thickness as the weight of your image. A thick border can create a sense of importance or drama, while a thin one adds elegance. I once added a thick white border around a sunset image, and it made the colors inside look even more vibrant.
- Style: Solid, dashed, or dotted—each border style tells its own story. A solid border gives a formal and professional vibe, while a dashed or dotted one can bring a fun or playful element to your design.
While adjusting borders may appear to be a task it's the subtle touches that add depth and character to your design. Trying out various color thickness and style combinations can significantly change the overall mood of your visual.
Also Read This: Canva Circle Image Crop
Top Tips for Enhancing Your Image with Borders
Adding a border to an image might seem like a task but getting it right requires some skill. Throughout the years I’ve experimented with borders on various platforms like Instagram and website visuals and I’ve picked up a few useful techniques during the process. While these tips may seem minor they can have a significant impact.
- Match the Theme: The border should align with the theme of your image. For example, if you're working on a wedding invite, go for soft, elegant borders like gold or white. For something like a sale banner, bold, contrasting colors work best.
- Don't Overdo It: While it's tempting to go all out with thick, colorful borders, sometimes less is more. I’ve made this mistake a few times, only to realize later that the border was overpowering the actual image.
- Use Gradients: A gradient border can add depth and dimension. I used a gradient border for a travel poster once, and it gave the whole design a more dynamic feel.
- Balance with the Background: If your image has a busy background, a plain, solid border can help focus attention on the subject. A good border can help bring clarity, especially in chaotic designs.
Putting borders on things is similar to seasoning food. It’s all about finding the right balance. If you get it just right your picture will make a lasting impact.
Also Read This: How to Download Captions from YouTube Videos for Accessibility
Common Mistakes to Avoid When Adding Borders in Canva
Weve all experienced that moment when what appeared to be a stroke of genius at first turns out to be not so impressive after all. I’ve gained insights from my past errors and now you can steer clear of making the same ones. Let me share with you some of the blunders I’ve come across while incorporating borders into Canva images and offer tips on how to sidestep them.
- Choosing the Wrong Color: Imagine using a neon pink border on a professional LinkedIn post. It can send the wrong message entirely. Always think about the context of the image and the audience you're targeting. Stick to colors that enhance, not distract.
- Too Thick or Too Thin: A border that’s too thick can overshadow the image itself, while one that’s too thin may go unnoticed. I remember creating a design for a product, and the border was so thin that it looked like it wasn’t there. Always preview your image to check if the thickness feels right.
- Overly Complex Styles: Adding too many effects, like shadows or gradients, can make your image look cluttered. Simplicity often works best. When I first started using Canva, I went crazy with the effects, only to realize the simpler designs often looked more polished.
- Ignoring the Resolution: A border may look fine on your screen but can appear pixelated when printed or viewed on different devices. Always ensure your image is in high resolution, especially if you're adding detailed borders.
Steering clear of these blunders can spare you from spending time on revisions and dealing with annoyance. Keep things straightforward, meaningful and always consider the harmony of your design as a whole.
Also Read This: Understanding the Commonality of Ear Rumbling and Its Causes
FAQs About Canva Image Border Addition
When it comes to adding borders to images in Canva, there are always a few questions that come to mind. Believe me, I’ve had these queries too, especially when I first started playing around with designs. Here are some common questions I’ve encountered along with answers rooted in my own experiences.
Q: Can I add a border to any image in Canva?
A: Yes, you can add borders to almost any image in Canva. Whether it’s a personal photo, a design element, or a stock image, borders are customizable. I’ve added borders to everything from profile pictures to event posters. It’s one of those simple tweaks that can elevate your design.
Q: How do I make sure my border doesn’t overpower my image?
A: This was one of my biggest concerns when I started adding borders. The key is balance. Choose a border color that complements your image and adjust the thickness accordingly. I often test different thicknesses and colors by previewing the design before finalizing it. That way, I know exactly how it looks with the rest of the image.
Q: Can I change the border once I’ve added it?
A: Absolutely! Canva and imgpanda.com make it super easy to go back and tweak the borders. I’ve changed borders multiple times when I felt the original choice didn’t quite work with the final design. It’s all about experimenting until you find what feels right.
Q: Does imgpanda.com offer other customization options for borders?
A: Yes, imgpanda.com allows you to adjust not only the color and thickness but also the style of the borders. You can choose between solid, dashed, and dotted lines. I personally love the variety because it gives each image a distinct vibe. Sometimes, I prefer a clean, solid border, while for more casual designs, a dashed line adds just the right amount of playfulness.
Conclusion: Give Your Canva Images a Professional Look with imgpanda.com
Enhancing your Canva images with a border is a straightforward but impactful technique to make them more eye catching. Img panda.com streamlines this process for you. Whether you're creating content for social media, working on a personal project or tackling something more formal borders can add that touch to your visuals. In my opinion a carefully selected border is like the finishing touch that brings the whole image together. So, if you ever think your design could use a boost consider adding a border and witness the transformation firsthand!