Behance isn’t merely a platform; it’s a lively community where imaginative individuals come together, exchange ideas and motivate one another. Whether you’re a designer, photographer or artist Behance offers you a space to display your creations to a global audience. When I initially became a member it was like being a fish in an expansive sea of skill. However that sensation drove me to enhance my abilities and venture into uncharted artistic territories.
To kick things off, all you have to do is set up an account and it's an easy process. Once you're logged in, you'll come across different categories such as design, photography and illustration. You can connect with fellow artists get input on your creations and even team up with others on projects. The highlight? You have the opportunity to express your narrative through your work and share your experiences with others along the way.
Why Adding Videos Can Enhance Your Projects
Adding a video to my project really changed how people interacted with it. Instead of simply flipping through pictures, they got to see my process and enthusiasm. Videos bring an extra layer by showcasing not only the end result but also the story that led up to it.
- Increased Engagement: Projects with videos tend to attract more attention and keep viewers engaged longer.
- Showcasing Your Process: Videos allow you to share your creative process, making your work more relatable.
- Building a Connection: Seeing a creator in action creates a personal connection with the audience.
Videos add depth to your work and reflect your individuality, whether it's capturing the process of your artwork or giving a glimpse into a photoshoot.
Also Read This: How to Redeem Codes on YouTube
Preparing Your Video for Upload
Before you go ahead and upload your video make sure its all set for the spotlight. I recall my experience of posting a video without giving it much consideration. It turned out blurry and rough around the edges. The response I received wasn’t exactly what I envisioned! Here’s a guide on how to steer clear of that misstep.
- Choose the Right Format: Common formats like MP4 or MOV work well. Check Behance’s guidelines for specifics.
- Keep it Short and Sweet: Aim for a length of 1-3 minutes. Viewers have short attention spans!
- Edit for Quality: Use basic editing software to trim unnecessary parts and enhance audio quality.
- Add Captions: Captions can make your video accessible and ensure your message is clear.
Keep in mind that the objective is to present your work in the most favorable way. Invest time in getting ready and you’ll notice the positive impact on the reception of your project.
Also Read This: Achieving LinkedIn Top Voice Status and Enhancing Your Influence
Steps to Upload Your Video on Behance
Uploading a video on Behance might feel intimidating initially, but breaking it down into steps makes it a lot easier. When I shared my video for the time I was a bundle of nerves and excitement. Would people enjoy it? Would it go smoothly? I soon discovered that sticking to a simple routine helped calm my jitters. Here's a guide to help you upload your video with ease.
- Log In to Your Behance Account: Head to the Behance website and log in. If you don’t have an account, signing up is quick and easy.
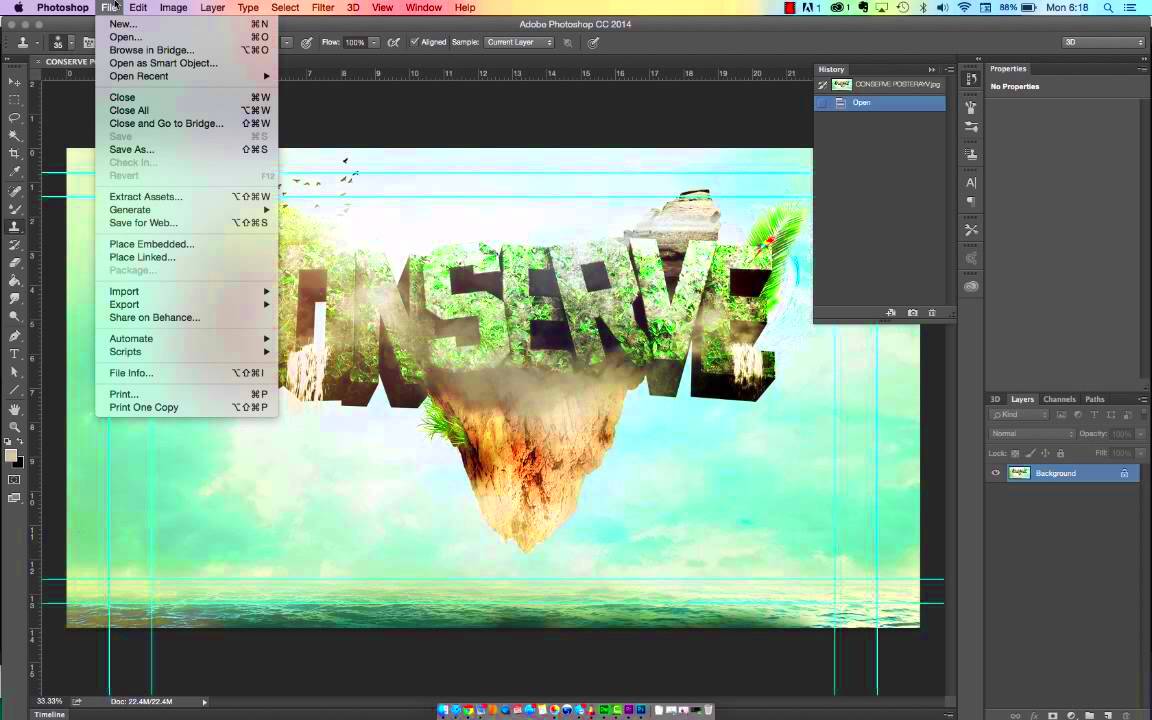
- Create a New Project: Click on the “Create a Project” button on your dashboard. This will open a new project page where you can start adding your content.
- Add Your Video: Drag and drop your video file into the project or use the upload button. Make sure your video is in an accepted format!
- Write a Compelling Description: This is where you can share the story behind your video. Talk about your inspiration, challenges, or the techniques used. I always try to connect with my audience through my words.
- Customize Your Project: Arrange your content, add images, and choose a cover image that captures attention. You want to make a great first impression.
- Publish Your Project: Once everything looks good, hit the publish button. Your work is now live for the world to see!
Sharing your video can be an exciting journey. Embrace the moment and avoid hurrying through it. Let your imagination take center stage!
Also Read This: How to Join iStock as a Contributor
Tips for Optimizing Your Video for Better Engagement
After you upload your video it's important to consider ways to make it really captivating. A fantastic video is only the first step; fine tuning it can have a significant impact. I recall a friend sharing a beautiful video that had difficulty gaining traction. With a few adjustments it skyrocketed in popularity! Here are some tips to boost viewer engagement.
- Start with a Hook: The first few seconds are crucial. Grab your audience’s attention right away with an intriguing opening or question.
- Focus on Quality: High-resolution videos and clear audio can significantly impact viewer retention. Invest time in editing for a polished final product.
- Engage with Your Audience: Encourage viewers to leave comments or ask questions. Responding to them can create a sense of community around your work.
- Use Relevant Tags: Adding tags related to your content helps people discover your video. Think about keywords your audience might search for.
- Share on Social Media: Don’t stop at Behance! Share your project on platforms like Instagram, Facebook, or Twitter to reach a broader audience.
Taking the time to enhance your video can greatly enhance engagement and interaction levels. Keep in mind that with every view you move closer to establishing your artistic legacy!
Also Read This: Can You Reupload a YouTube Video? Rules and Best Practices
Common Issues You Might Encounter
Every journey has its obstacles and uploading videos on Behance is no different. I discovered this through my own experiences when I encountered some challenges while trying to upload my content. By being aware of these issues you can navigate the process more smoothly.
- Video Format Problems: Behance accepts specific formats. If your video doesn’t upload, double-check the format and try converting it to MP4 or MOV.
- Long Upload Times: Large file sizes can lead to prolonged upload times. Consider compressing your video before uploading to speed things up.
- Audio Sync Issues: Sometimes, the audio can get out of sync with the video. Watch your video after uploading to ensure everything flows smoothly.
- Low Engagement: If your video isn’t getting views, it might be due to the thumbnail or description. Make sure they are eye-catching and informative.
- Technical Glitches: Occasionally, you may encounter site-related issues. If this happens, refreshing the page or trying again later usually does the trick.
Facing obstacles is a natural part of the process. Embrace these difficulties and keep in mind that each problem you overcome contributes to your development as a creative individual.
Also Read This: How I Built My Shutterstock Portfolio and Found Success
How to Edit or Remove a Video from Your Project
After you upload a video to your Behance project you might find that you need to make some edits or even take it down. I recall when I uploaded my first project and later spotted a tiny mistake in the video that required correction. The idea of editing seemed overwhelming at first but it turned out to be simpler than expected. Here's a guide on how to effortlessly edit or remove your video.
- Access Your Project: Log in to your Behance account and navigate to the project where your video is located. Click on the project to open it.
- Edit Project: Click on the “Edit” button, usually located at the top right corner of your project page. This opens up the editing interface.
- Modify Your Video: If you want to edit the video, you can replace the current file with a new one. Just click on the video section and choose the new video file to upload. Ensure it's in the correct format and meets the specifications.
- Remove the Video: To remove the video, simply click on the delete icon or “Remove” option next to the video. Confirm your action when prompted.
- Update Your Description: If you’ve made changes to the video, consider updating the project description to reflect these changes. Your audience appreciates knowing what’s new.
- Save Changes: After making your edits or removing the video, don’t forget to click “Save” or “Publish” to ensure your changes go live.
Changing or cutting a video is an essential part of being creative. Feel free to tweak things to your liking because ultimately it is your project!
Also Read This: How to Access YouTube Video Transcripts for Improved Comprehension
Frequently Asked Questions
Behance, being a hub for creativity comes with its own set of unique features and it's normal to have queries while exploring the platform. I've noticed that quite a few of the questions I had were also on the minds of others. So here are some commonly asked questions that could assist you in your journey.
- What video formats does Behance support? Behance primarily supports MP4 and MOV formats. If your video isn’t in one of these formats, you may need to convert it.
- Can I upload more than one video in a project? Yes, you can upload multiple videos within a single project, just like you can with images.
- What’s the ideal length for a video? Generally, keeping your video between 1-3 minutes is ideal. It’s long enough to convey your message but short enough to retain viewer interest.
- How do I get feedback on my video? Share your project link with friends or fellow creatives. You can also ask for feedback in the Behance community to get constructive insights.
- What if I encounter issues during uploading? If you face problems, check your internet connection, file size, and format. If the issue persists, refreshing the page often helps.
In the process of gaining knowledge asking questions plays a role. Feel free to reach out for answers and interact with the community you’ll discover that many people are more than happy to assist you.
Wrapping Up Your Video Project on Behance
As you wrap up your video project on Behance take a moment to look back on the journey. I often discover that the process of creating and sharing is just as fulfilling, as the end result itself. Its an opportunity to connect with people and express your enthusiasm. Here are some suggestions for concluding on a note.
- Review Your Work: Go through your project once more. Check for any typos or mistakes in your description, and make sure your video plays smoothly.
- Engage with Comments: After publishing, keep an eye on the comments section. Engage with viewers who take the time to share their thoughts; it’s a great way to build relationships.
- Share Your Experience: Consider writing a brief post about your creative process and what you learned along the way. This can resonate with others who are on a similar journey.
- Promote Your Project: Share your finished project on social media platforms and relevant communities to reach a wider audience. You never know who might be inspired by your work!
- Reflect and Set Goals: Take a moment to reflect on your project’s outcome. What worked well? What could be improved next time? Setting goals for your next project can keep your creativity flowing.
Wrapping up isn’t solely about completing a task; it’s also an opportunity to acknowledge your successes and anticipate exciting new endeavors. Each project marks a milestone in your creative journey and serves as a stepping stone, for what lies ahead!